Turn the image dark
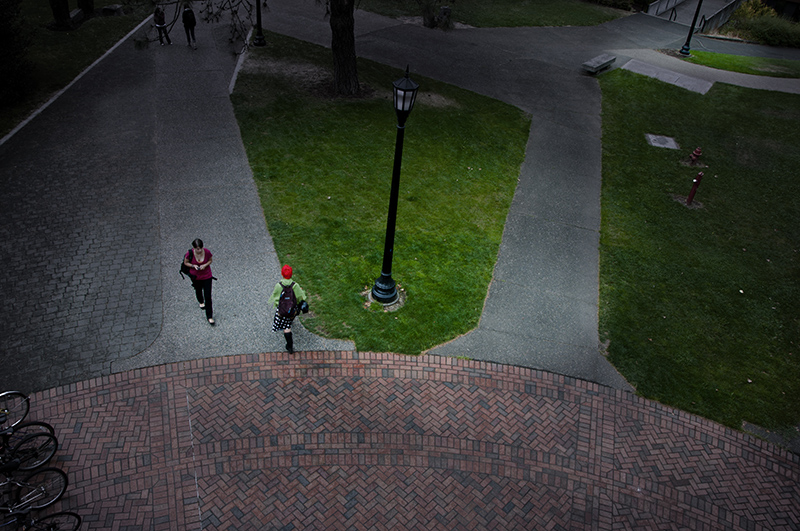
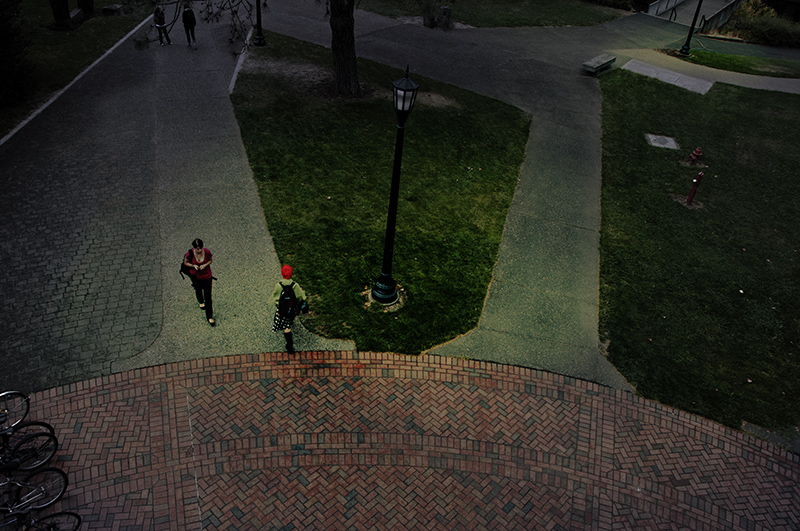
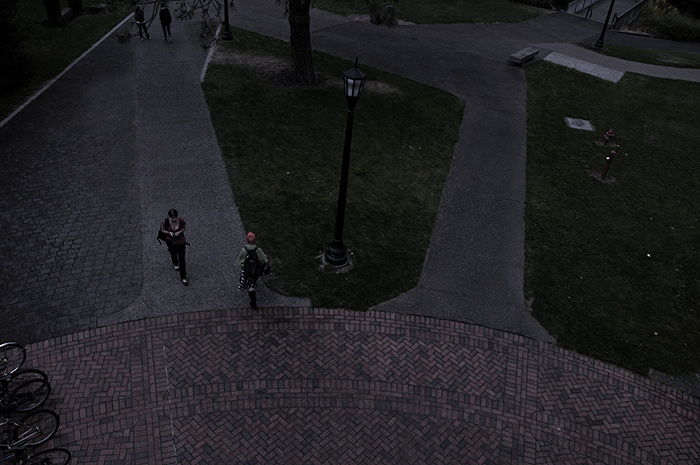
Turn the overall atmosphere of the image supplied (day_for_night_01.tiff) as close as you can get to dusk/night
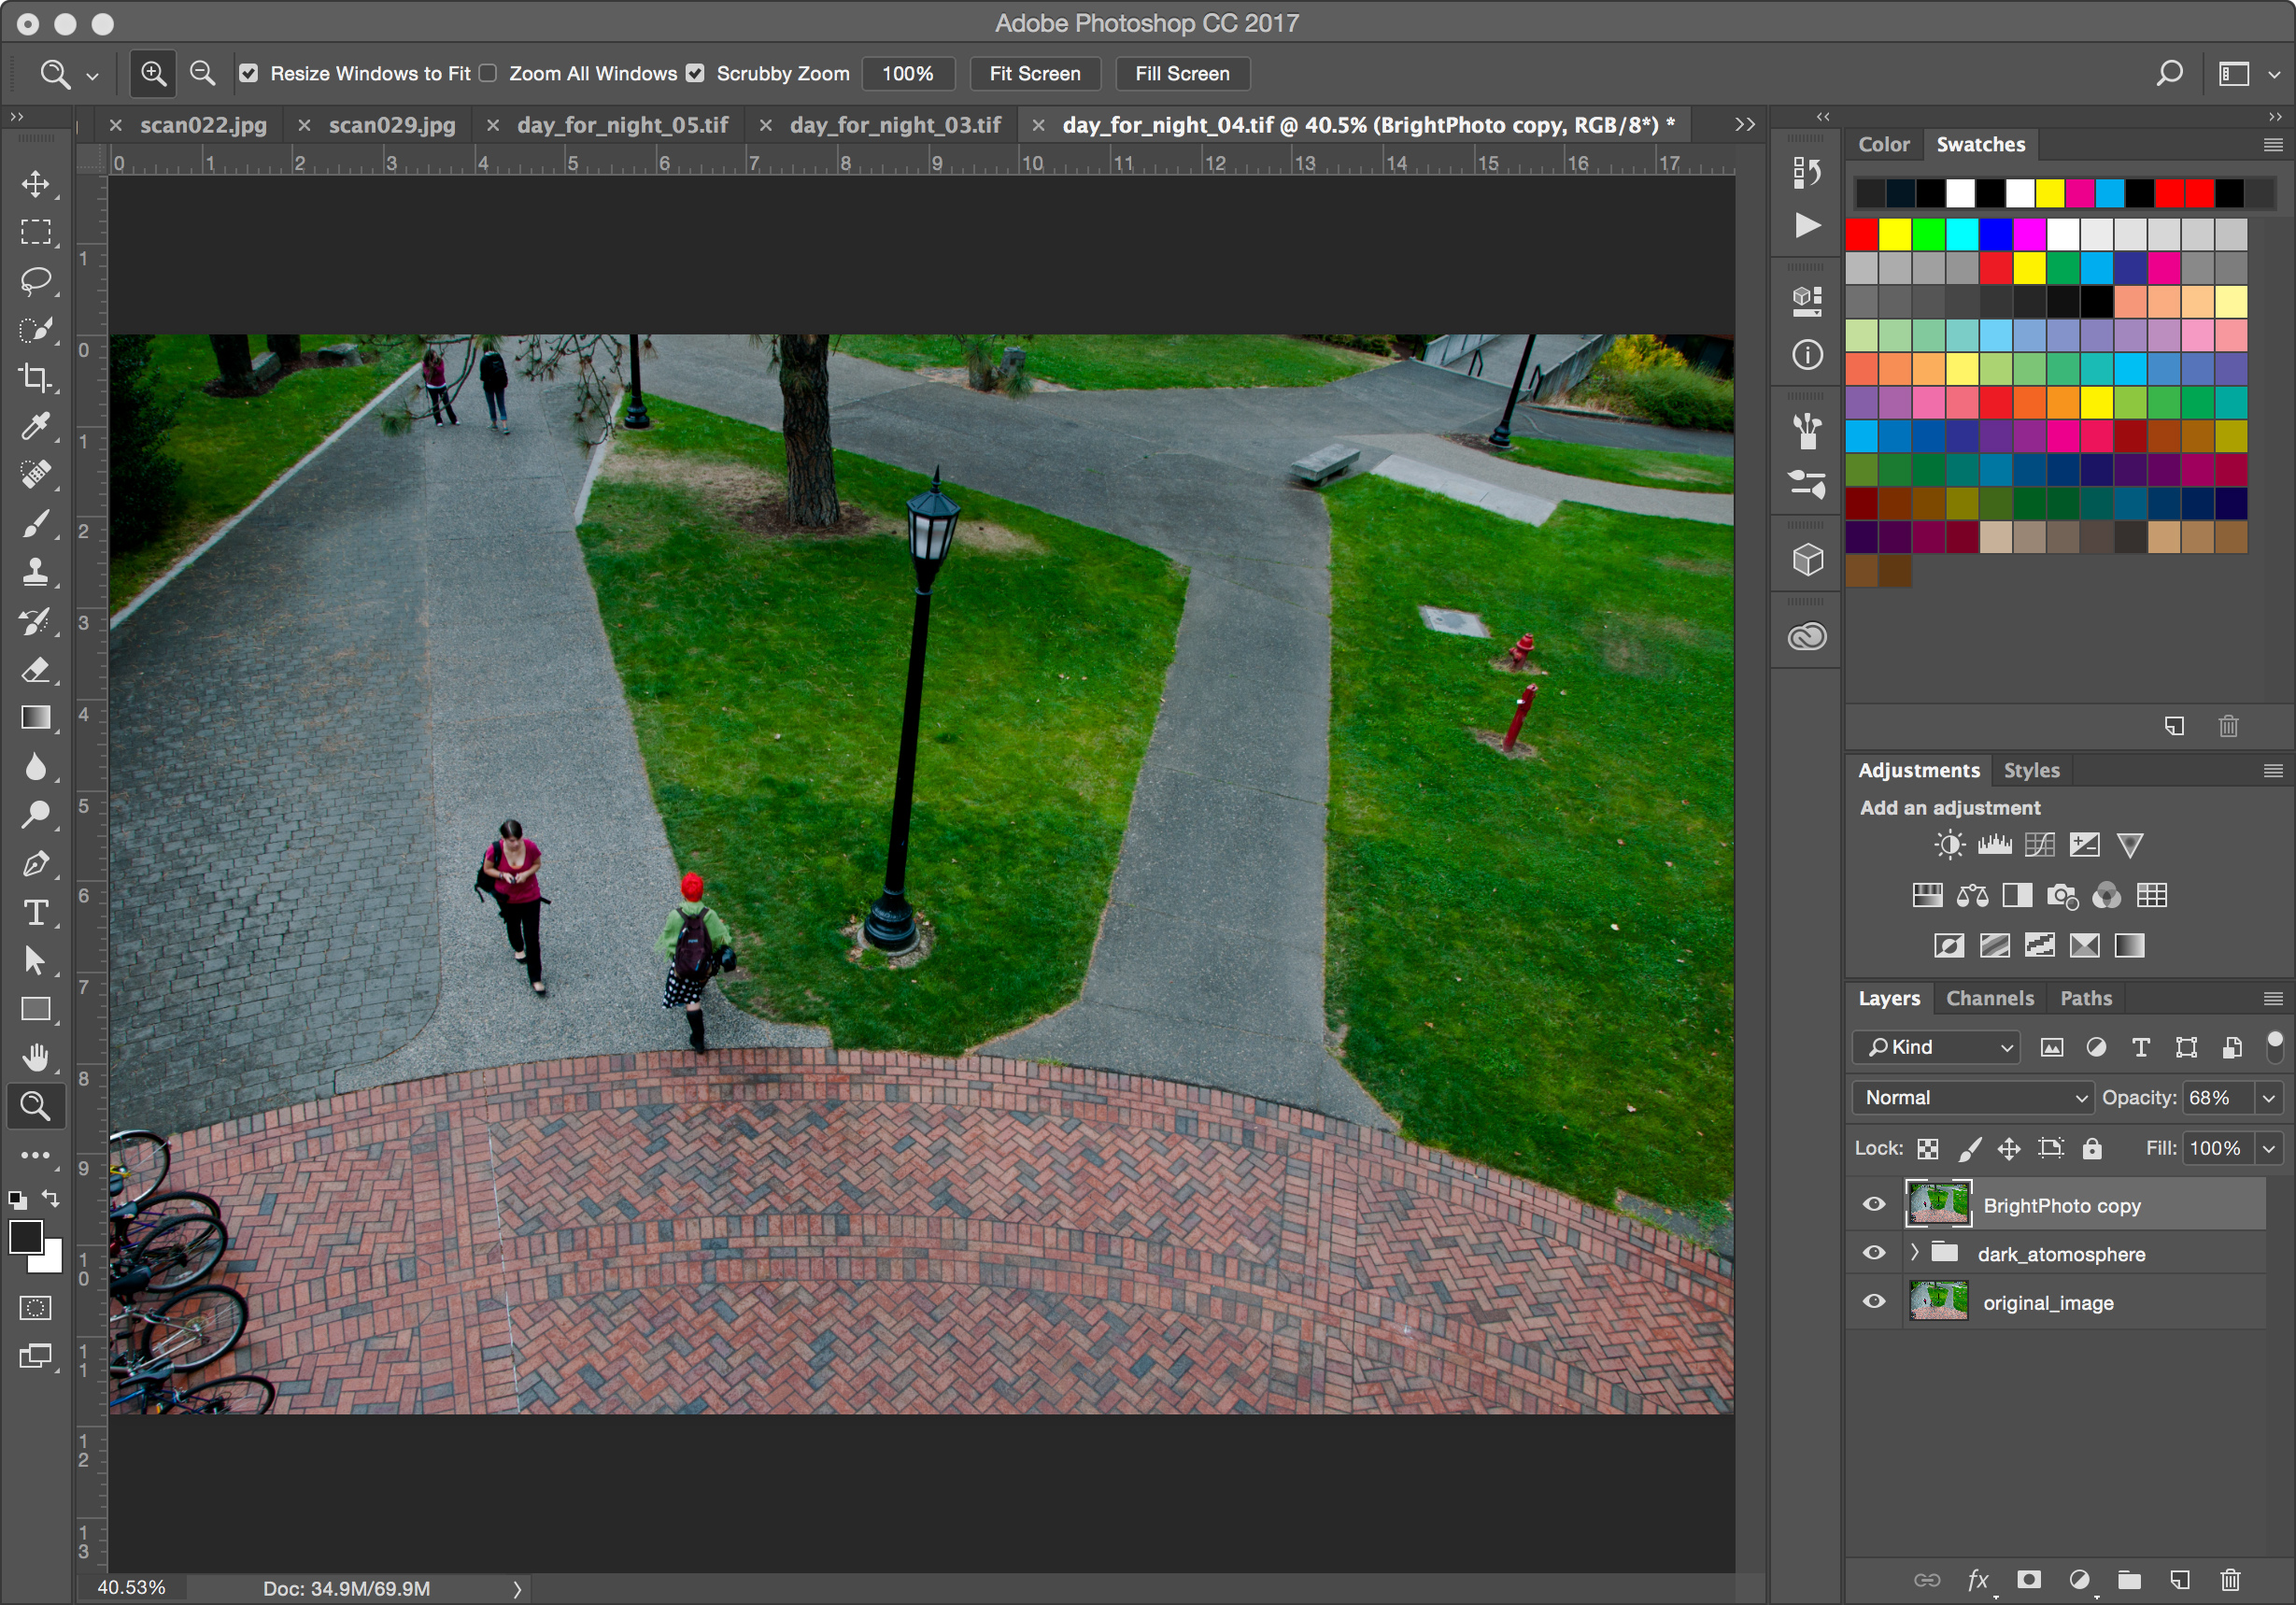
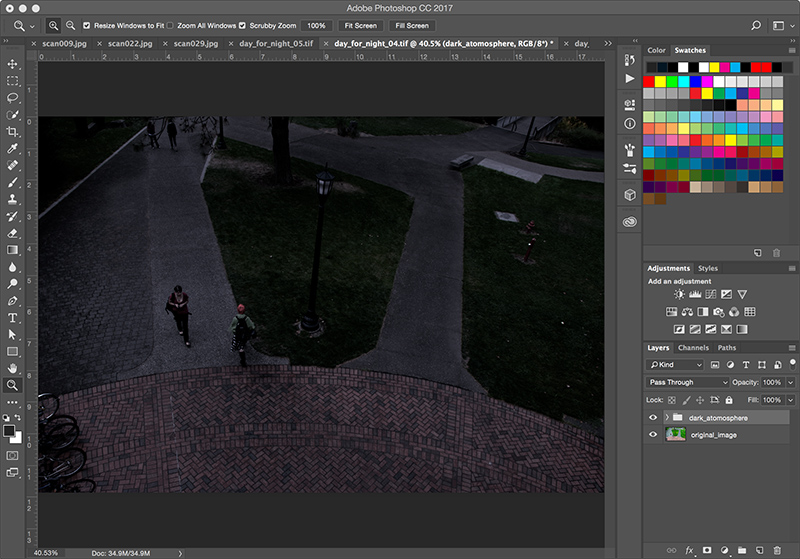
 Once you are done, group the adjustment layers by selecting all the adjustment layers and then
- Use adjustment layers
- Darker but not just dark. Assume moon as overall light source. Blue-ish cast
- Usually more contrast. Lower saturation in color.
- If the scene does not have enough of a color you want to amplify, you may want to add it using "solid color" adjustment layer. Play around with the blending mode and the opacity
Once you are done, group the adjustment layers by selecting all the adjustment layers and then
Layer -> Group LayersName the group "dark_atmosphere" so that it looks like this:
Notes