TODO:
30% off your first order. When you sign up for a new Blurb account by email, Blurb sends a welcome code for 30% off your first order. The code expires, so sign up close to when you will actually order, and use it on the order for your two copies. Check the code's terms in the email: Blurb's wording is "first order," so it may cover both copies if you order them together.
Every Blurb photo book price starts with 20 pages. Each page beyond 20 adds a set amount. The price depends on three choices: size, paper, and cover. Full price list: blurb.com/pricing.
Softcover prices, per copy (Blurb pricing page, October 2026):
| Paper | 7x7 Small Square | 10x8 Landscape or 8x10 Portrait |
|---|---|---|
| Standard (80# semi matte) | $17 + $0.26/additional page | $24 + $0.33/additional page |
| Premium Lustre or Premium Matte (100#) | $22 + $0.40/additional page | $29 + $0.45/additional page |
| Mohawk Superfine Eggshell (uncoated) | $25 + $0.48/additional page | $32 + $0.54/additional page |
| Mohawk proPhoto Pearl (photo gloss) | $26 + $0.55/additional page | $37 + $0.61/additional page |
Hardcovers cost more: at 10x8 on Standard paper, a dust jacket hardcover starts at $38 per copy and an ImageWrap hardcover at $41. Two hardcover copies leave very little of the $100 for extra pages, shipping, and tax, so plan on softcover.
What two copies cost at 10x8 or 8x10, before any discount, shipping, or tax:
| Pages | Standard paper, 2 copies | Premium Lustre/Matte, 2 copies |
|---|---|---|
| 20 | $48.00 | $58.00 |
| 40 | $61.20 | $76.00 |
| 60 | $74.40 | $94.00 |
| 80 | $87.60 | $112.00 |
These prices are only estimates. BookWright (the software) shows the price for your size, paper, and cover when you start a project, so you can check these numbers as you go.
Open BookWright. The welcome screen shows any books you have already started. Click Create.
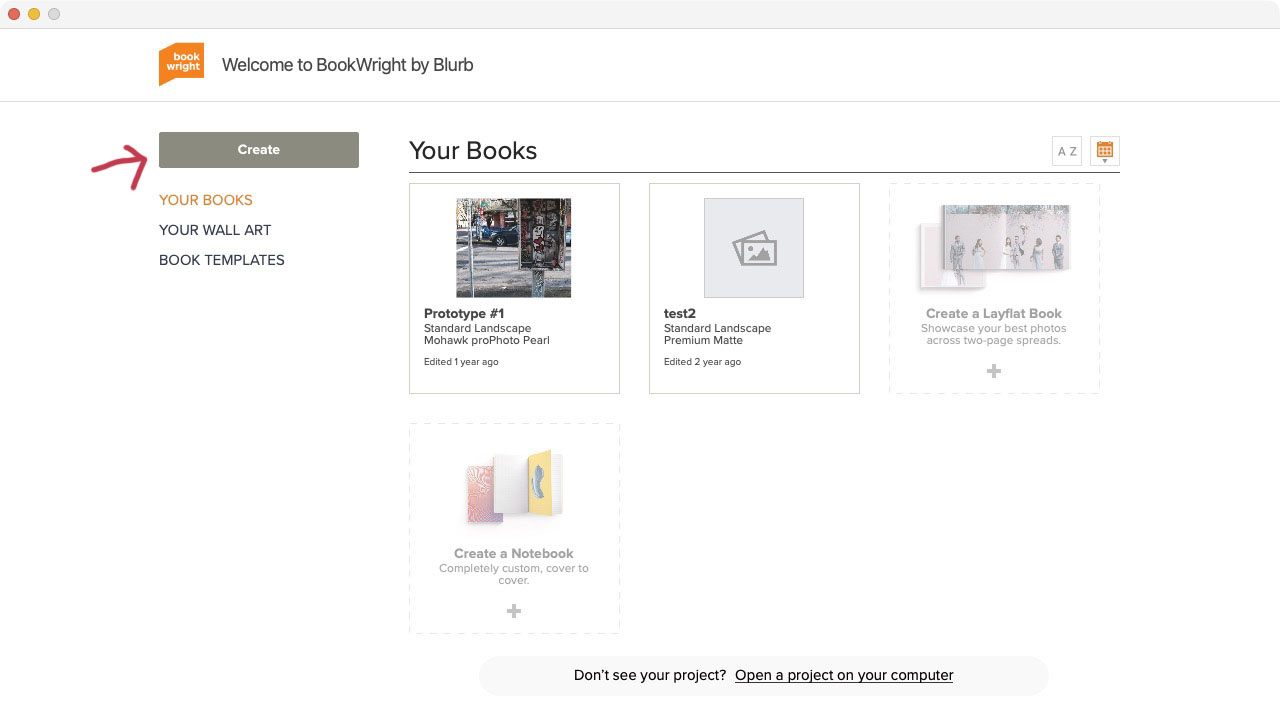
Keep PHOTO BOOKS selected and pick a size. Each size shows its starting price for 20 pages. In this demo, I chose Standard Landscape (10x8), because all of the photos are horizontal.
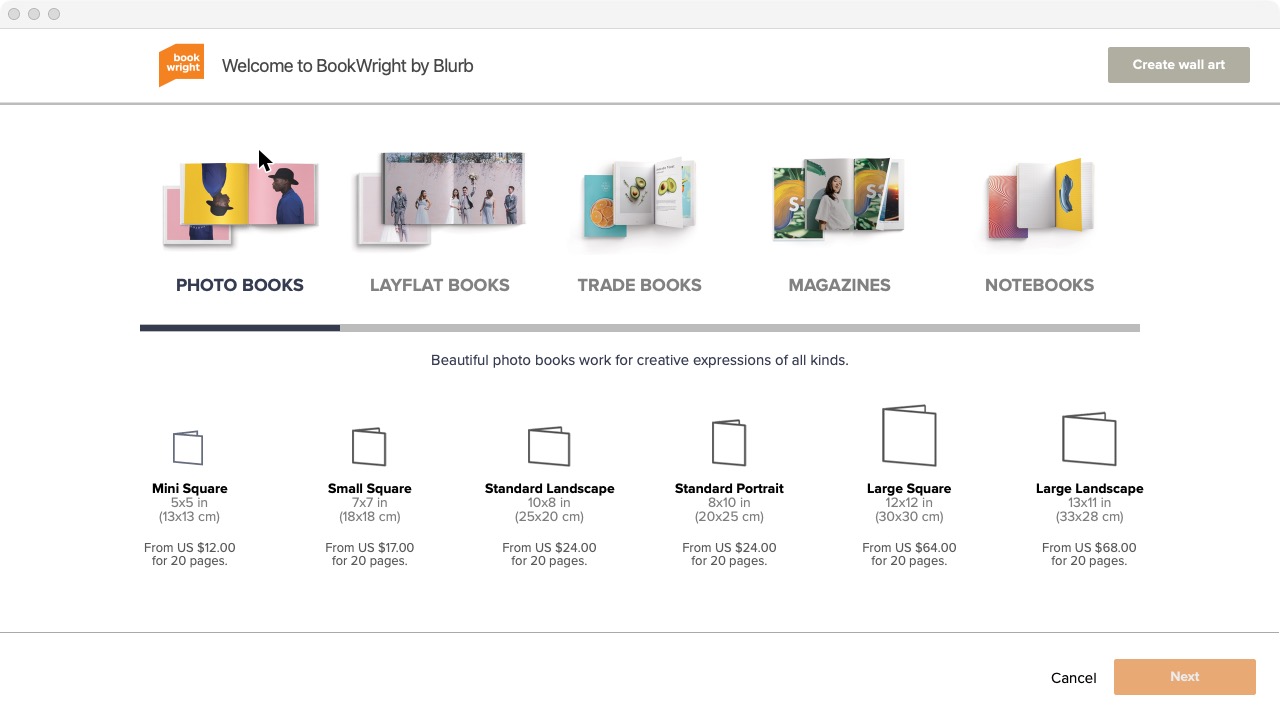
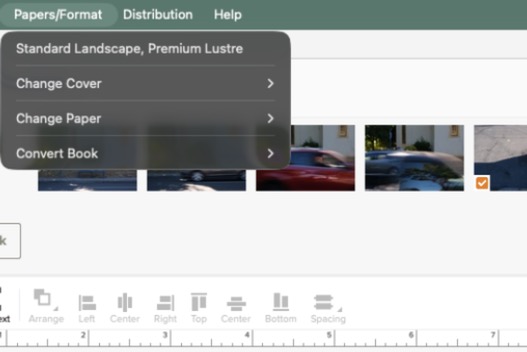
You can change these later. Once the project is open, the Papers/Format menu has Change Paper, Change Cover, and Convert Book (for a different size). Switching paper or cover is a small change. Changing the size is a bigger one: the pages change shape, so decide on the size early and check every page afterward (see Step 6). Each change also changes the price, so look at the budget again.
Click Next, then choose a Paper and a Cover from the two menus.
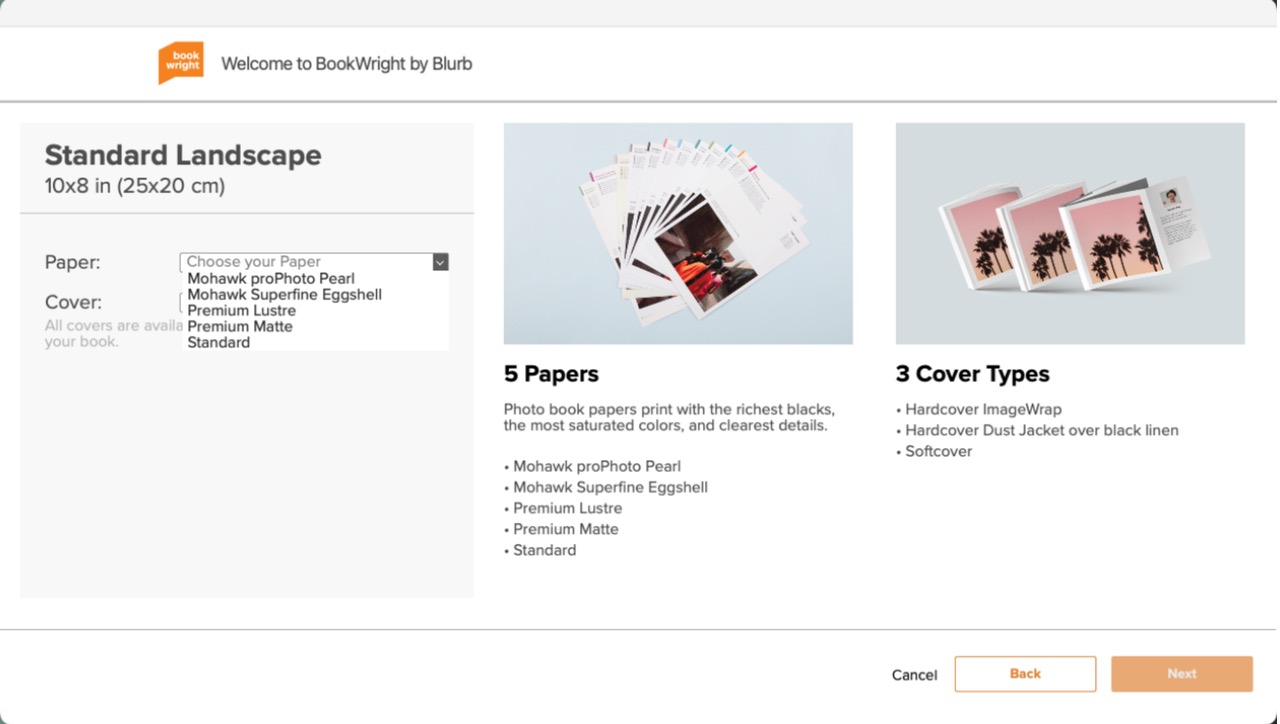
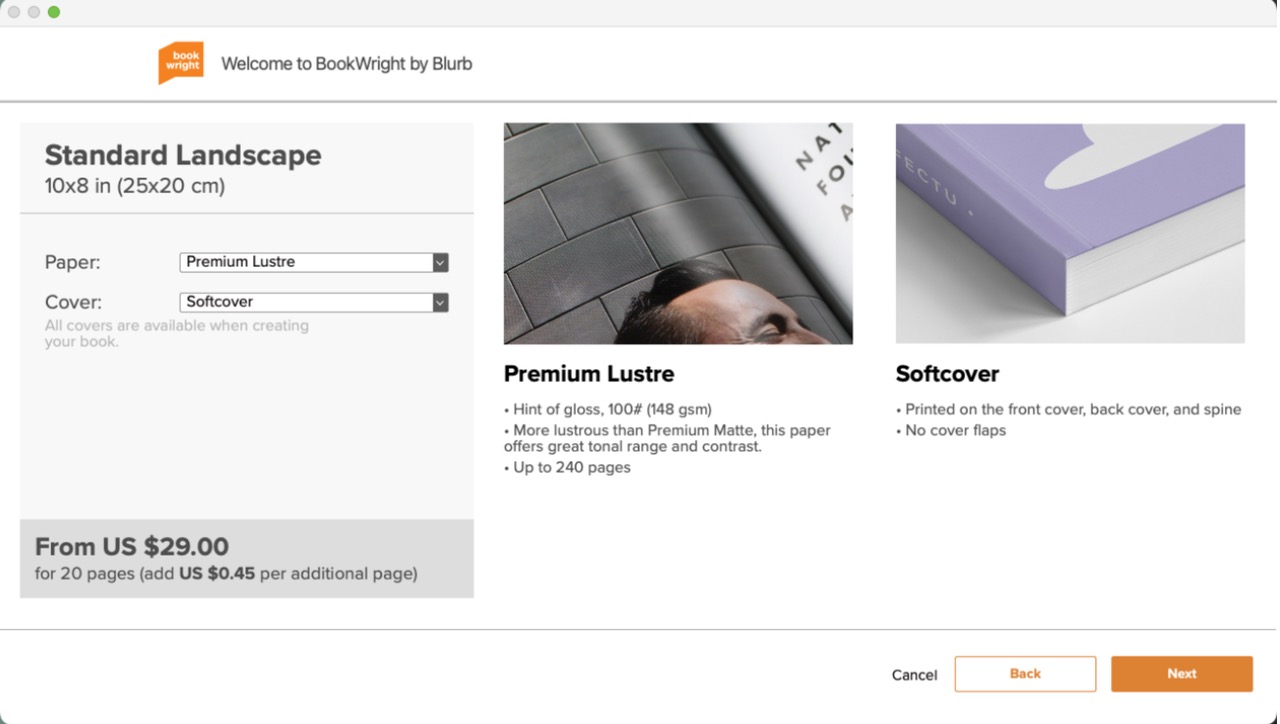
Once both are chosen, BookWright shows the starting price and the cost of each extra page. For Standard Landscape, Premium Lustre, Softcover, that is $29.00 for 20 pages plus $0.45 per additional page.
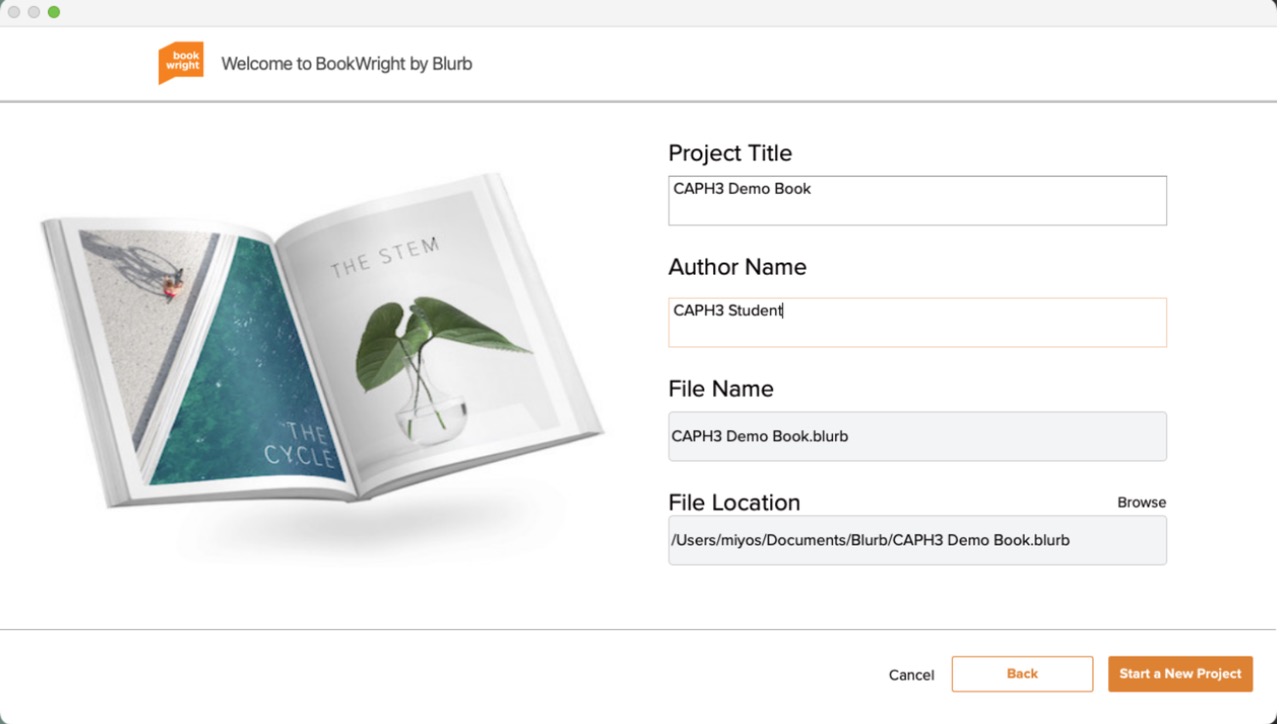
Click Next. Type a Project Title and your name as Author Name. Note the File Location: this is where your project file (.blurb) is saved. By default it goes in Documents/Blurb. Click Start a New Project.
Save often (File > Save, or Cmd+S) and keep a backup copy of your .blurb file somewhere else, such as Google Drive. BookWright projects are saved on your computer, not online, until you upload.
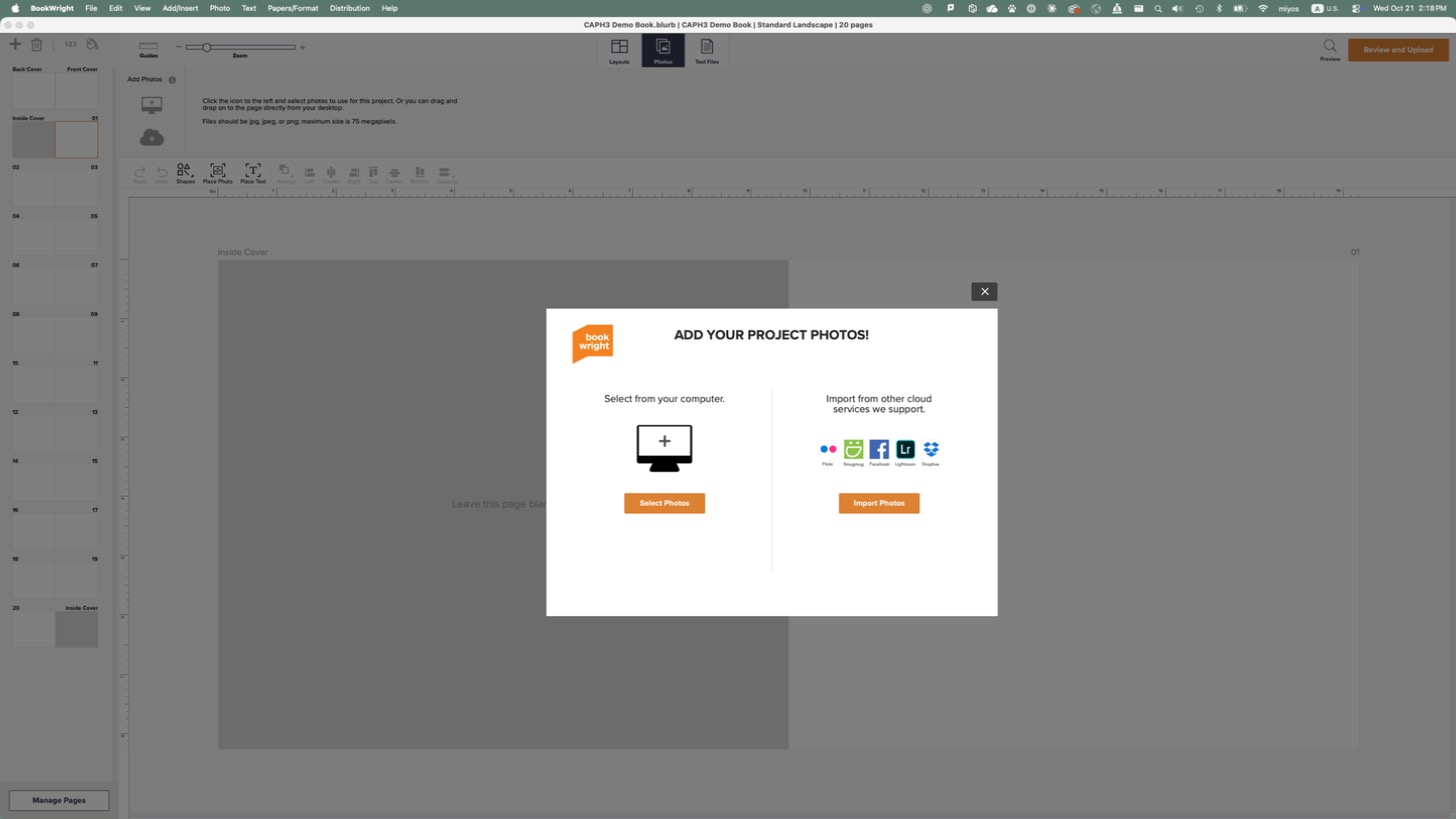
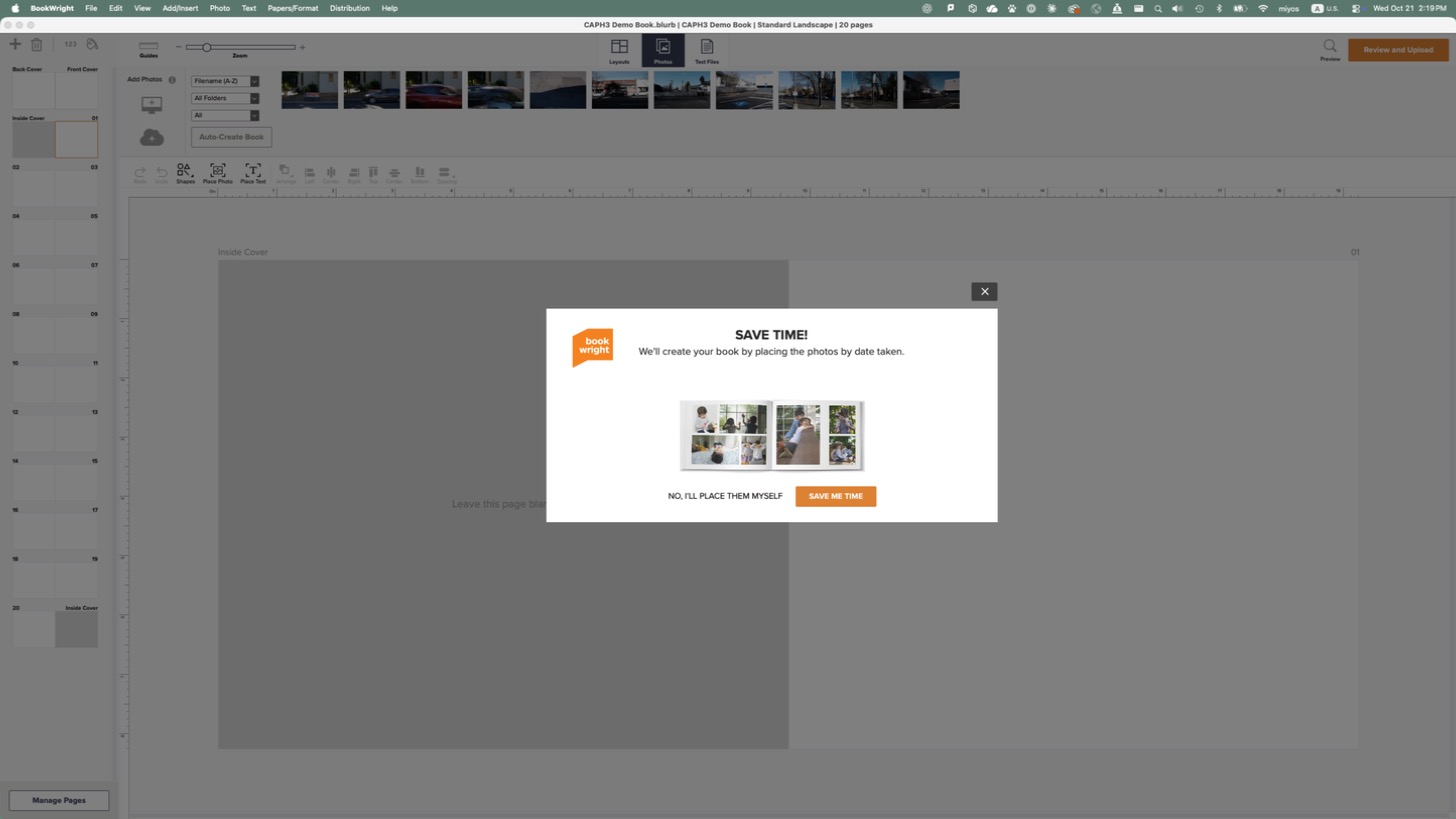
A new project opens with a box asking for photos. Click Select Photos, go to your photo folder, select all of the photos (Cmd+A), and click Open.
BookWright then offers to build the book for you, placing photos in order by the date they were taken. Click NO, I'LL PLACE THEM MYSELF. The sequence is your decision, not the camera's clock.
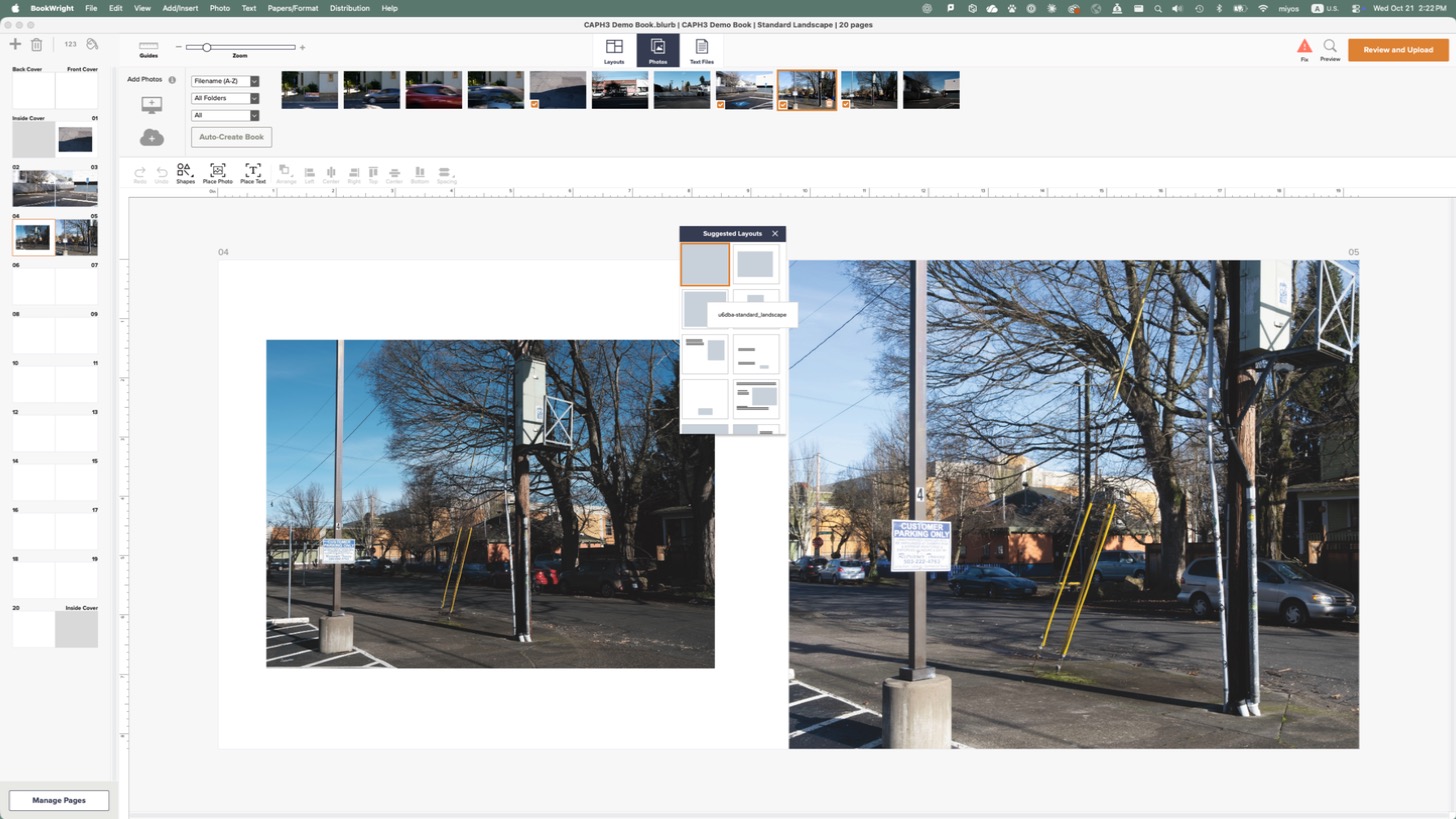
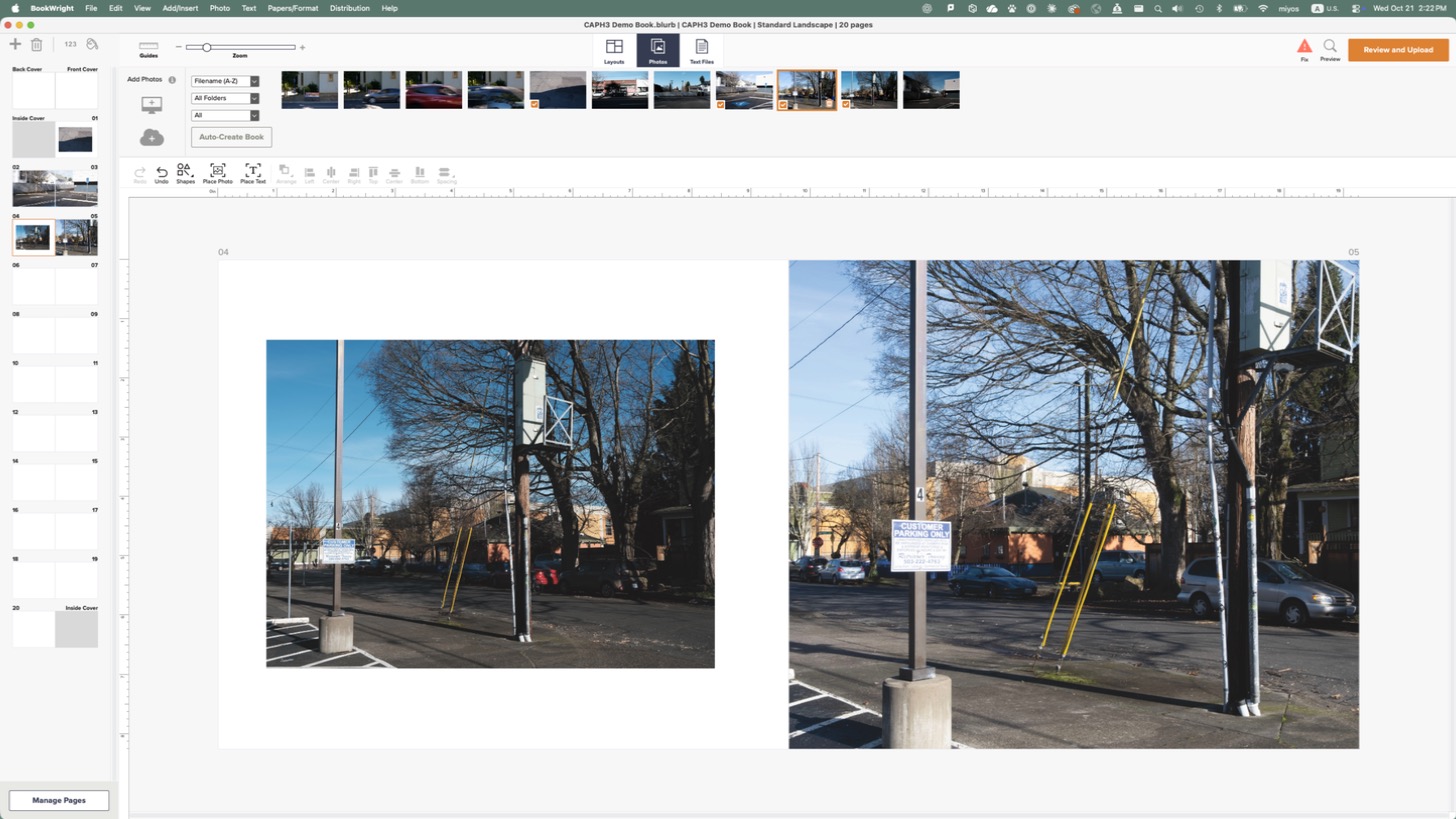
Your photos now sit in a strip along the top of the window (the Photos tab). The pages of the book are listed down the left side. A small check mark on a photo means it is already used somewhere in the book.
Your whole book is one file ending in .blurb (for example, My Book.blurb). To see where it is saved, open the book and choose File > Info. By default it is in Documents/Blurb.
So always move two things together: the .blurb file and your photo folder. Then nothing is left behind, whether or not you have placed every photo yet.
On the first computer:
On the second computer:
Keep one "current" copy. Once you have two copies of the same book, it is easy to edit the wrong one and lose work. Work on one computer at a time, and when you finish a session, copy the .blurb file back to where you keep your main copy. Adding the date to a backup copy's name (for example, My Book 2026-11-10.blurb) helps you tell them apart.
Two choices you will make on almost every page:
A spread is two facing pages. A spread layout lets one photo run across both pages (filter the layouts to Spread Layouts).
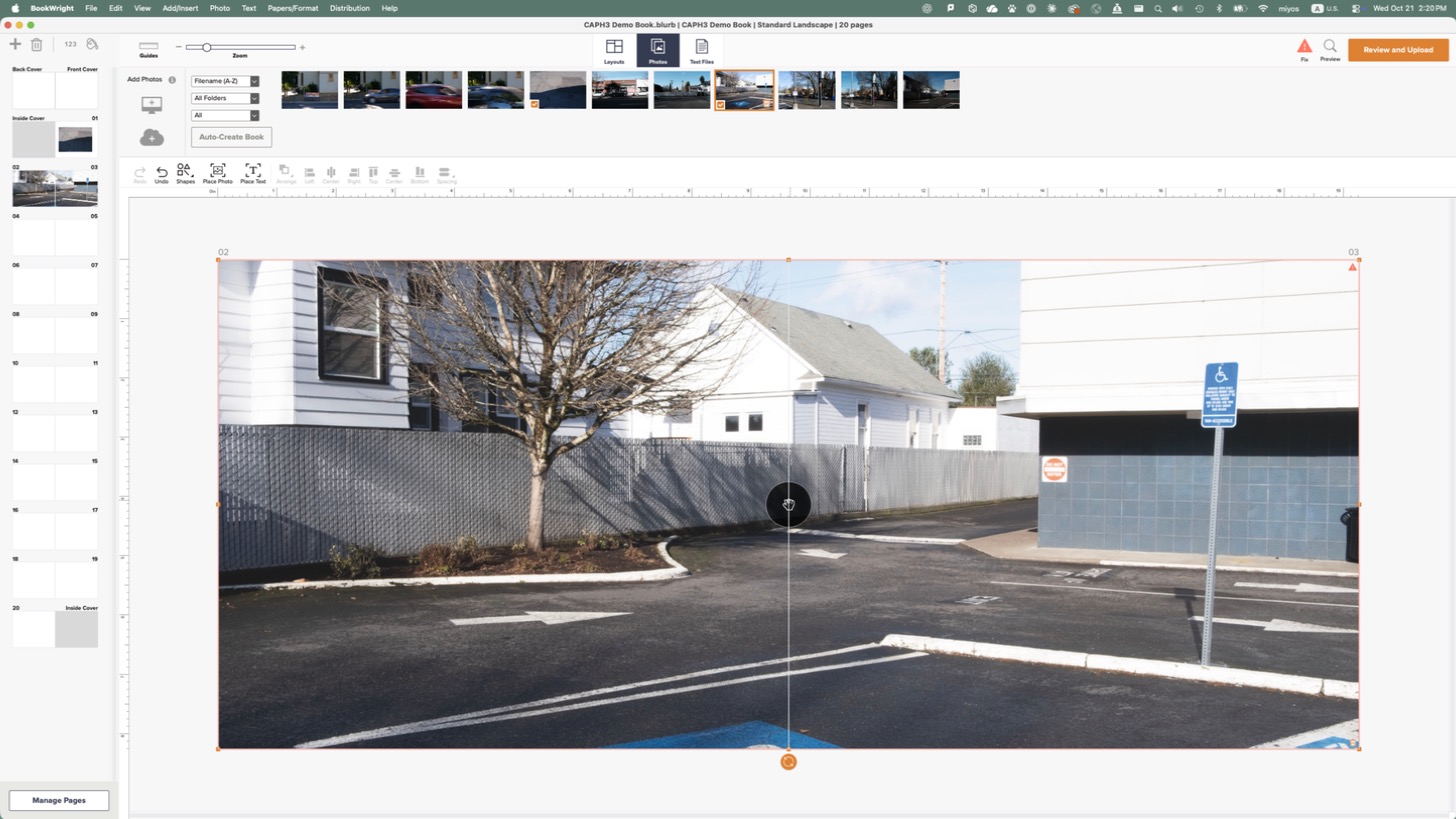
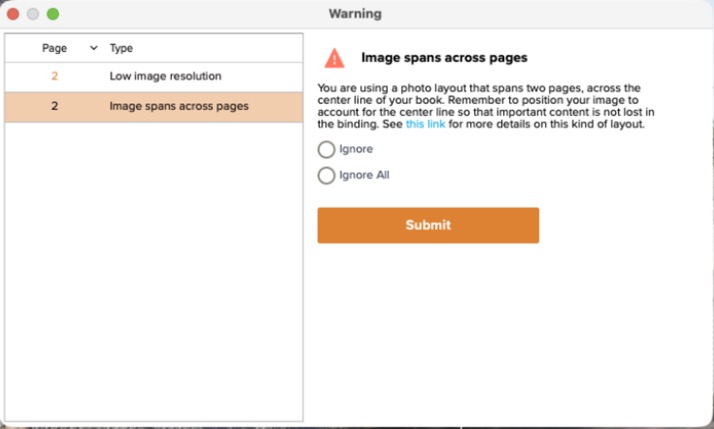
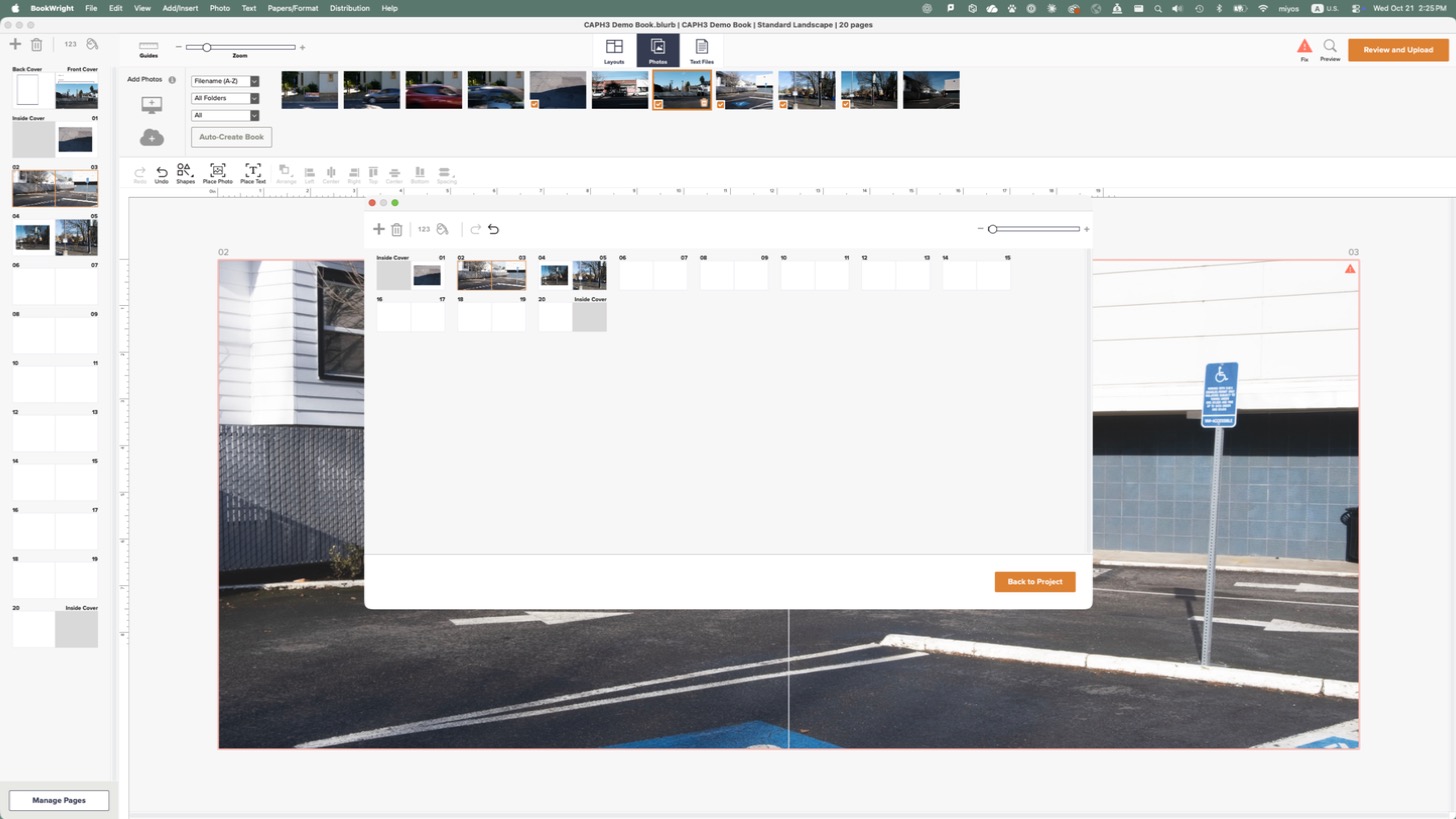
The center of a spread is the gutter, where the pages are bound. Part of the picture disappears into the binding there, so keep faces, text, and anything important away from the center line. BookWright reminds you with a warning whenever a photo spans two pages:
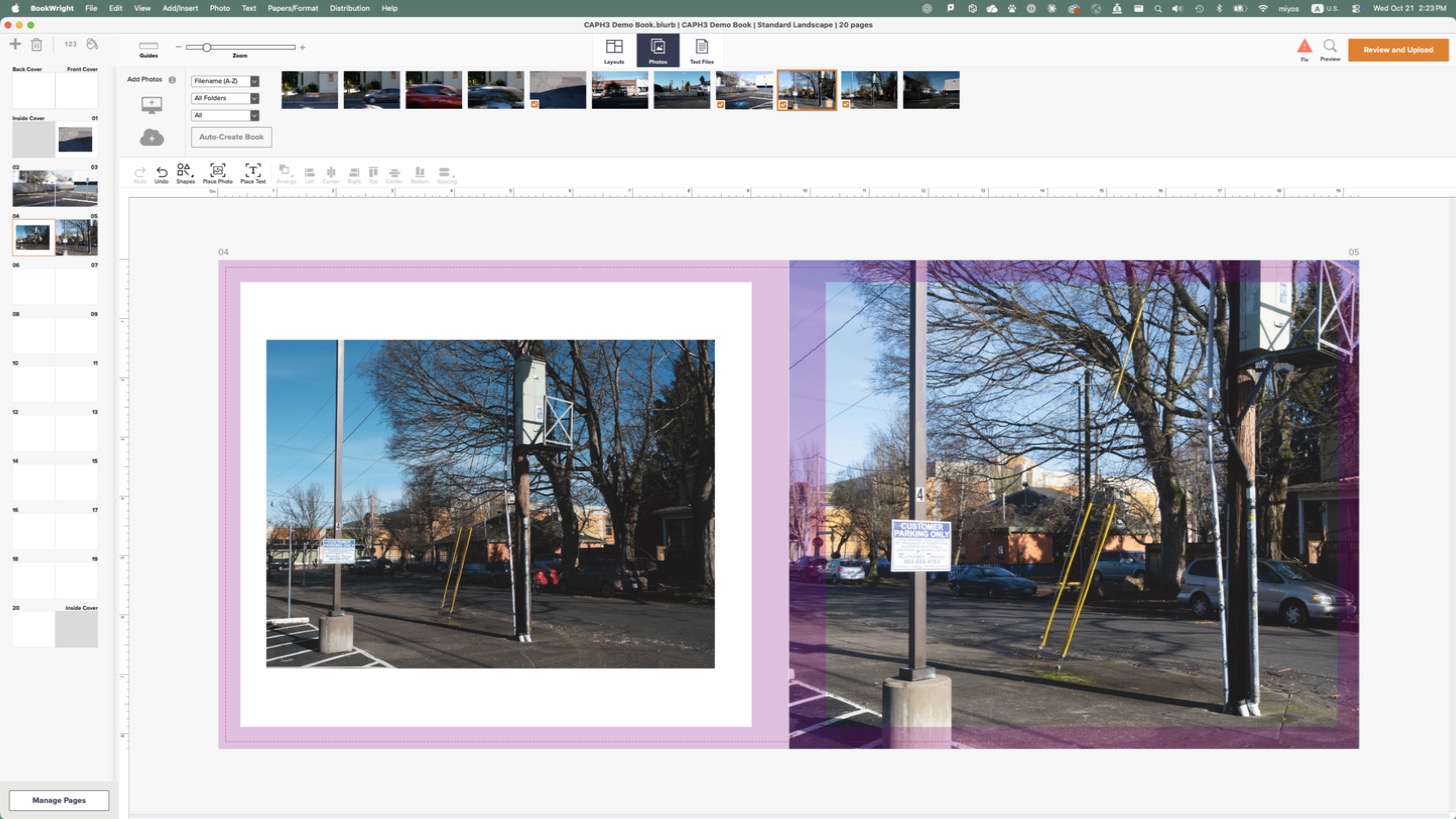
To see what will be trimmed, choose View > Show Trim Area (Cmd+T). BookWright calls this the print safe area. The pink band around the edges (and down the middle of a spread) is the zone that is risky for anything important, because of trimming and the binding. Keep faces, text, and key details out of the pink.
Press Cmd+T again to turn it off.
Color is really difficult to get right. To do it properly, we would have to calibrate our monitors and simulate the ink and paper the book will be printed on. Unfortunately, we do not have the means or the time to do that.
Here is what Blurb says in its image quality checklist:
The most useful advice here is to brighten your images.
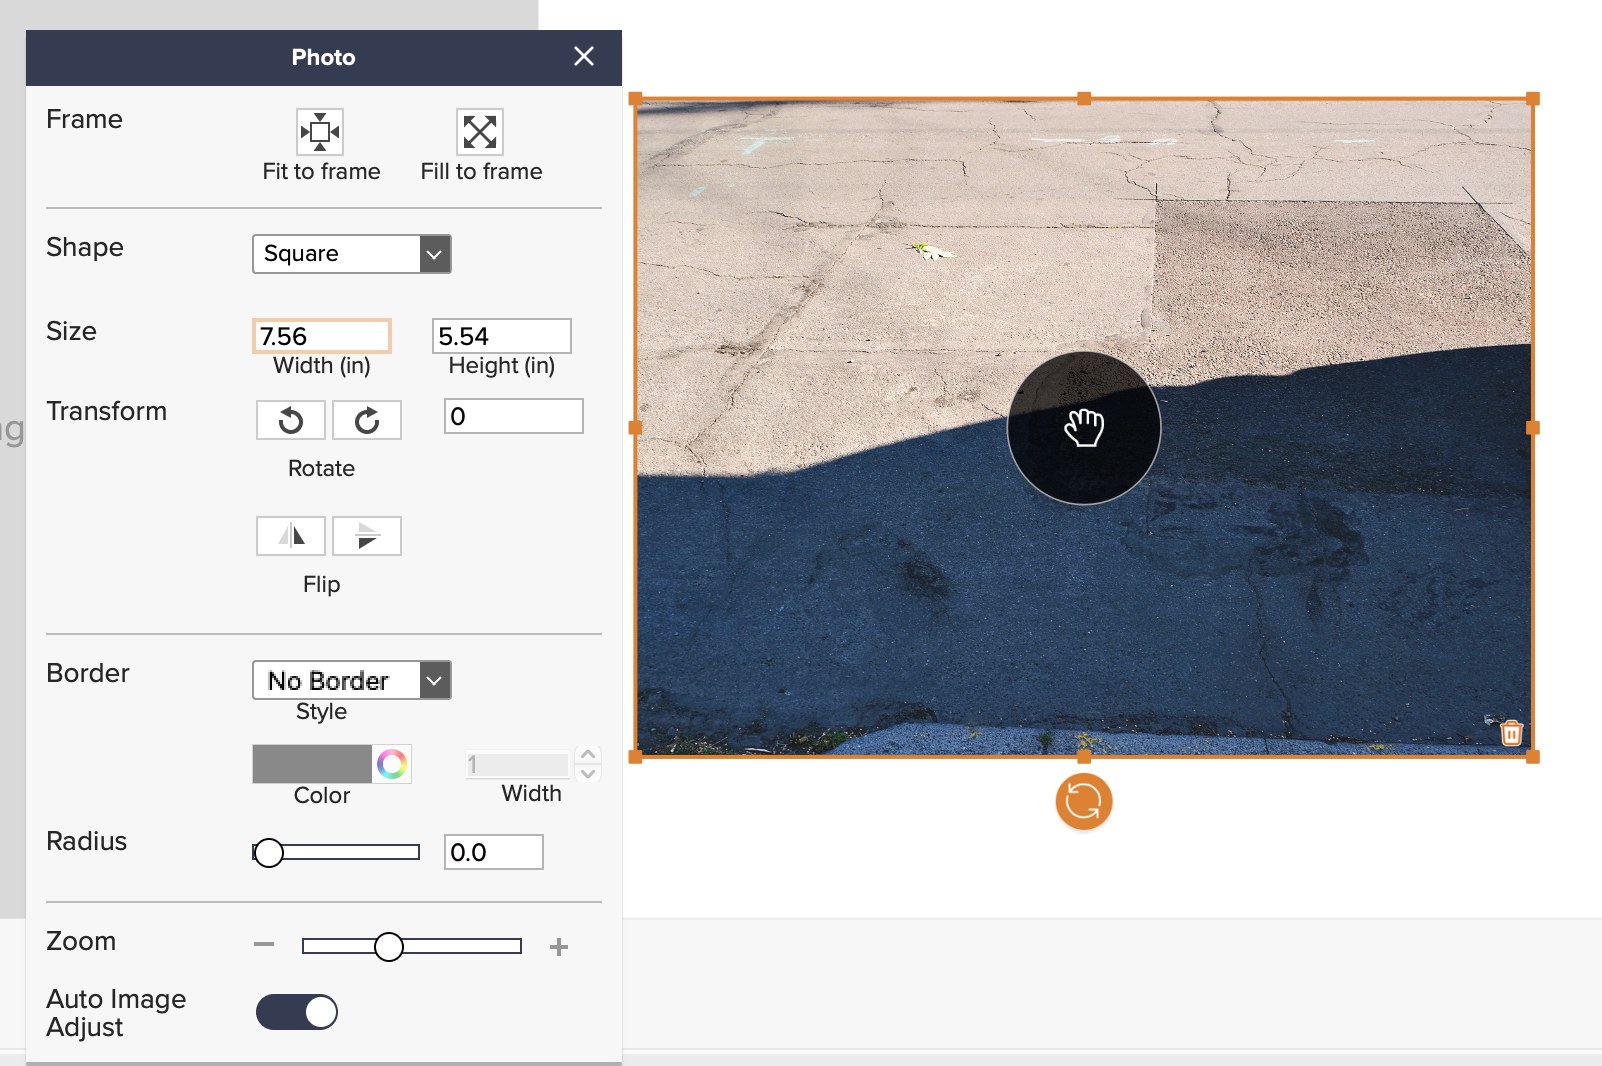
BookWright has an Auto Image Adjust feature that sharpens the photo and makes it lighter. Double-click a photo on the page to open the Photo panel, and look for the Auto Image Adjust switch at the bottom.
Use it on darker photos. Apply Auto Image Adjust to photos that are not already bright. Do not apply it to photos that are already bright, because they can end up blown out. Check the result in Preview (Step 8).
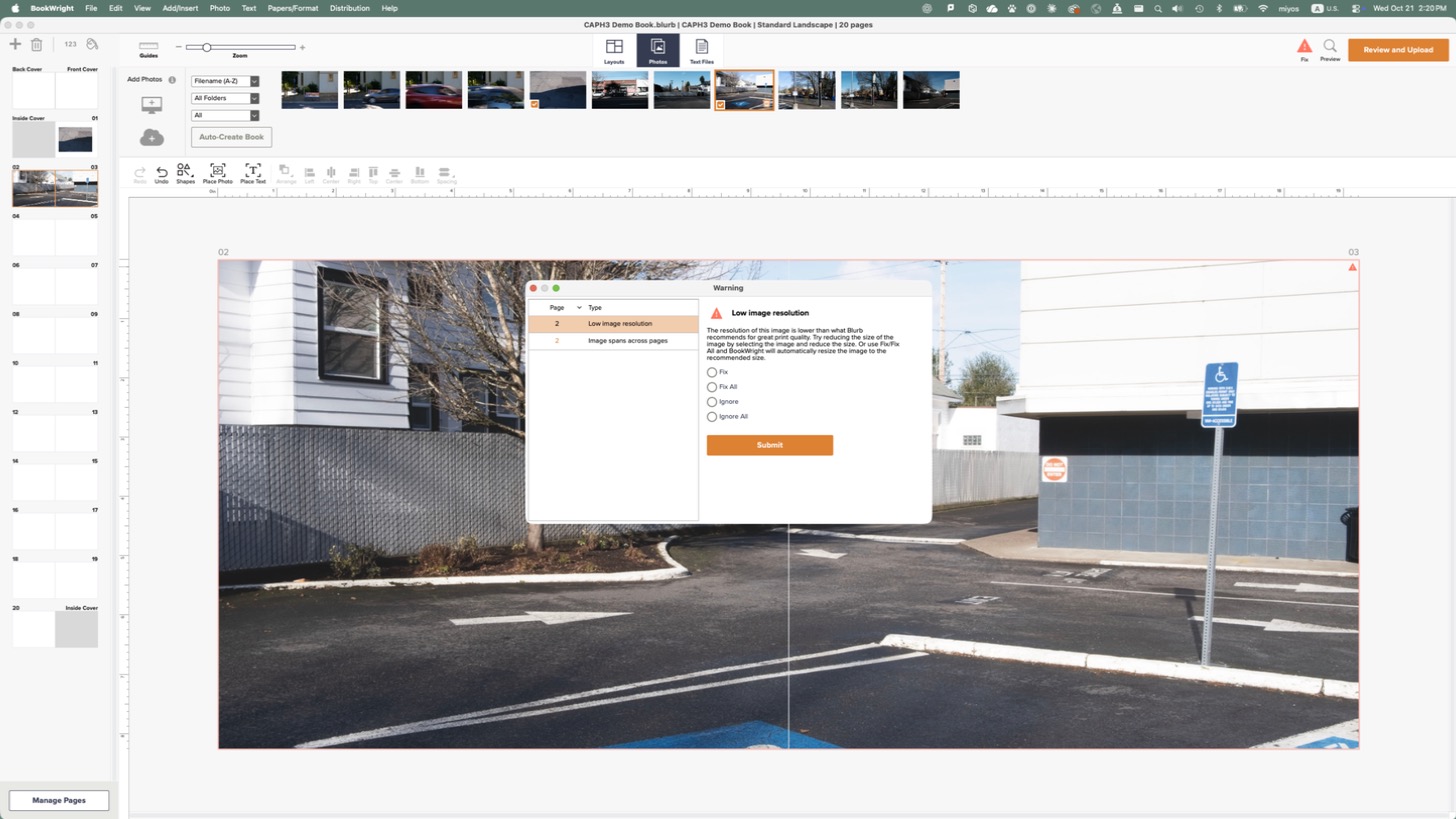
When something might not print well, a red triangle appears on the page and a Fix button appears at the top right of the window. Click either one to see the list.
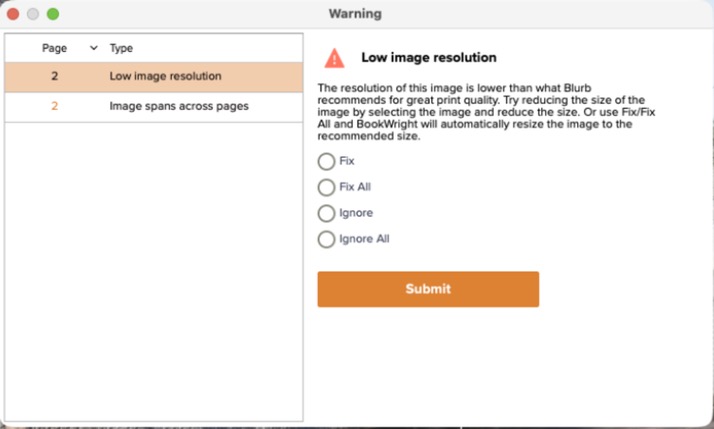
The most important warning is Low image resolution: the photo is being printed bigger than its pixels can support, so it may look soft or blocky. In the demo, a 4500-pixel-wide photo stretched across a 20-inch spread triggered it.
For a low-resolution warning, you can:
Only choose Ignore if you have checked the page in Preview and you are fine with how it looks. Do not upload a book with warnings you have not looked at.
A new book starts with 20 pages, the minimum. Click Manage Pages at the bottom left to see the whole book at once. Use the + button to add pages and the trash can to delete them.
Every page you add over 20 raises the price of each copy. Check your page count against the budget table above before you add a lot of pages.
Changed your mind about paper, cover, or size? As mentioned in Step 1, use the Papers/Format menu: Change Cover, Change Paper, or Convert Book (to change the size). If you convert the size, go through every page in Preview afterward, because the pages change shape.
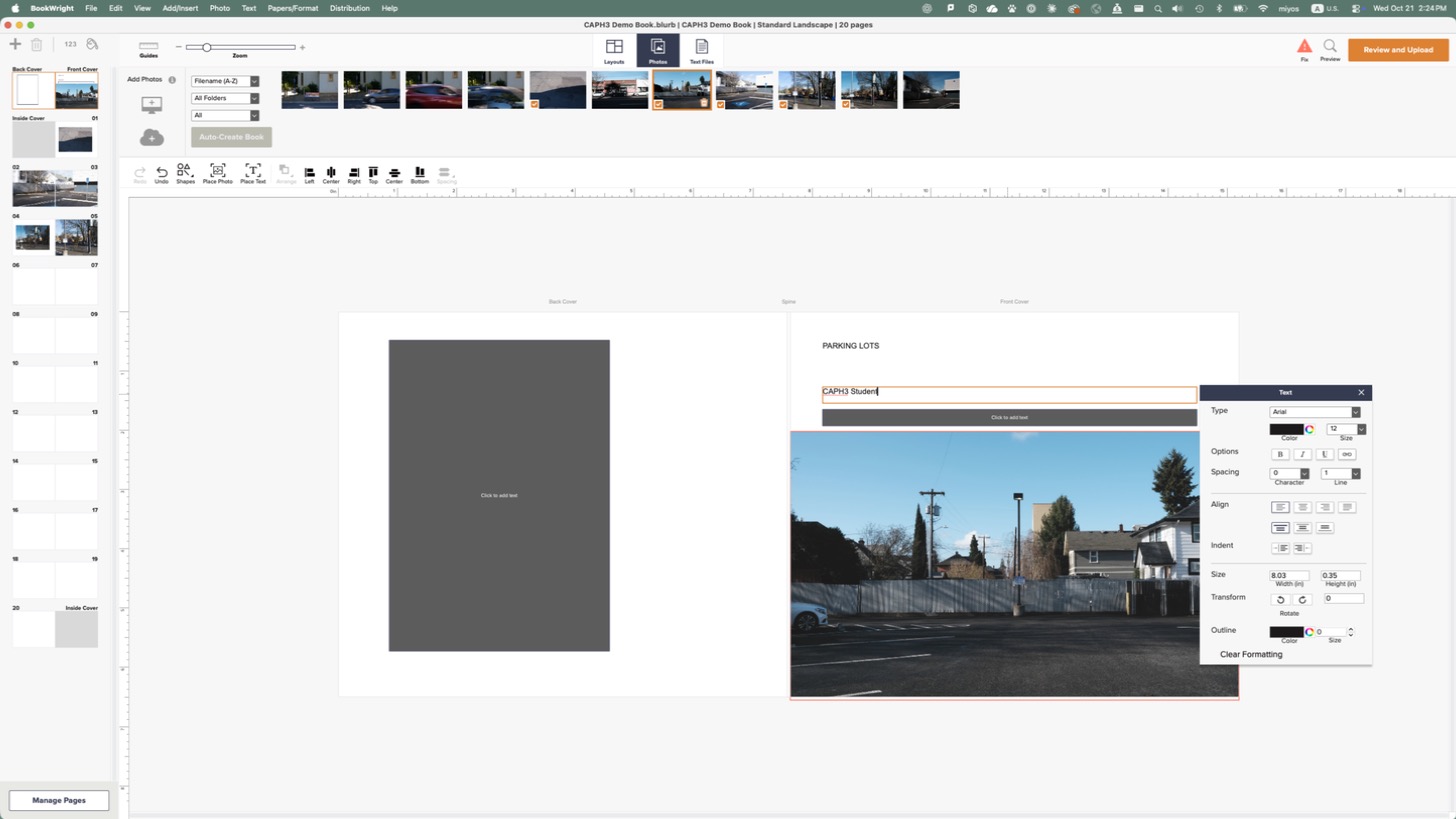
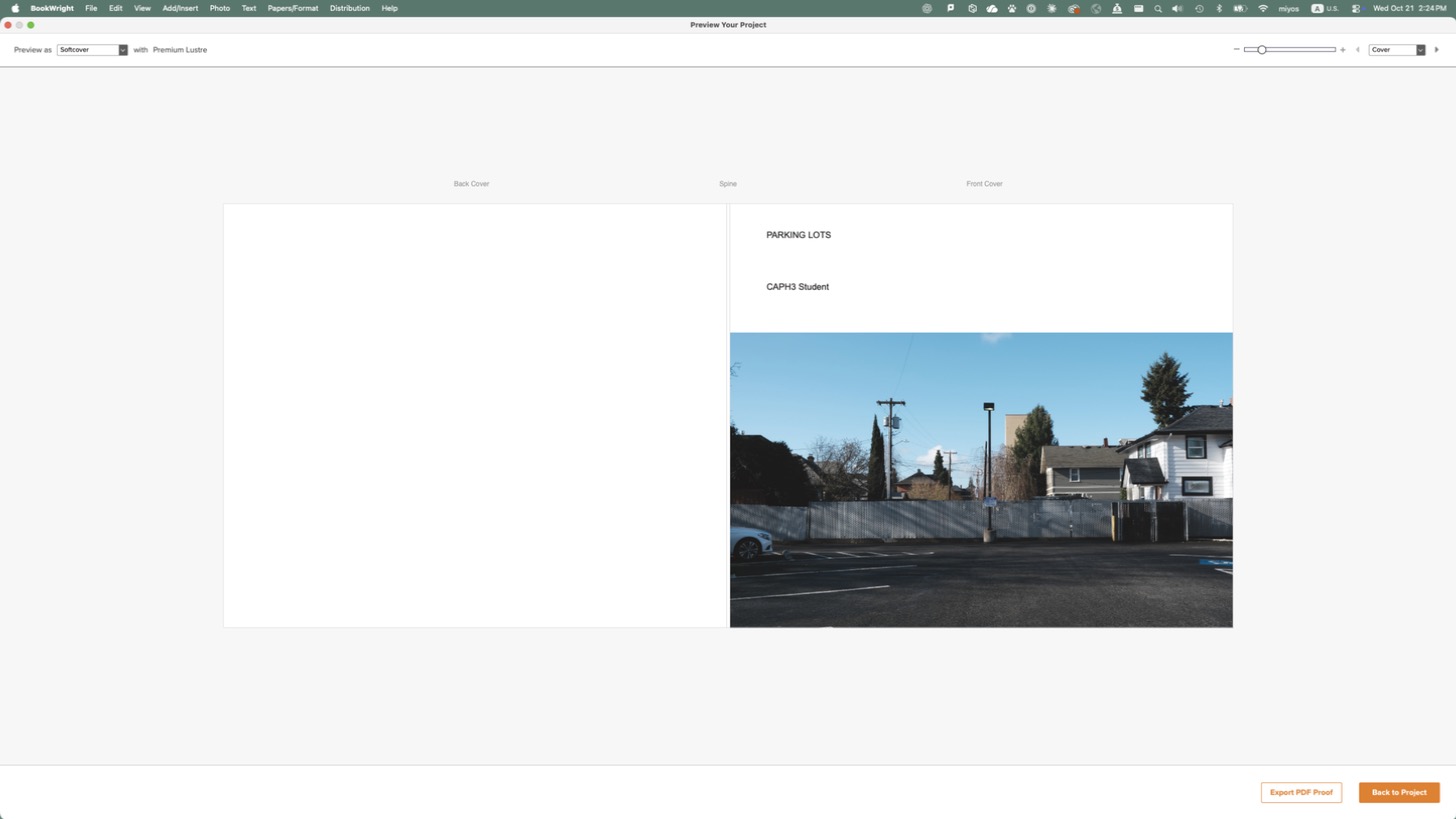
Click Back Cover / Front Cover at the top of the page list. With the cover selected, the Layouts tab shows cover layouts for the back cover, spine, and front cover together. Drag a photo onto the cover the same way as a page.
To add text, click a text box ("Click to add text") and type. The Text panel opens next to it, with font, size, color, bold and italic, spacing, and alignment. To add a new text box anywhere, use Place Text in the toolbar.
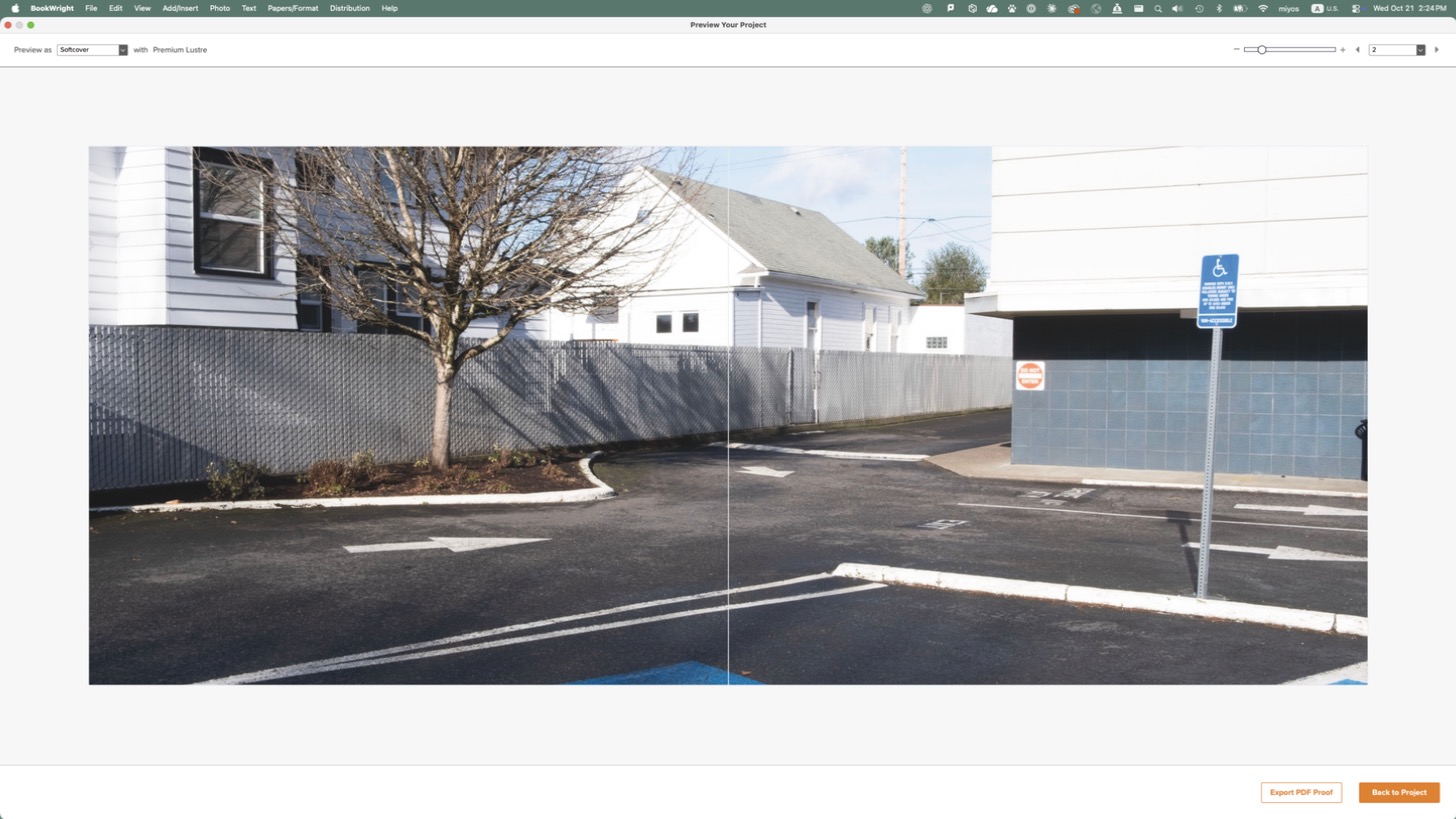
Click Preview (magnifying glass, top right). Preview shows the book as it will print, without the boxes and guides. Use the arrows at the top right to go page by page through the entire book, starting with the cover.
Before you upload, check every page in Preview:
You can also click Export PDF Proof to save a PDF of the book to look at, or to share with me before you upload.
Click Back to Project to keep working.
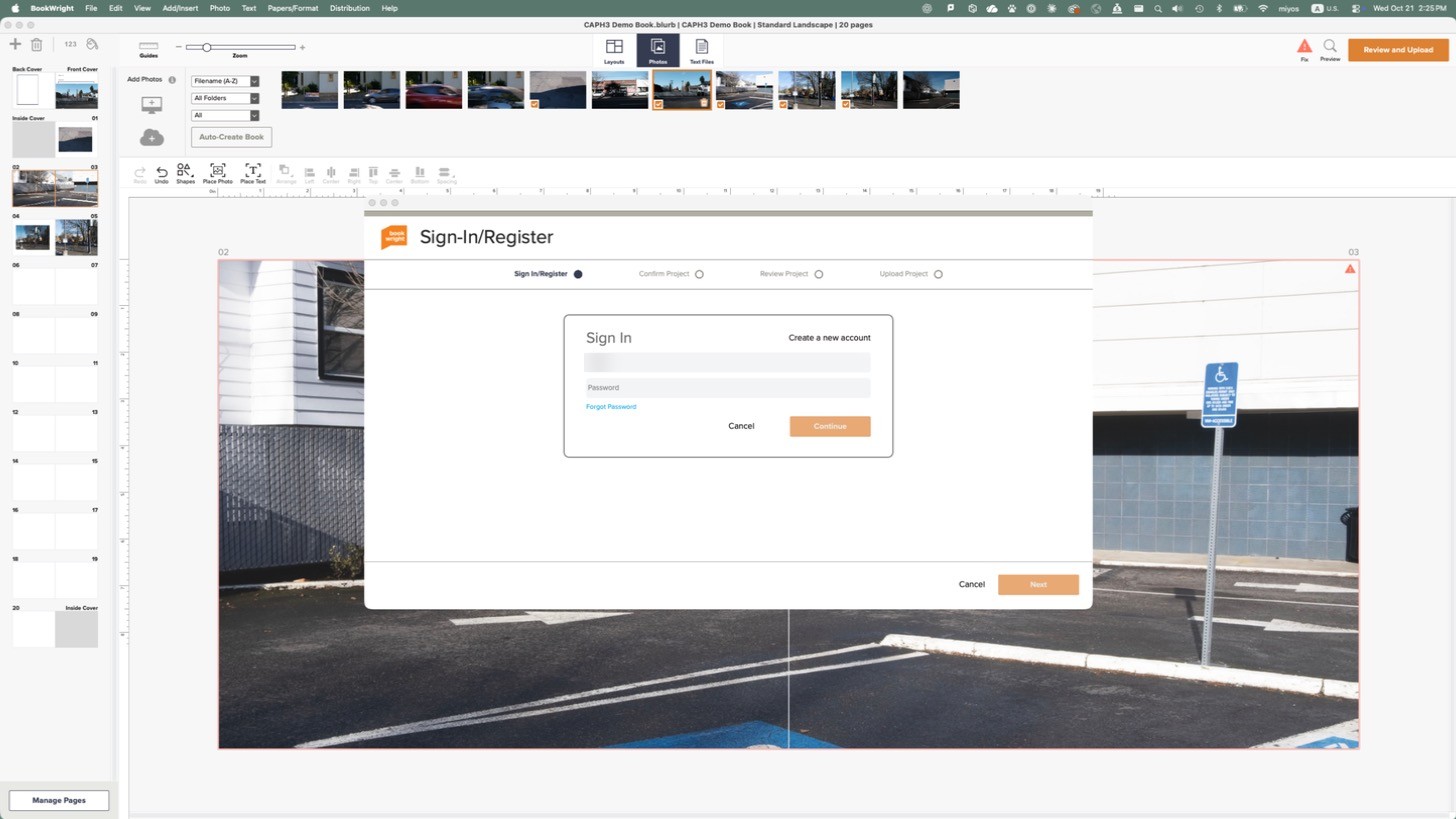
When the book is finished, click Review and Upload (orange button, top right). If you have unsaved changes, BookWright asks you to save first. Then sign in with your Blurb account (or create one here).
The upload goes through four steps, shown across the top of the window: Sign In/Register, Confirm Project, Review Project, and Upload Project. Read each screen and check that the size, paper, cover, and page count are what you planned.
Uploading puts the book in your Blurb account so you can order copies. It does not put the book up for sale. Selling it is a separate choice you would have to make on purpose, and you do not need to for this class.
If you find a mistake after uploading, fix it in BookWright and upload again before you order.
Paying for it. The school covers up to $100 per student. When your book is uploaded and you have checked it in Preview, come see me with your cart ready, and we will place the order with the school card. If you pay yourself instead, keep the receipt (order confirmation with the total) for reimbursement.