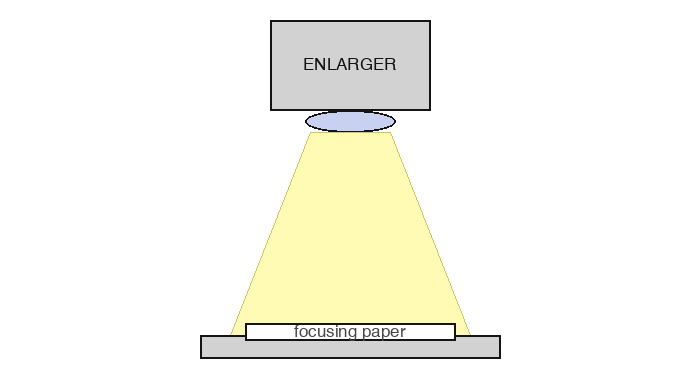
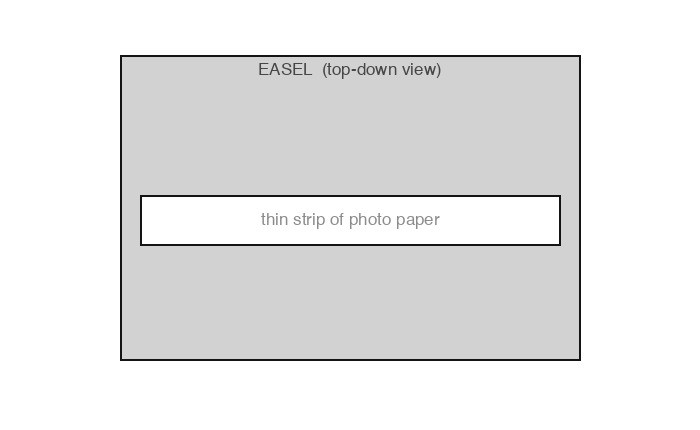
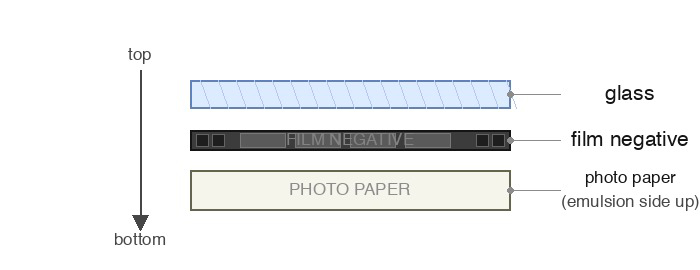
- place strip of photo paper, then film negative, then glass in this order
- make test strip (1/2" incremental exposure from one side of the strip to the other)
- develop test strip to find right exposure time

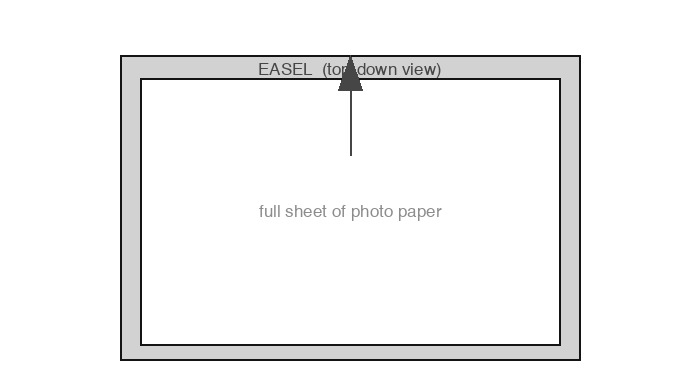
- place full sheet of photo paper, then film negative, then glass in this order
- expose photo paper using exposure time from test strip
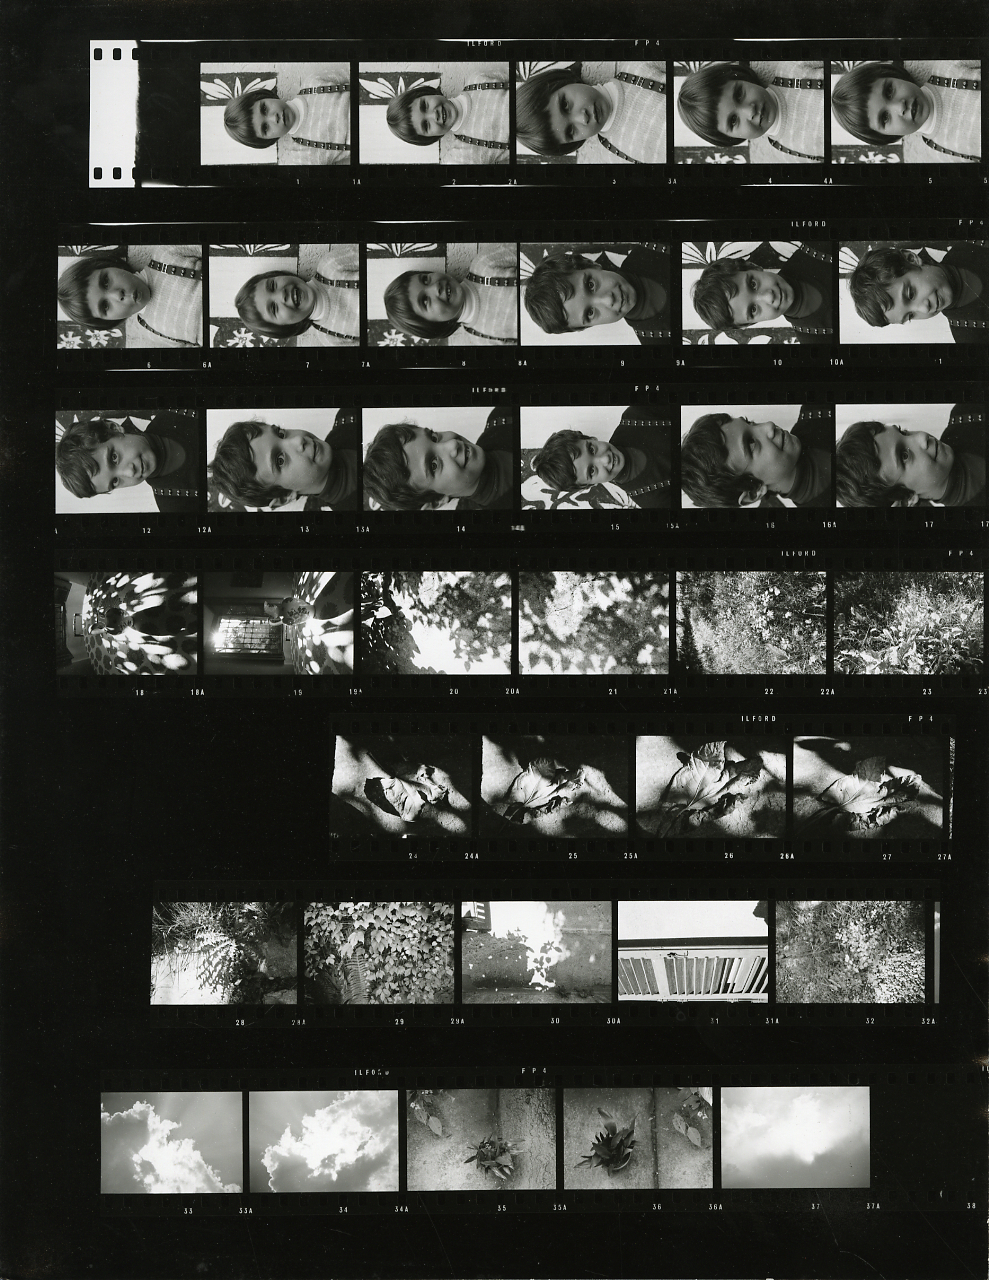
- Return glass. Glass is for flattening the ocntact sheet. We do not want to use them for full frame printing (you will get dust and scratches from the glass itself).
- printed dark as possible but still acceptable (but if printed any darker, would not be acceptable)
- printed perfectly in your mind, and
- printed light but still acceptable (but if printed any lighter, would not be acceptable)
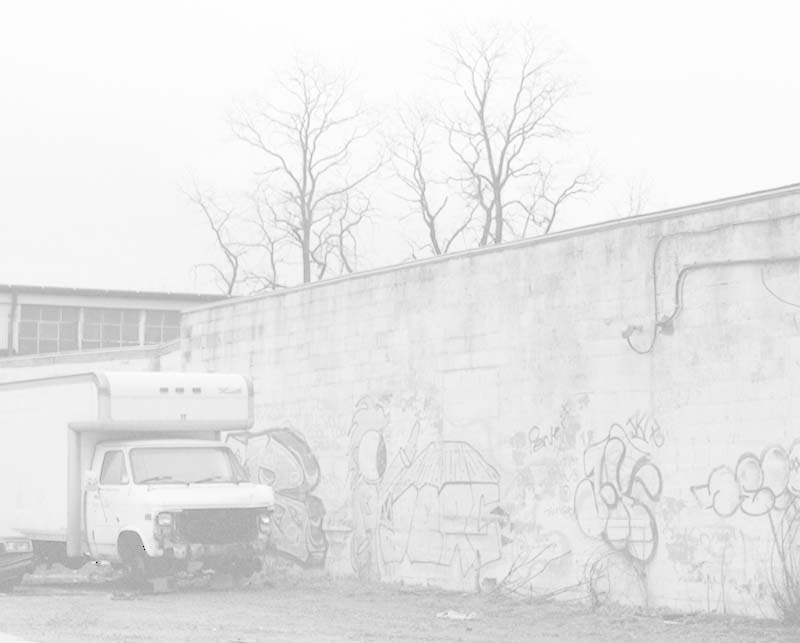
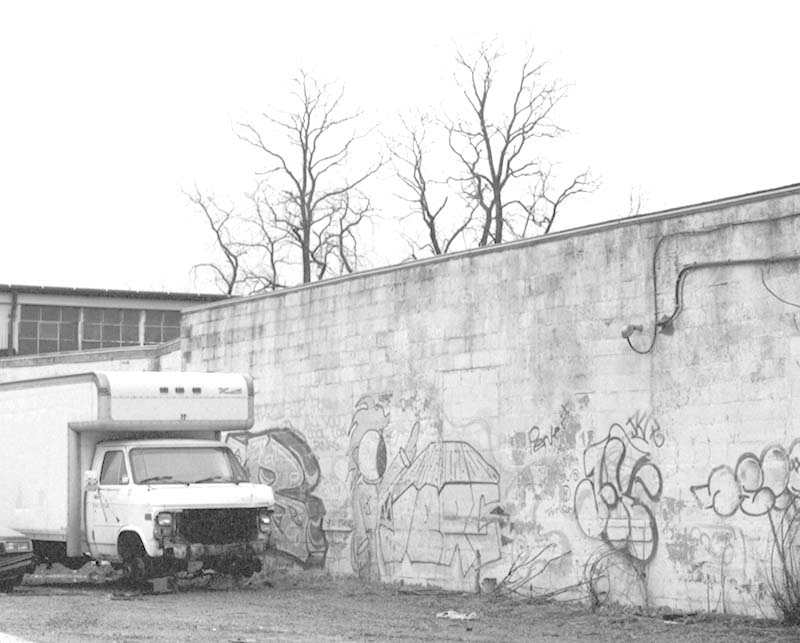
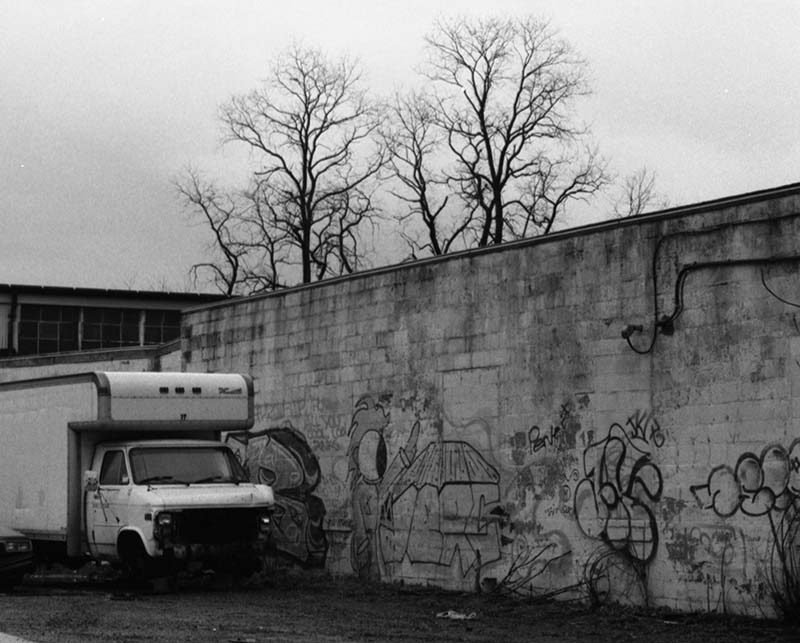
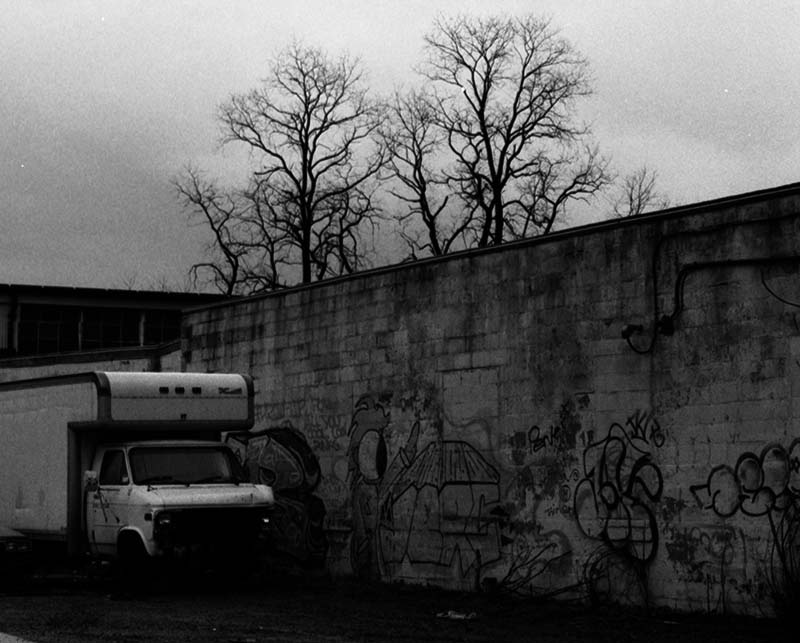
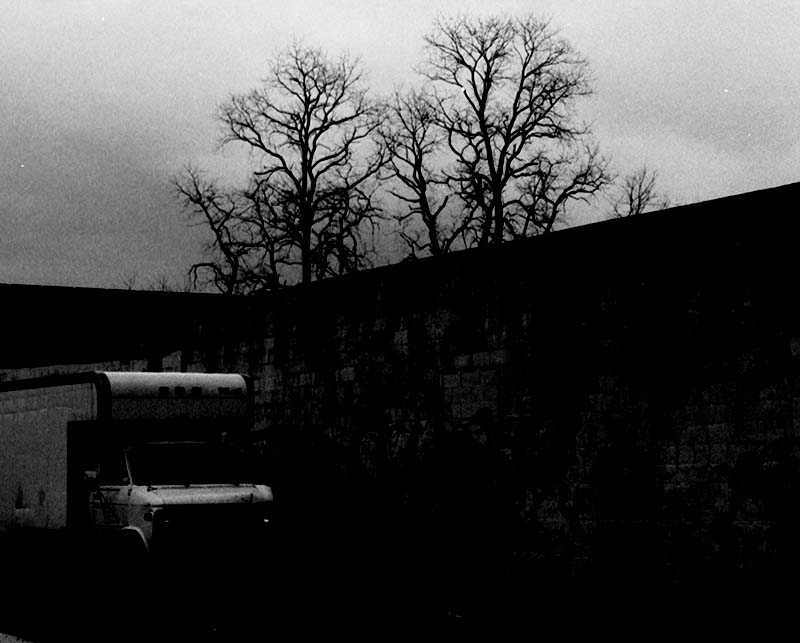
We never know what a perfect print/exposure is until you have comparisons and know where the limits are. This is to instill in you that the first print you make probably is not the perfect print.
On the back of your prints, write down your exposure time and f-stop you used on the enlarger. To repeat, it should be from the same negative so that we can evaluate what exposure does to an image.