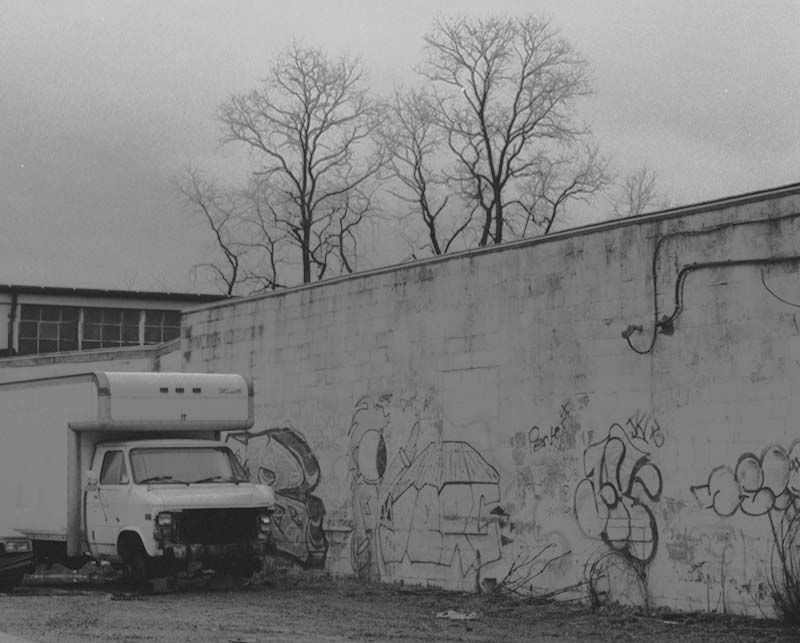
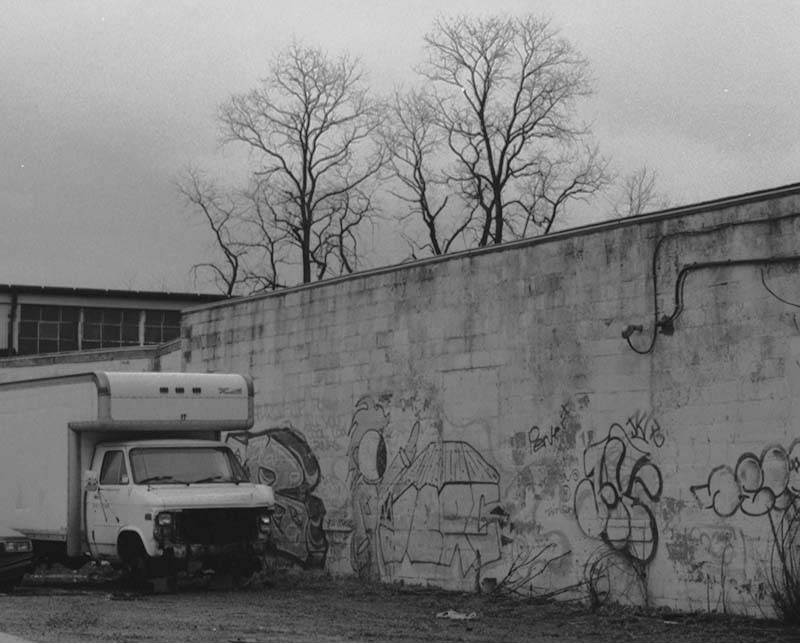
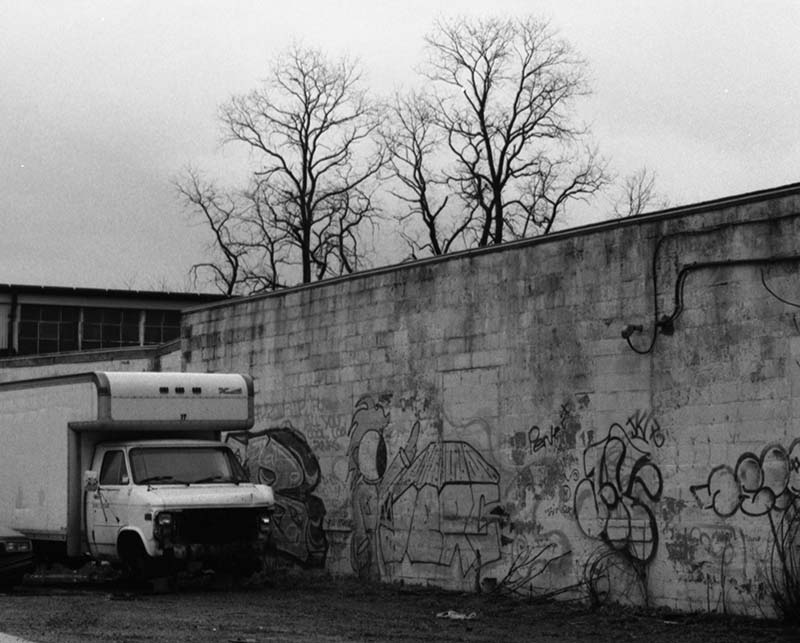
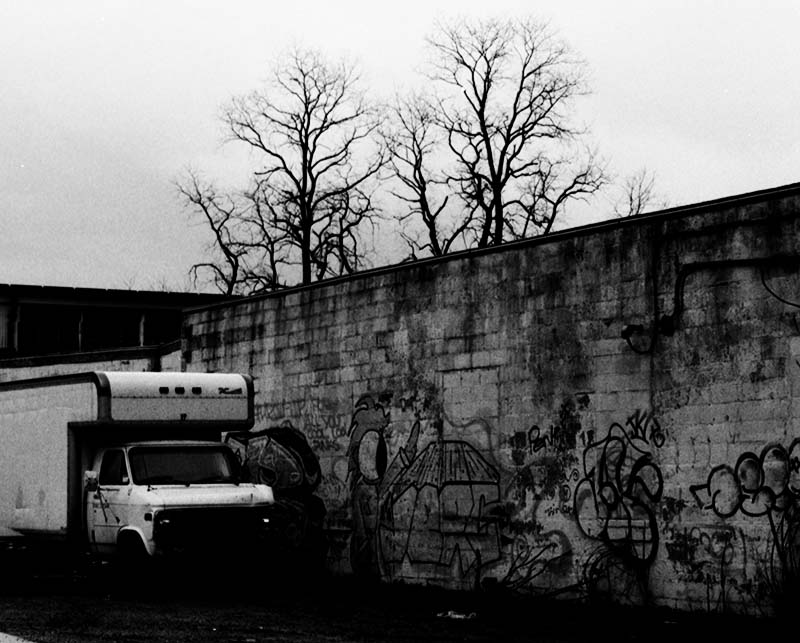
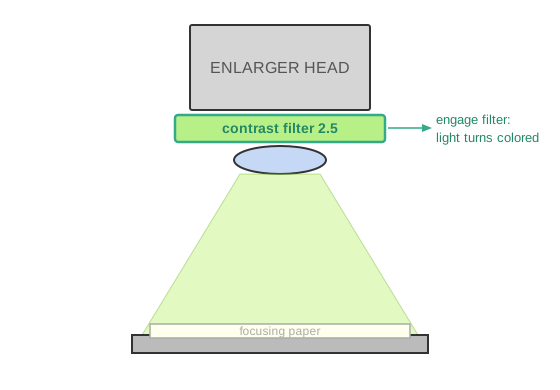
when you use filters, exposure times will be different than prints made without filters — filters reduce the light
make a test strip with the filter on. Start with filter 2.5
Make three b/w prints from a single negative. Ask the instructor if it is a good negative for this exercise
printed with low contrast but acceptable (but if printed with any less contrast, would not be acceptable)
printed perfectly, and
printed with high contrast but acceptable (but if printed with any more contrast, would not be acceptable)
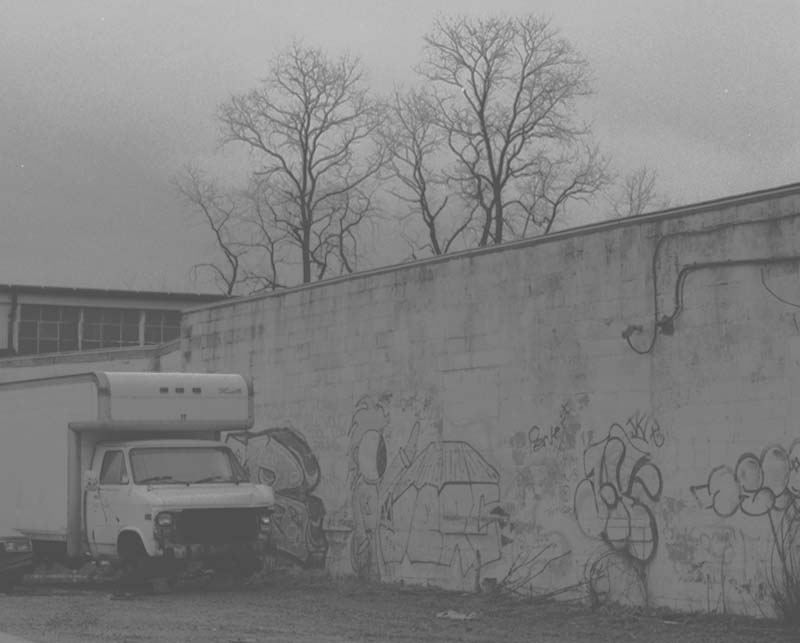
On the back of your prints, write down your exposure time, filter #, and f-stop you used on the enlarger.
To repeat, it should be from the same negative so that we can evaluate what contrast does to an image.
Burn & Dodge
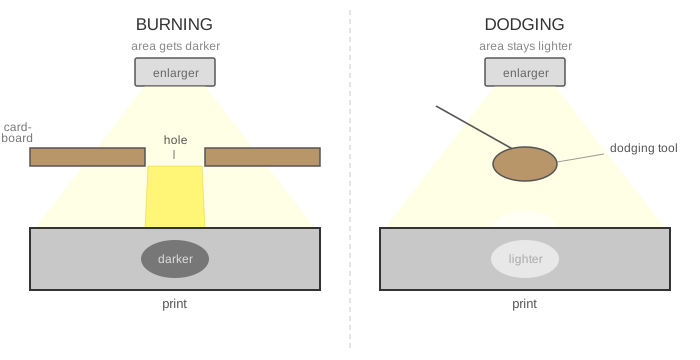
In one of your prints from Part 2, select an area that can benefit from burning or dodging (making it darker or lighter).
Using one of the techniques, make an area noticeably different.
Procedure to make a print using contrast filters
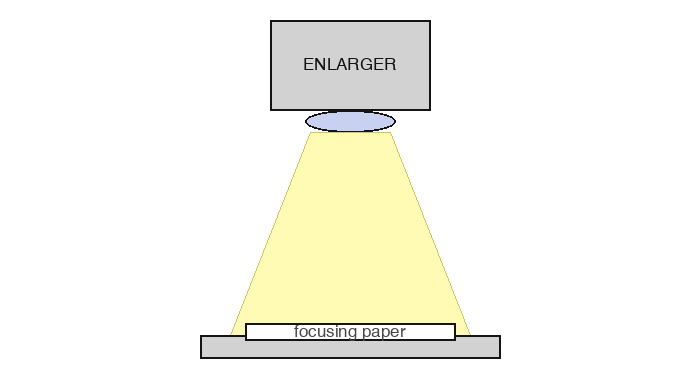
with widest aperture focus projected image onto focusing paper
engage filter — light should turn colored
close down aperture so you have larger depth of field
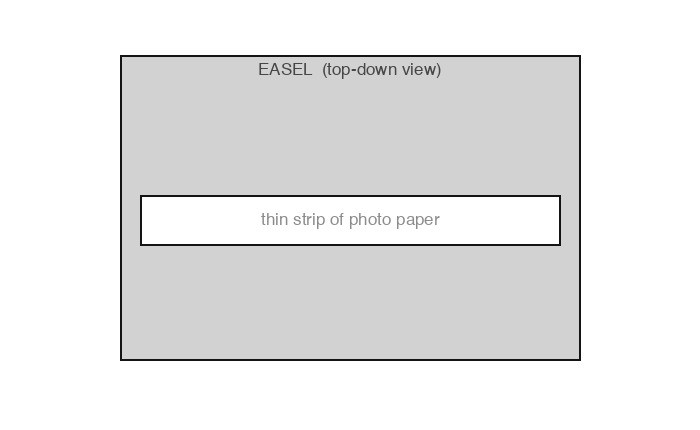
place strip of photo paper
make test strip (1/2" incremental exposure from one side of the strip to the other)
develop test strip to find right exposure time
place full sheet of photo paper
expose full sheet of photo paper using exposure time from test strip; write down exposure time, filter #, and f-stop on back of paper
develop photo paper and evaluate. Hold in water bath if printing more
wash all prints
place prints in drying rack
I suggest you make a new test strip every time you change the contrast filter number by more than 1.