Making Color Images from Three Black and White Photographs
- Set the camera to take photos in black and white. You MUST be able to take b/w photographs.
- Use black and white film. Will take a lot of time. (3 - 4 weeks worth of photo class required)
- Use digital camera
- Set the camera to take photos in jpeg. You'll get color photographs if you ask for RAW files
- Set the camera to shoot in B/W (Monochrome)
- Nikon D7000 & D7100 -> Menu -> Camera Icon -> Set Picture Control -> Monochrome
- Fuji XT-3 -> Menu -> IQ -> Film Simulation -> B (Monochrome)
- (older) iPhone
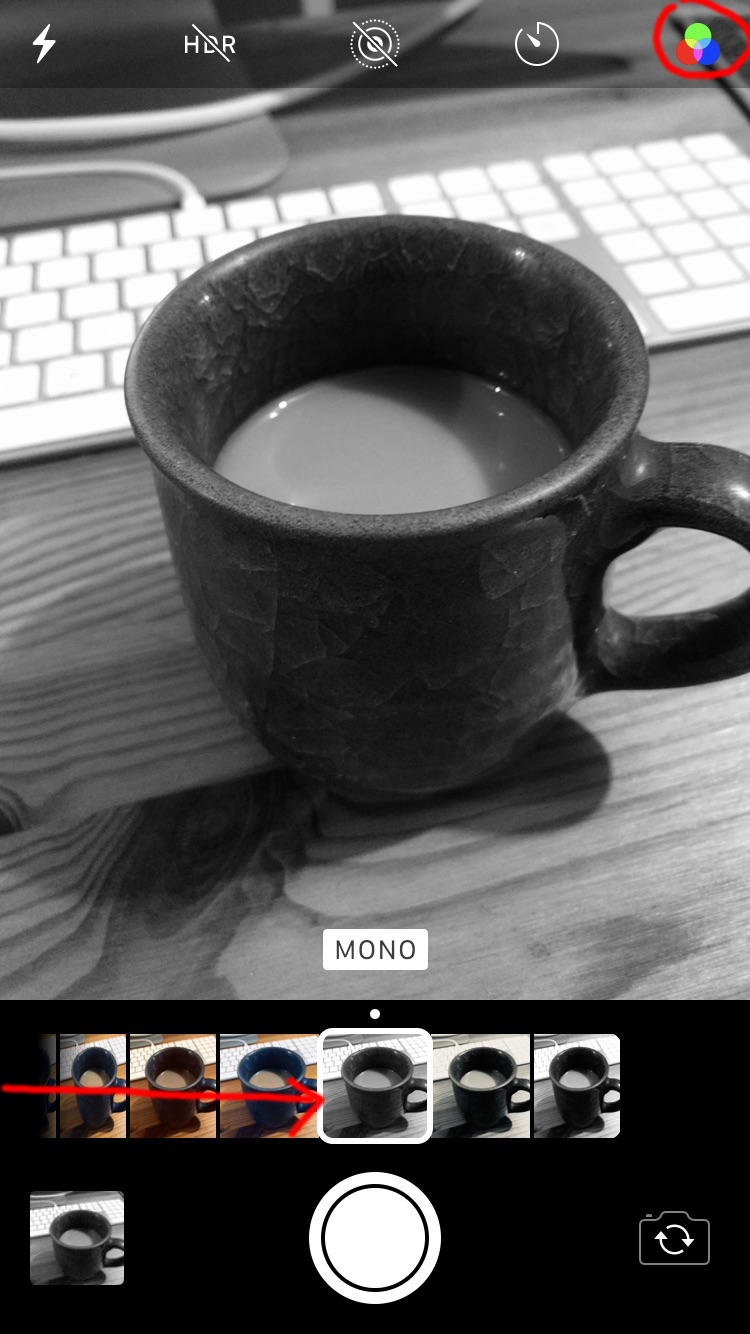
- (newwer) iPhone


- Set the camera to take photos in jpeg. You'll get color photographs if you ask for RAW files
- Use black and white film. Will take a lot of time. (3 - 4 weeks worth of photo class required)
- Take three b/w photographs with filters in front of the lens.
(If you know exposures and know how to use a manual camera, try to get a reading with one of the filters and keep the settings for aperture/shutter speed the same. Otherwise auto-exposure should work ok.)
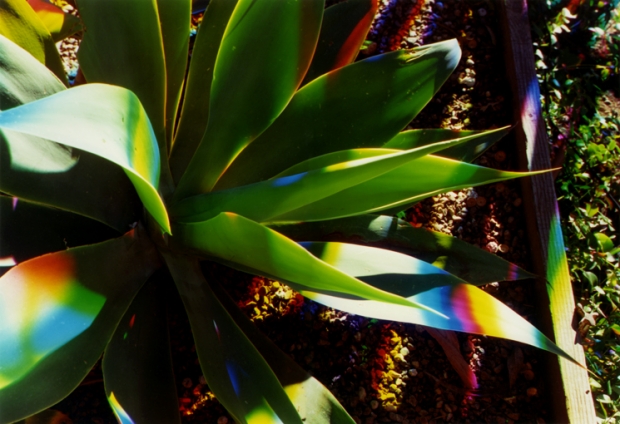
- Take a b/w photograph with red filter over the lens
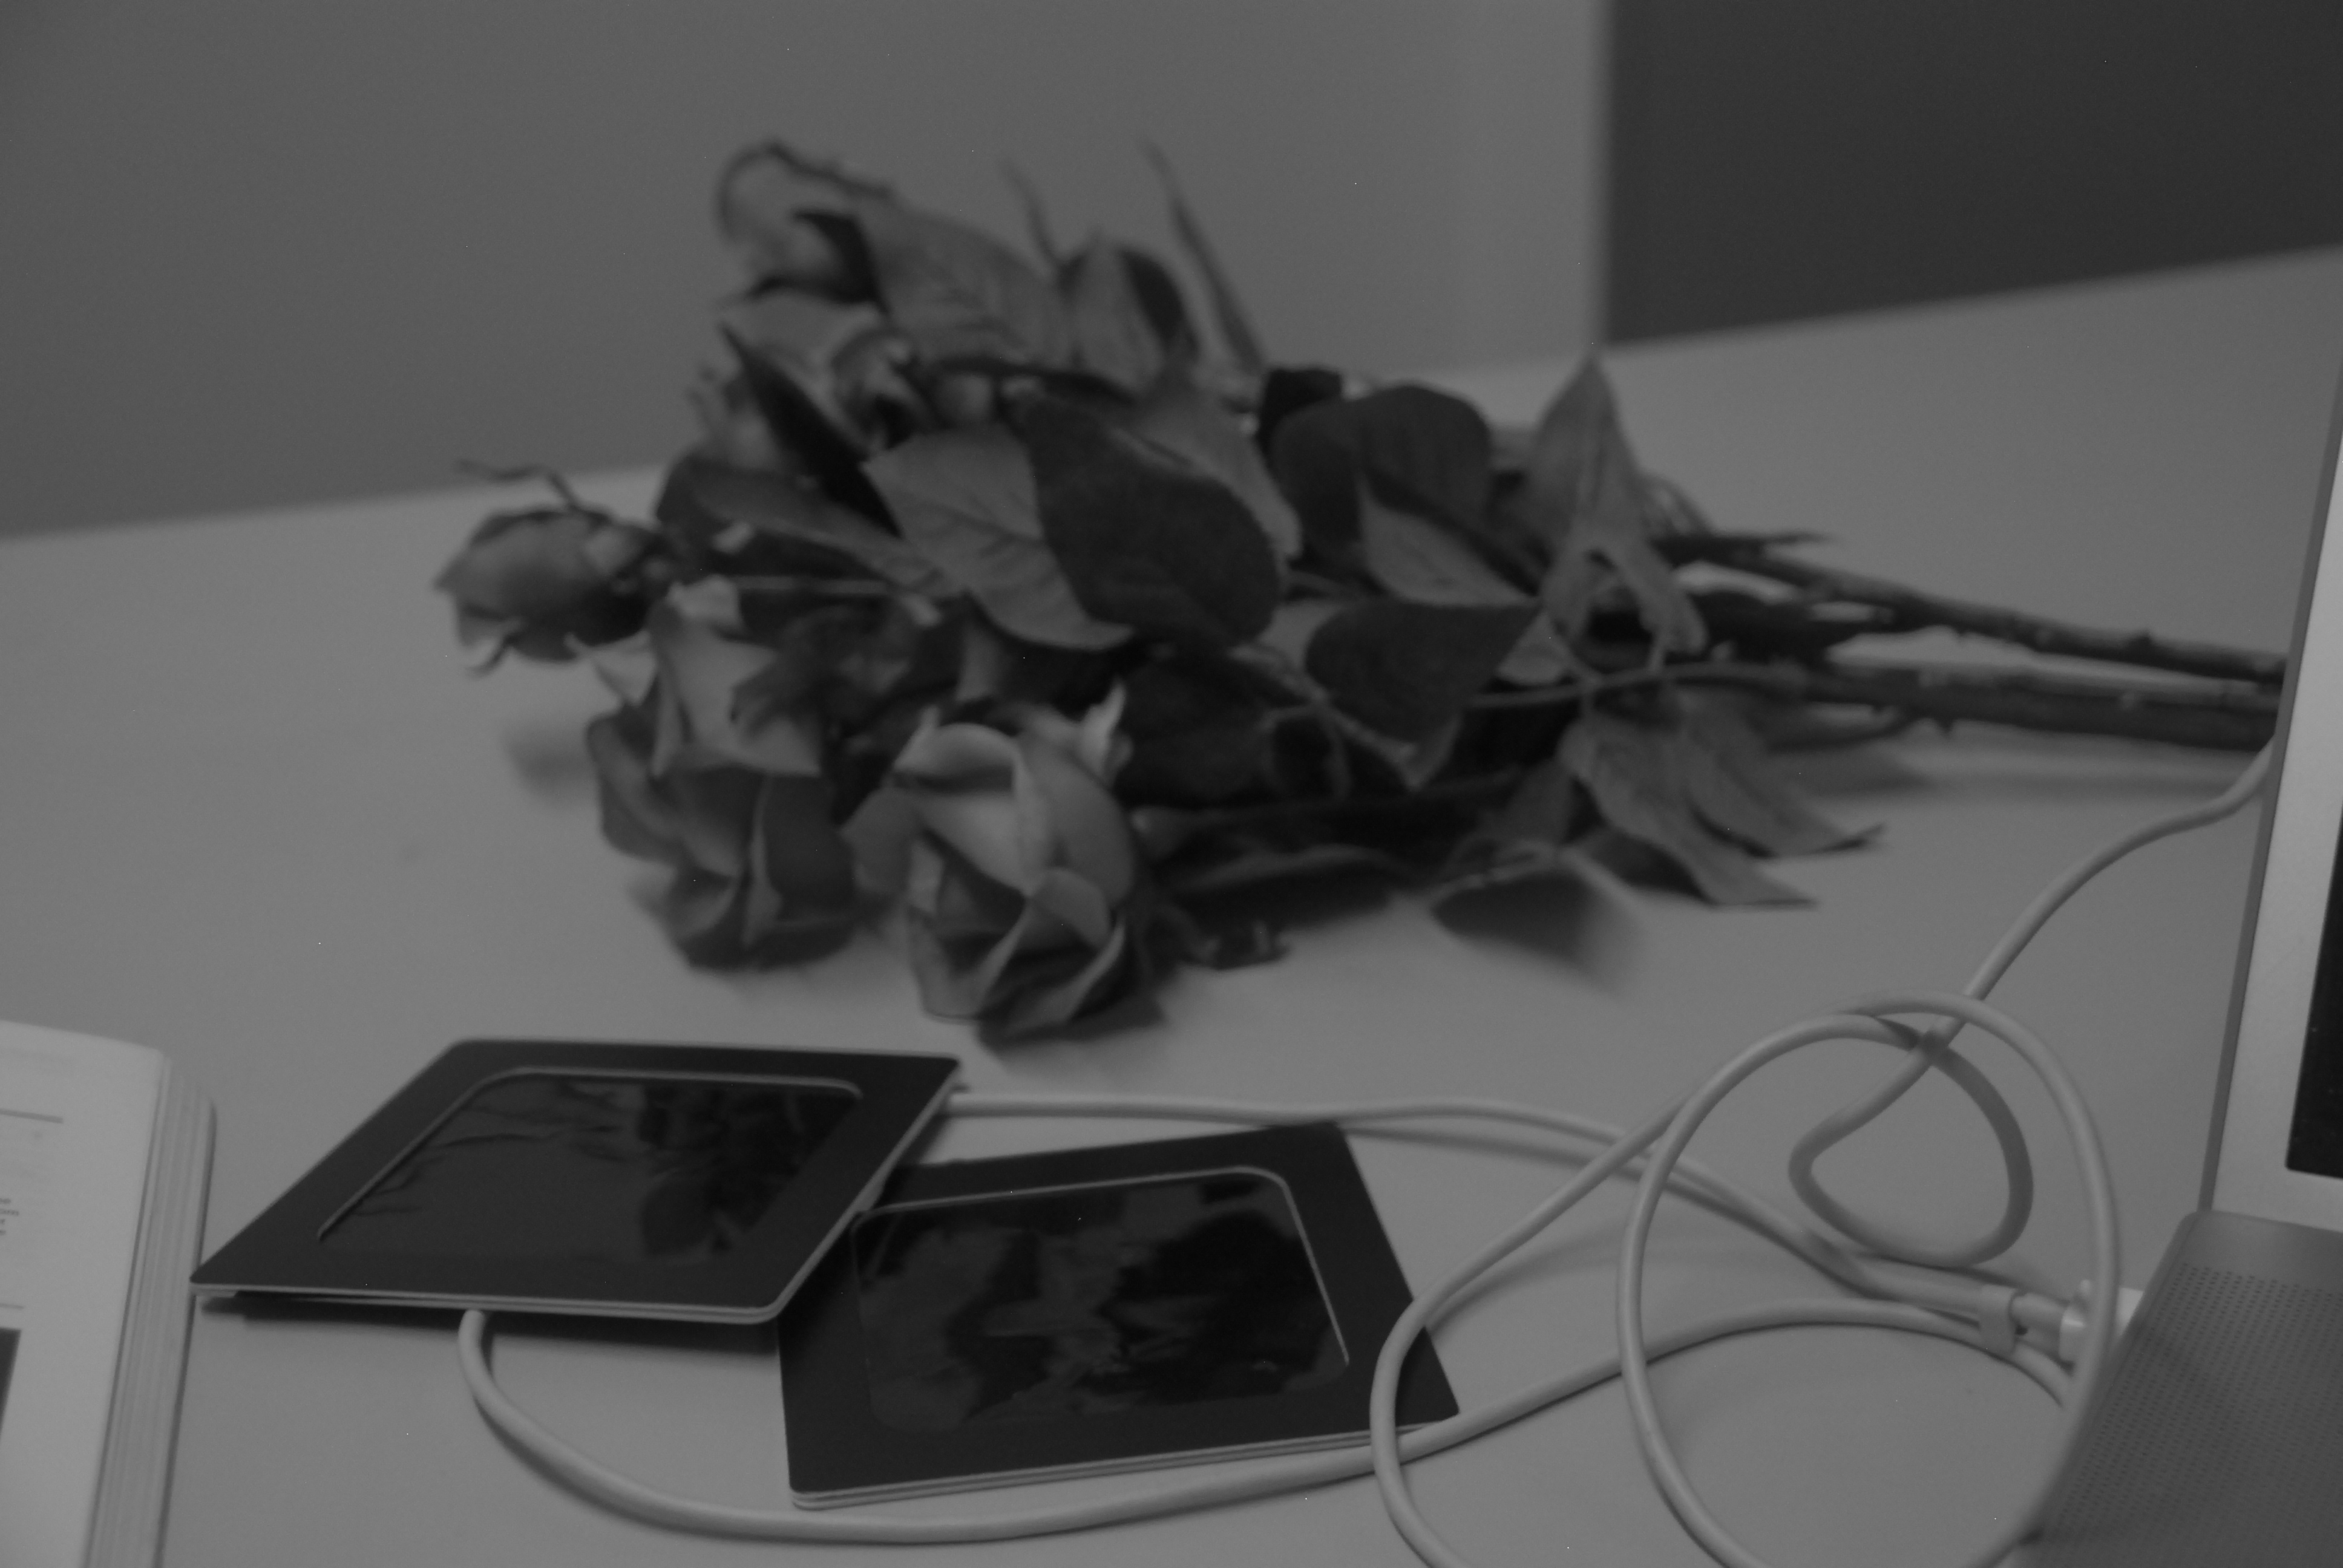
Q: what does the red filter do? Look at the red rose.
- Take a b/w photograph with green filter over the lens

Q: what does the green filter do? Look at the leaves of the rose.
- Take a b/w photograph with blue filter over the lens
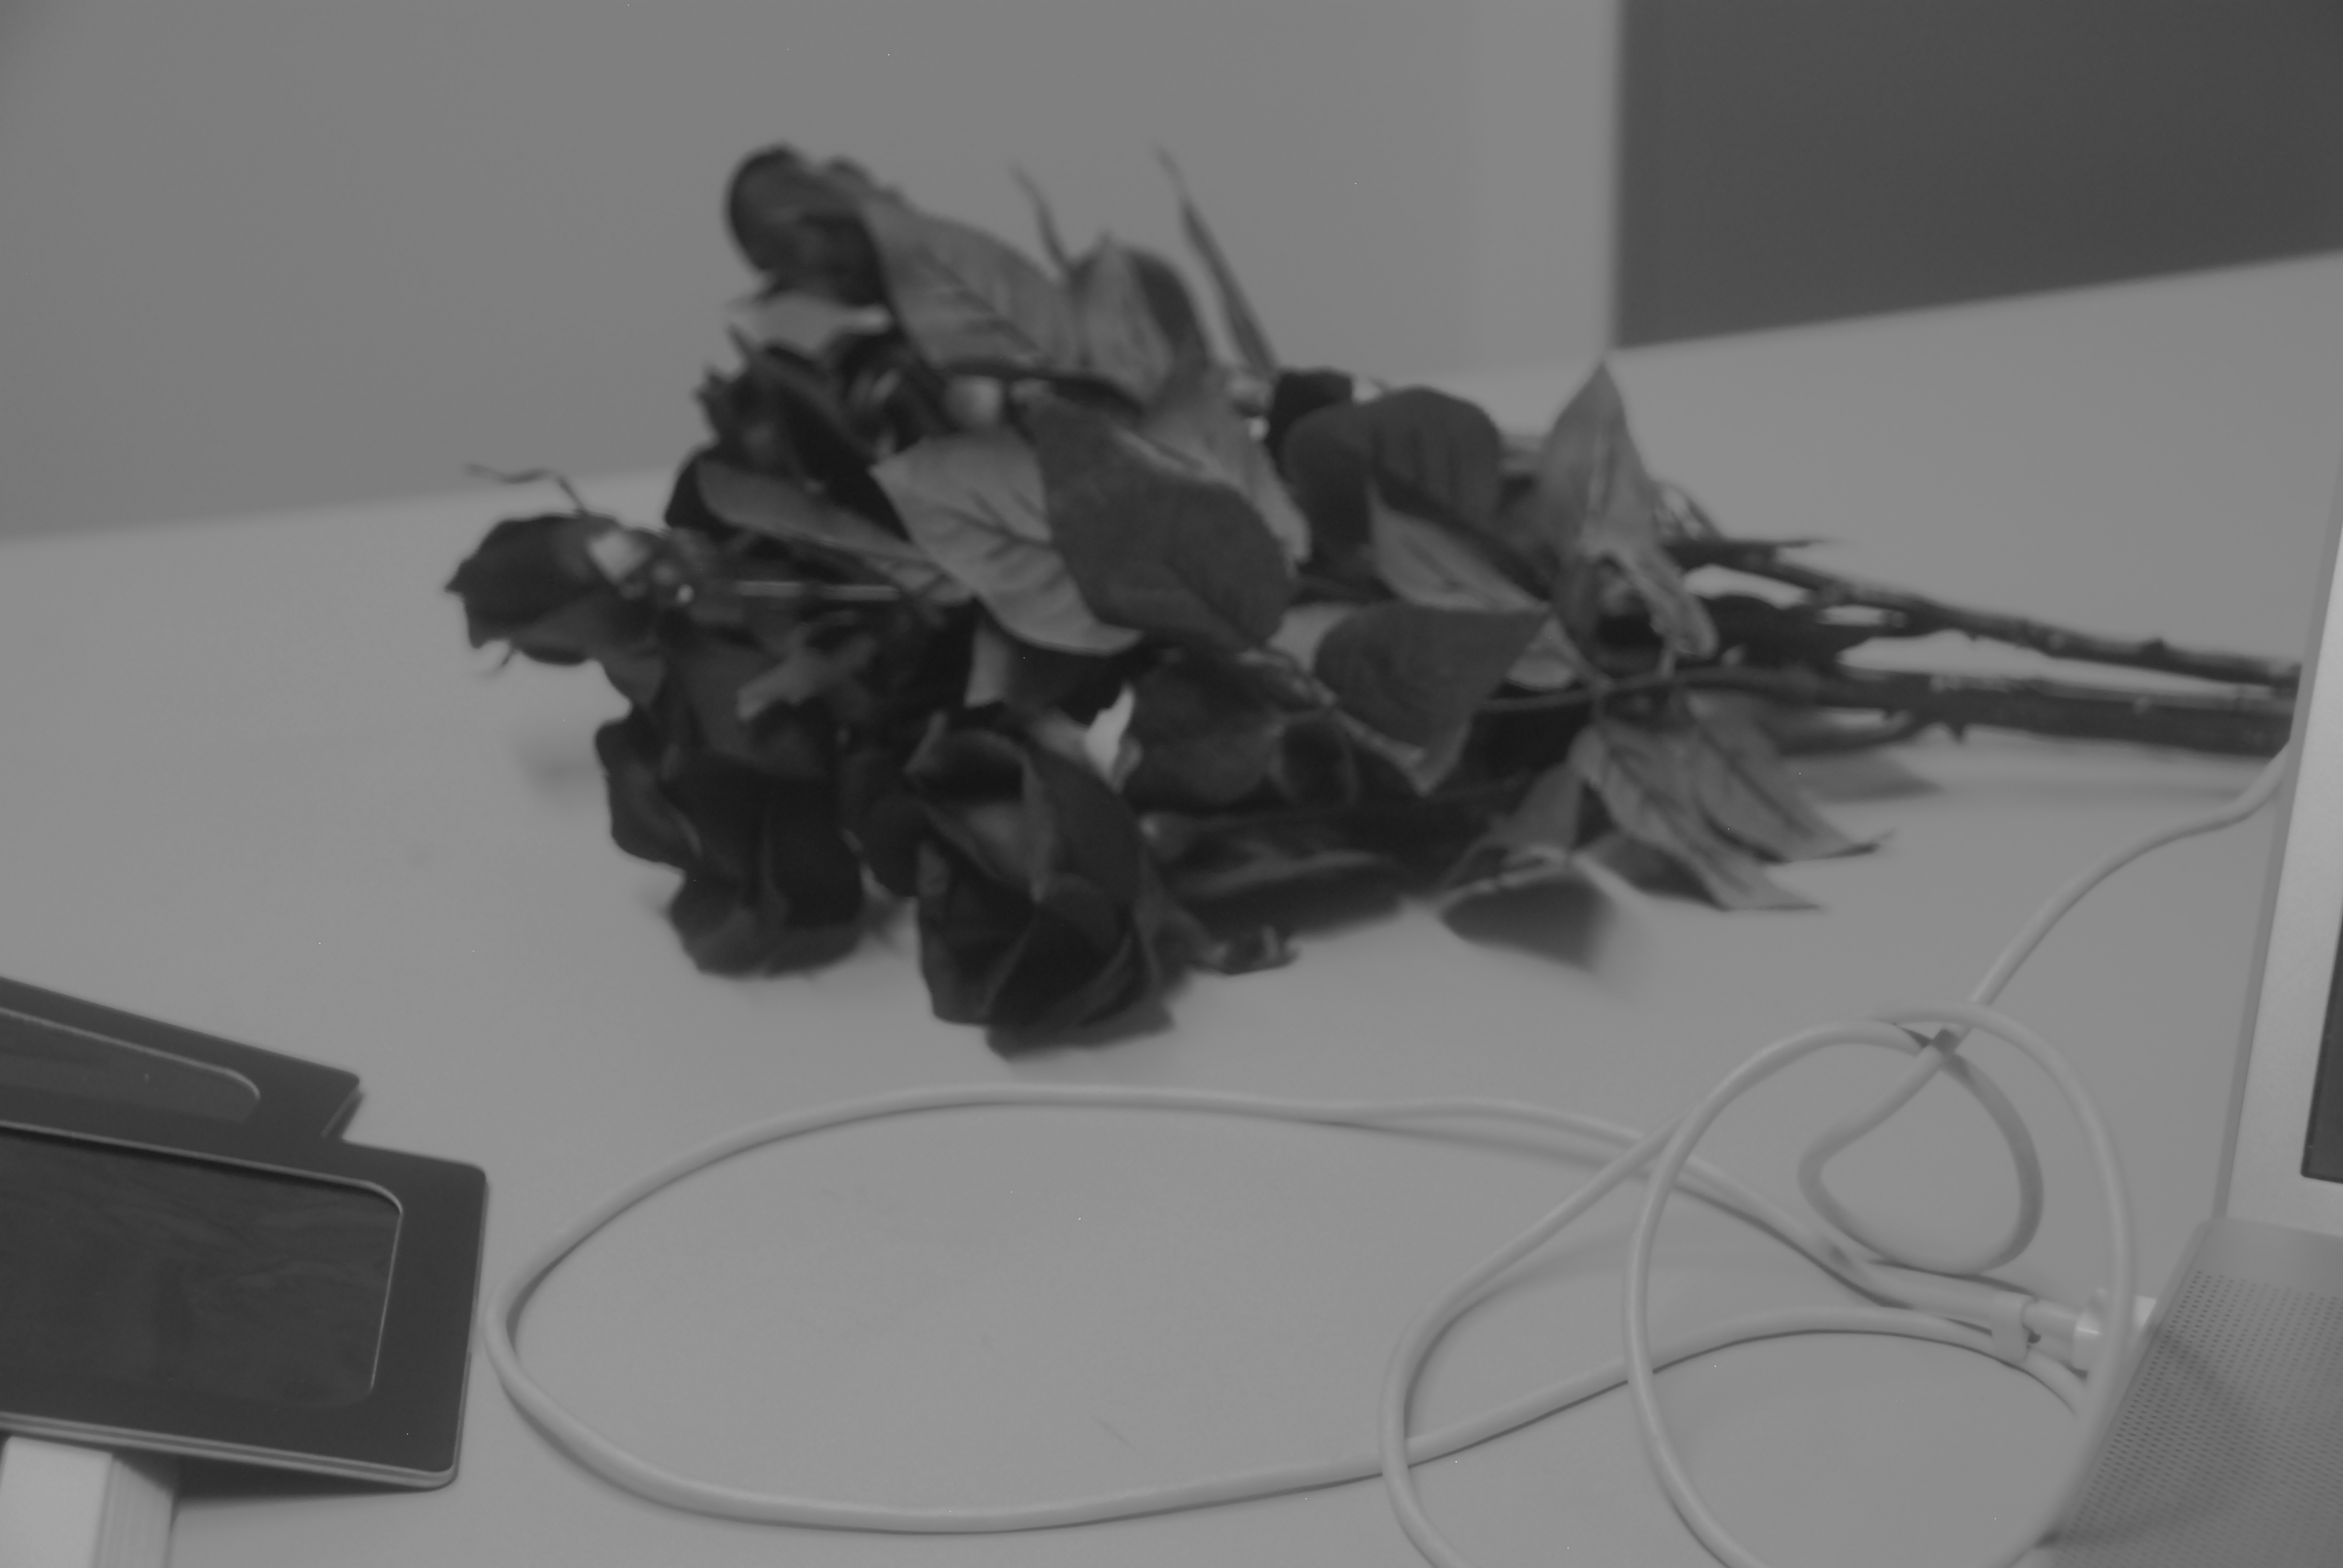
Q: why is the cable always white?
Make sure you name the files so that you know which one is taken with the red, green, and blue filter
- Take a b/w photograph with red filter over the lens
- Open the photos in photoshop and put each of the b/w photos in a different layer.
You can do this manually but here is a faster way to do it.
- File -> Scripts -> Load Files into Stack
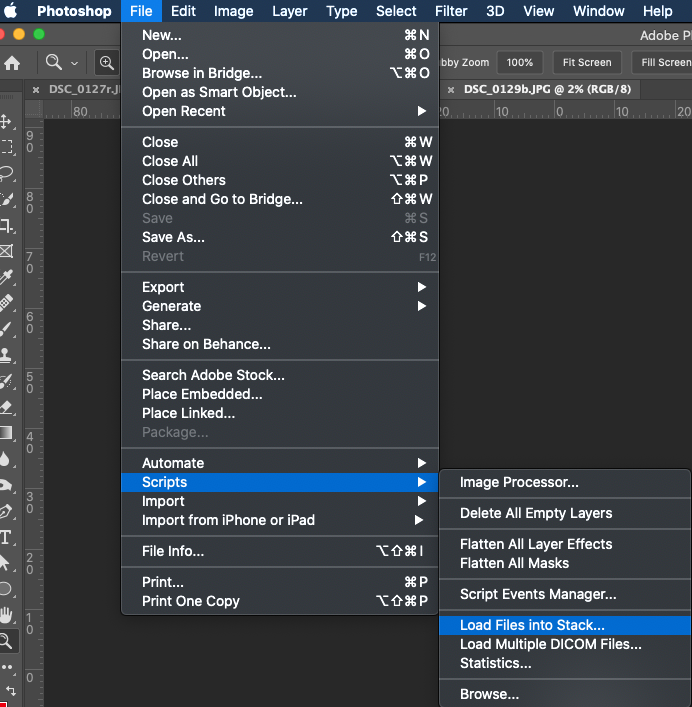
Select/highlight three black and white files


Make sure you keep track which one was shot with the red, green, and blue filter
Here, I renamed the layers to "red" "green" and "blue"
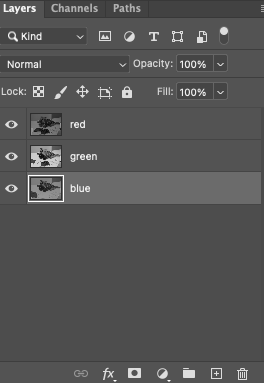
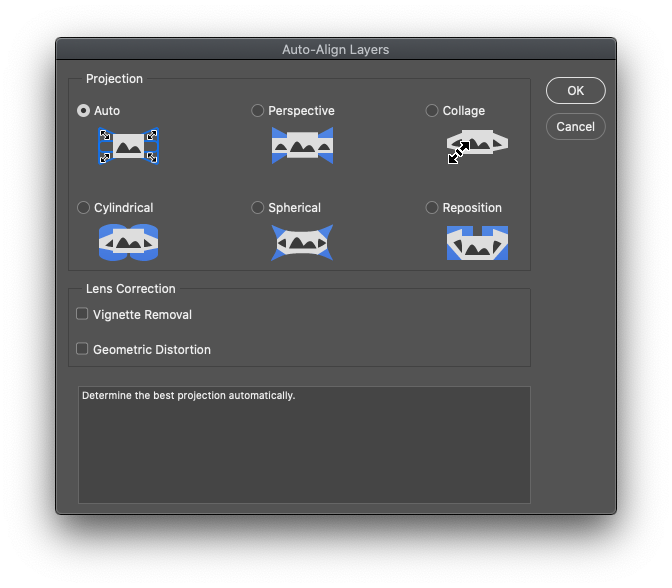
- Optional: Select/highlight all three layers and align the images
using photoshop's align tool
Edit -> Auto Align Layers
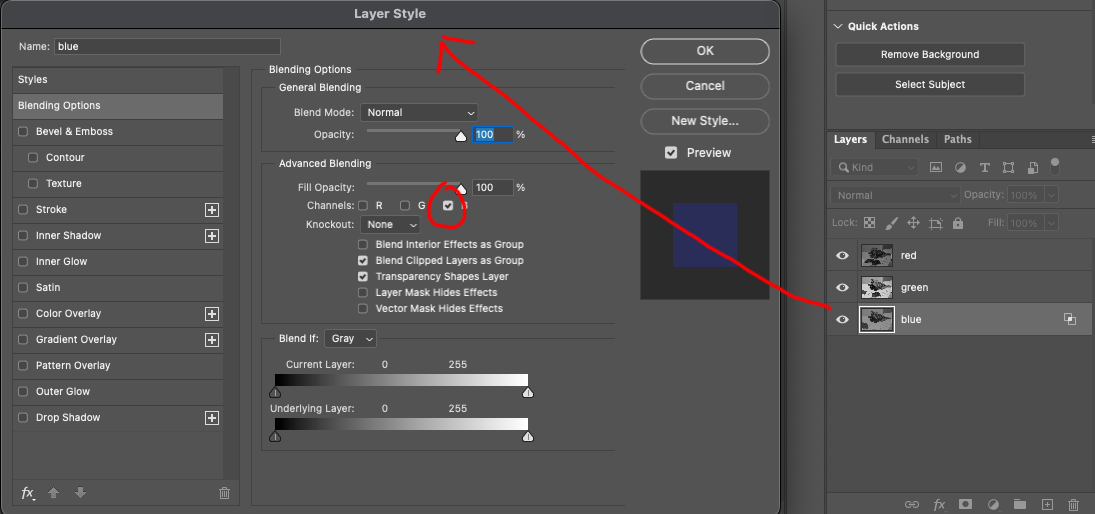
- Click on each of the layers representing red, green, and blue For each, you should see the Layer Style panel show up
- Choose the channel that the layer should represent (eg. R)
- Change the blending mode to "Screen"
- File -> Scripts -> Load Files into Stack
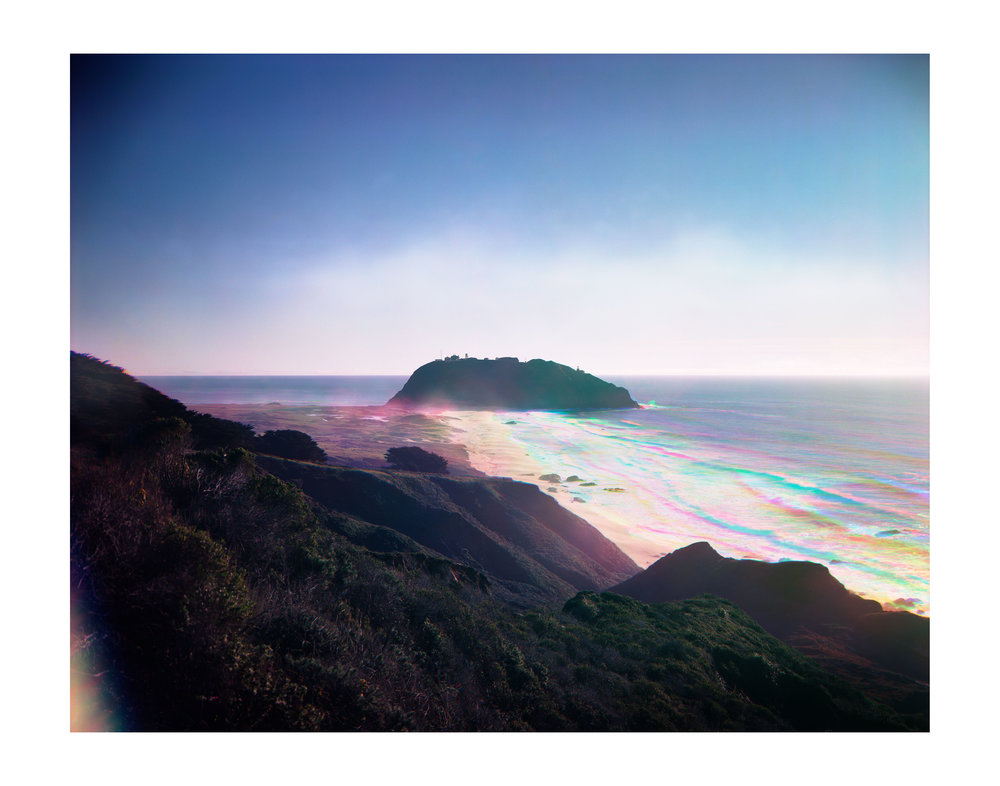
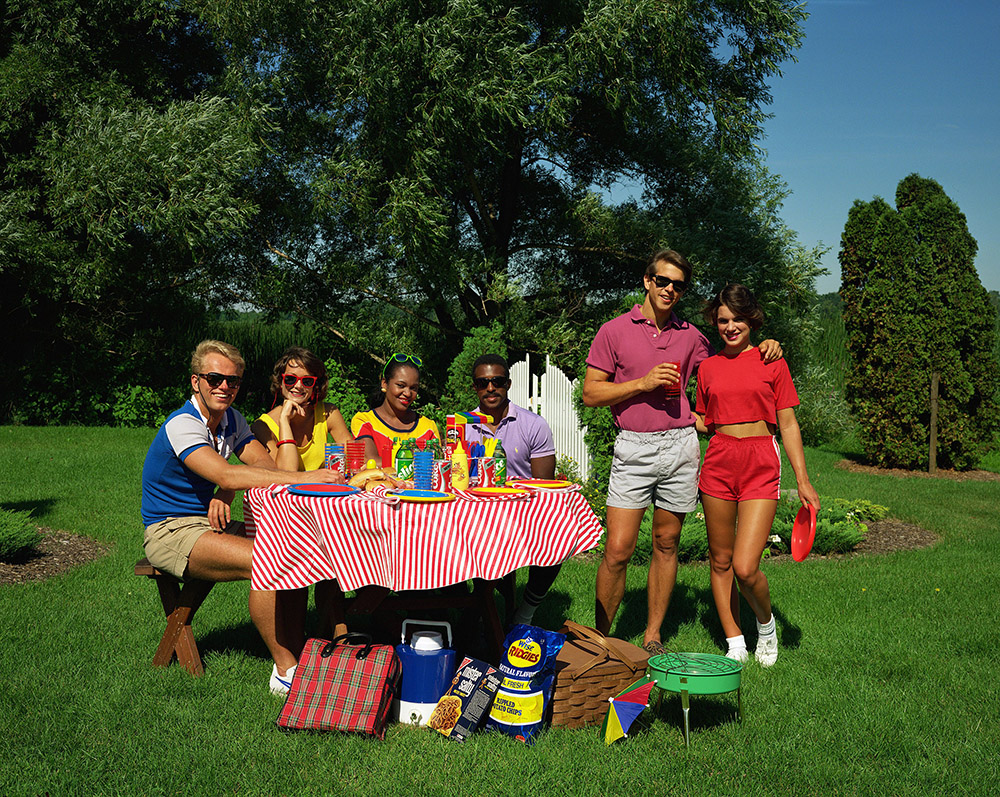
- Completed image:

"An unrendered color photo would appear pale, almost ghostly - nothing like normal human vision because it represents only what is captured by the sensitivities of the image-capturing device, rather than the perceptions formed by human sight" (Lehmann from Color Goes Electric)
By using an unrenderd photo, it will allow us to color correct/grade without the influence of rendering that already takes into account things such as memory color (red of tomato, green of grass), preferences of people (tan of skin) and physiological effects of perception (white paper under yellow light).
From Color Goes Electric by Claire Lehmann:
This image is the property of Eastman Kodak Co. or its successors.
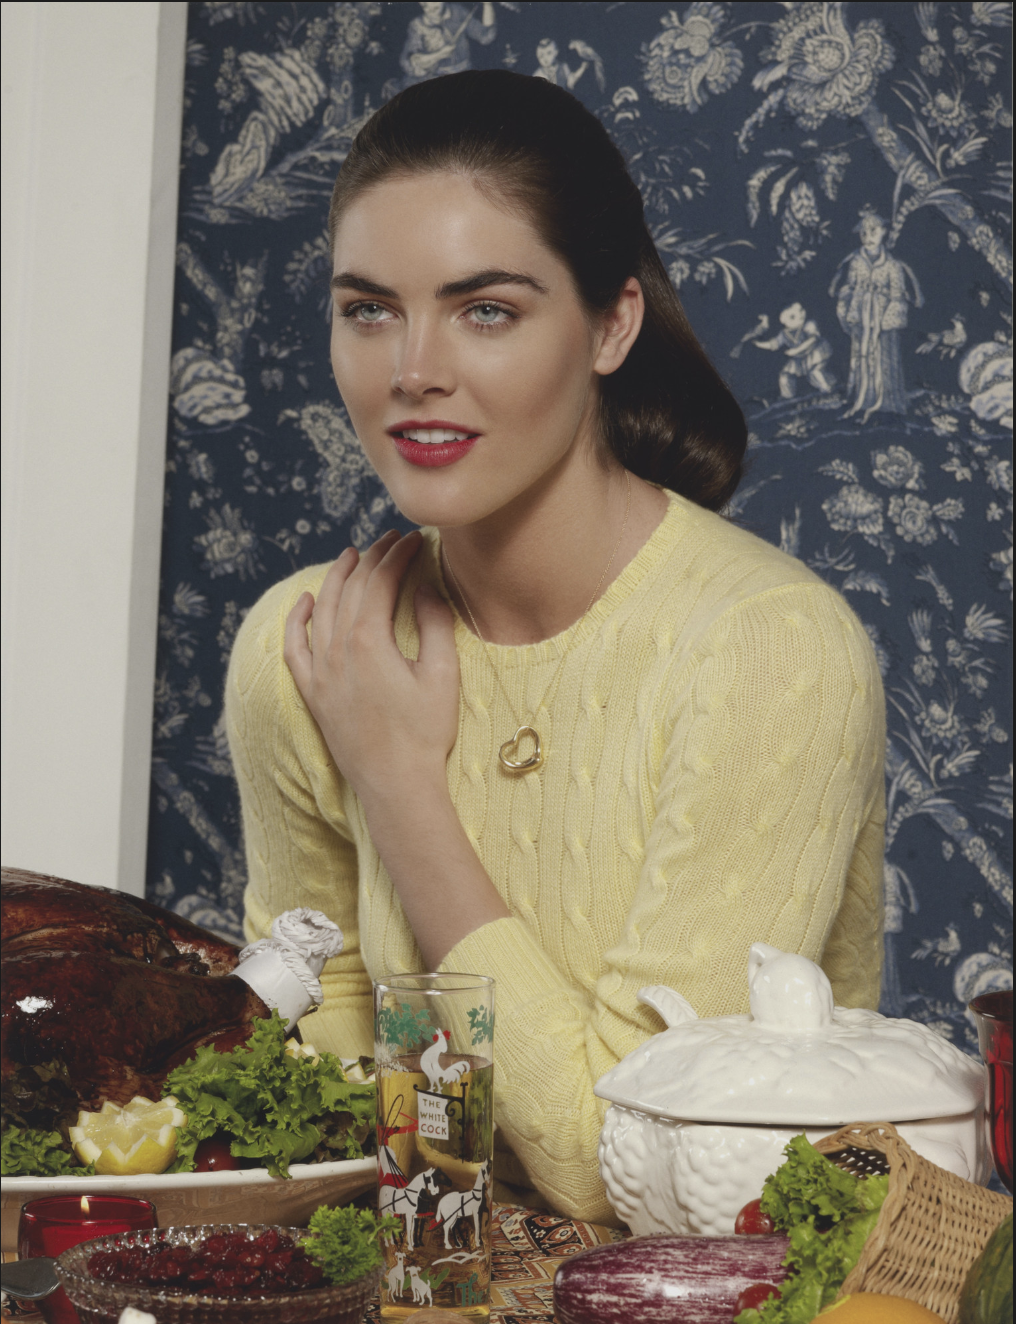
Roe Ethridge. Thanksgiving 1984. 2009
- Tips/suggestions
Adjust each of the orignal red/green/blue layers so that they have rich tonality.
This (blue) layer is too light. Correct with adjustment layer + clipping mask
Fix so that each layer has black black and white whites. It would be easier to color correct later

With the use of adjustment + clipping mask, blue layer has blacks now...
fix for all red/green/blue layer so that it is rich in tonality
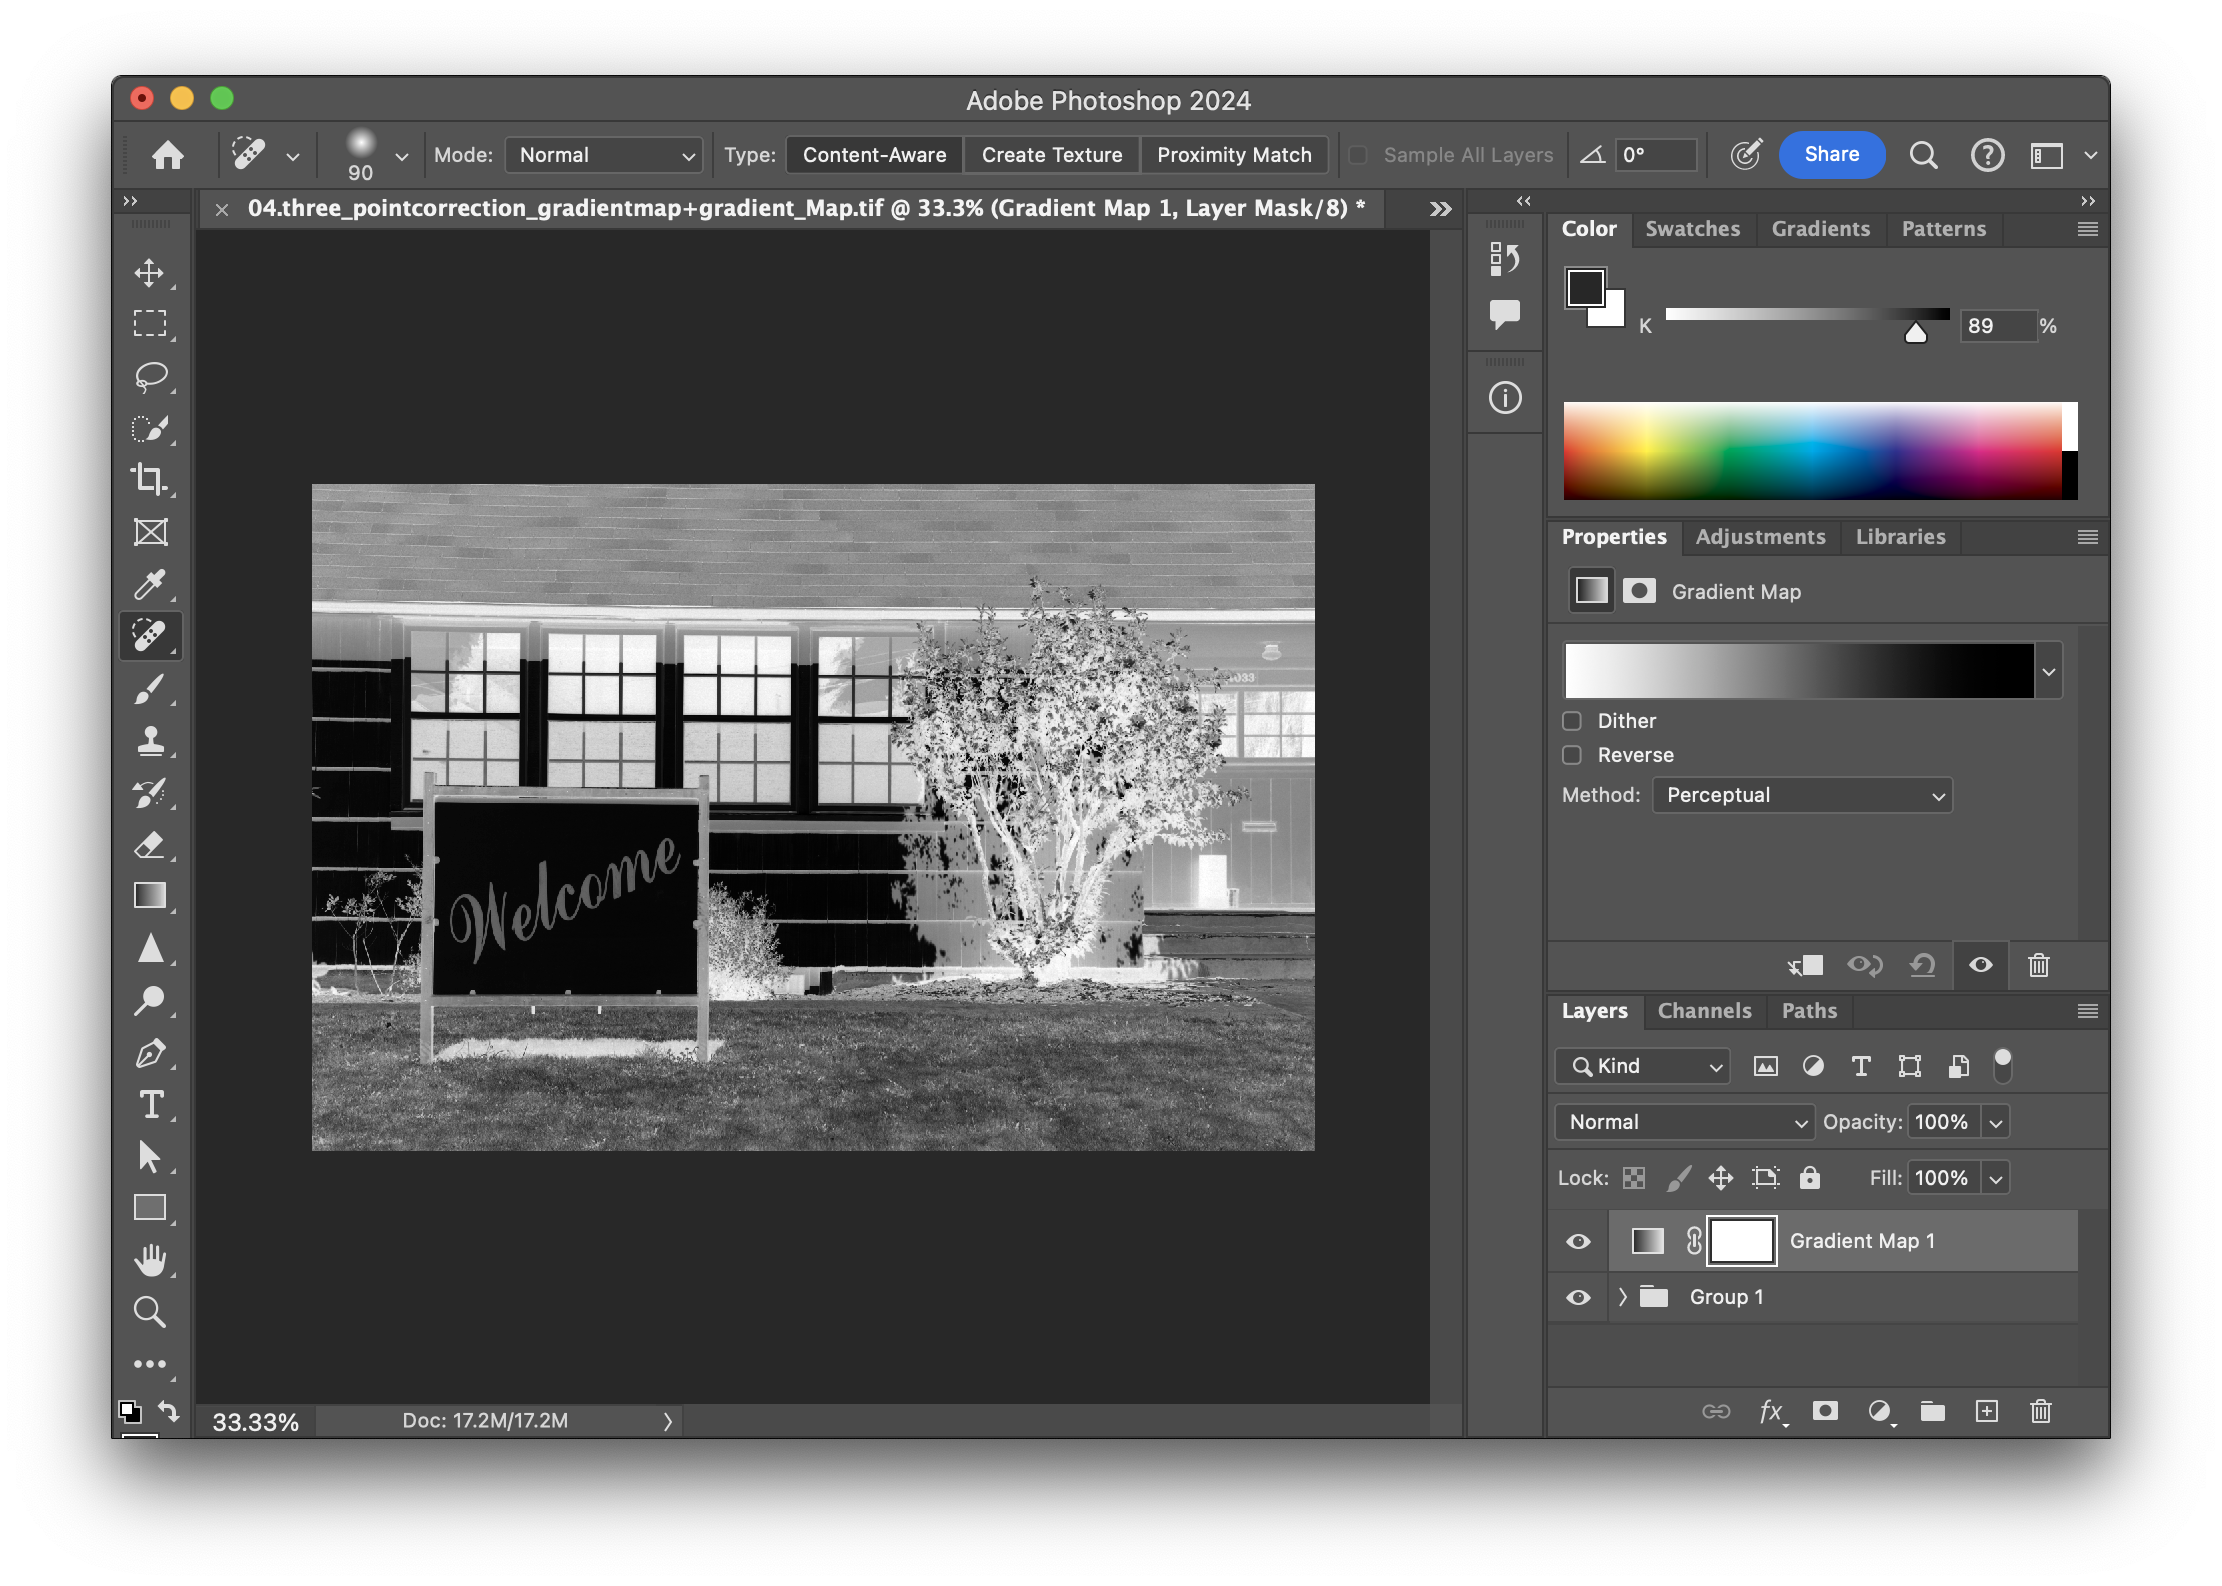
- Three point correction

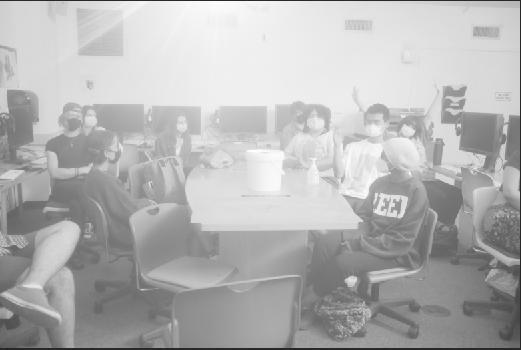
Before
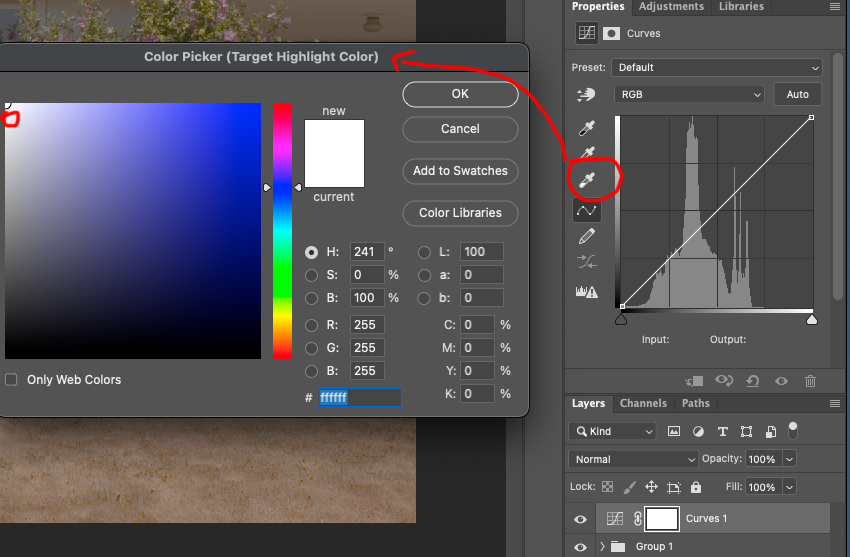
In the Curves adjustment layer, double click on the white point tool. Select the highlight color (I prefer slightly darker white)
You just loaded the highlight target color. (You don't have to save the target color). Click on the image where it should be that highlight color? (eg. the whitest part of the image)
What you did was to move the color of the area to the color (white) you selected.

Load the desired color with the black point (say neutral black).
With the black point tool, you can move the dark area you select to the neutral black.
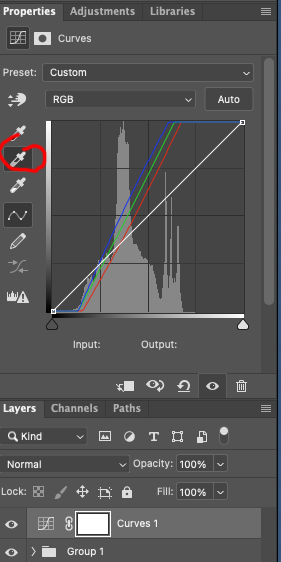
Repeat this for middle gray.
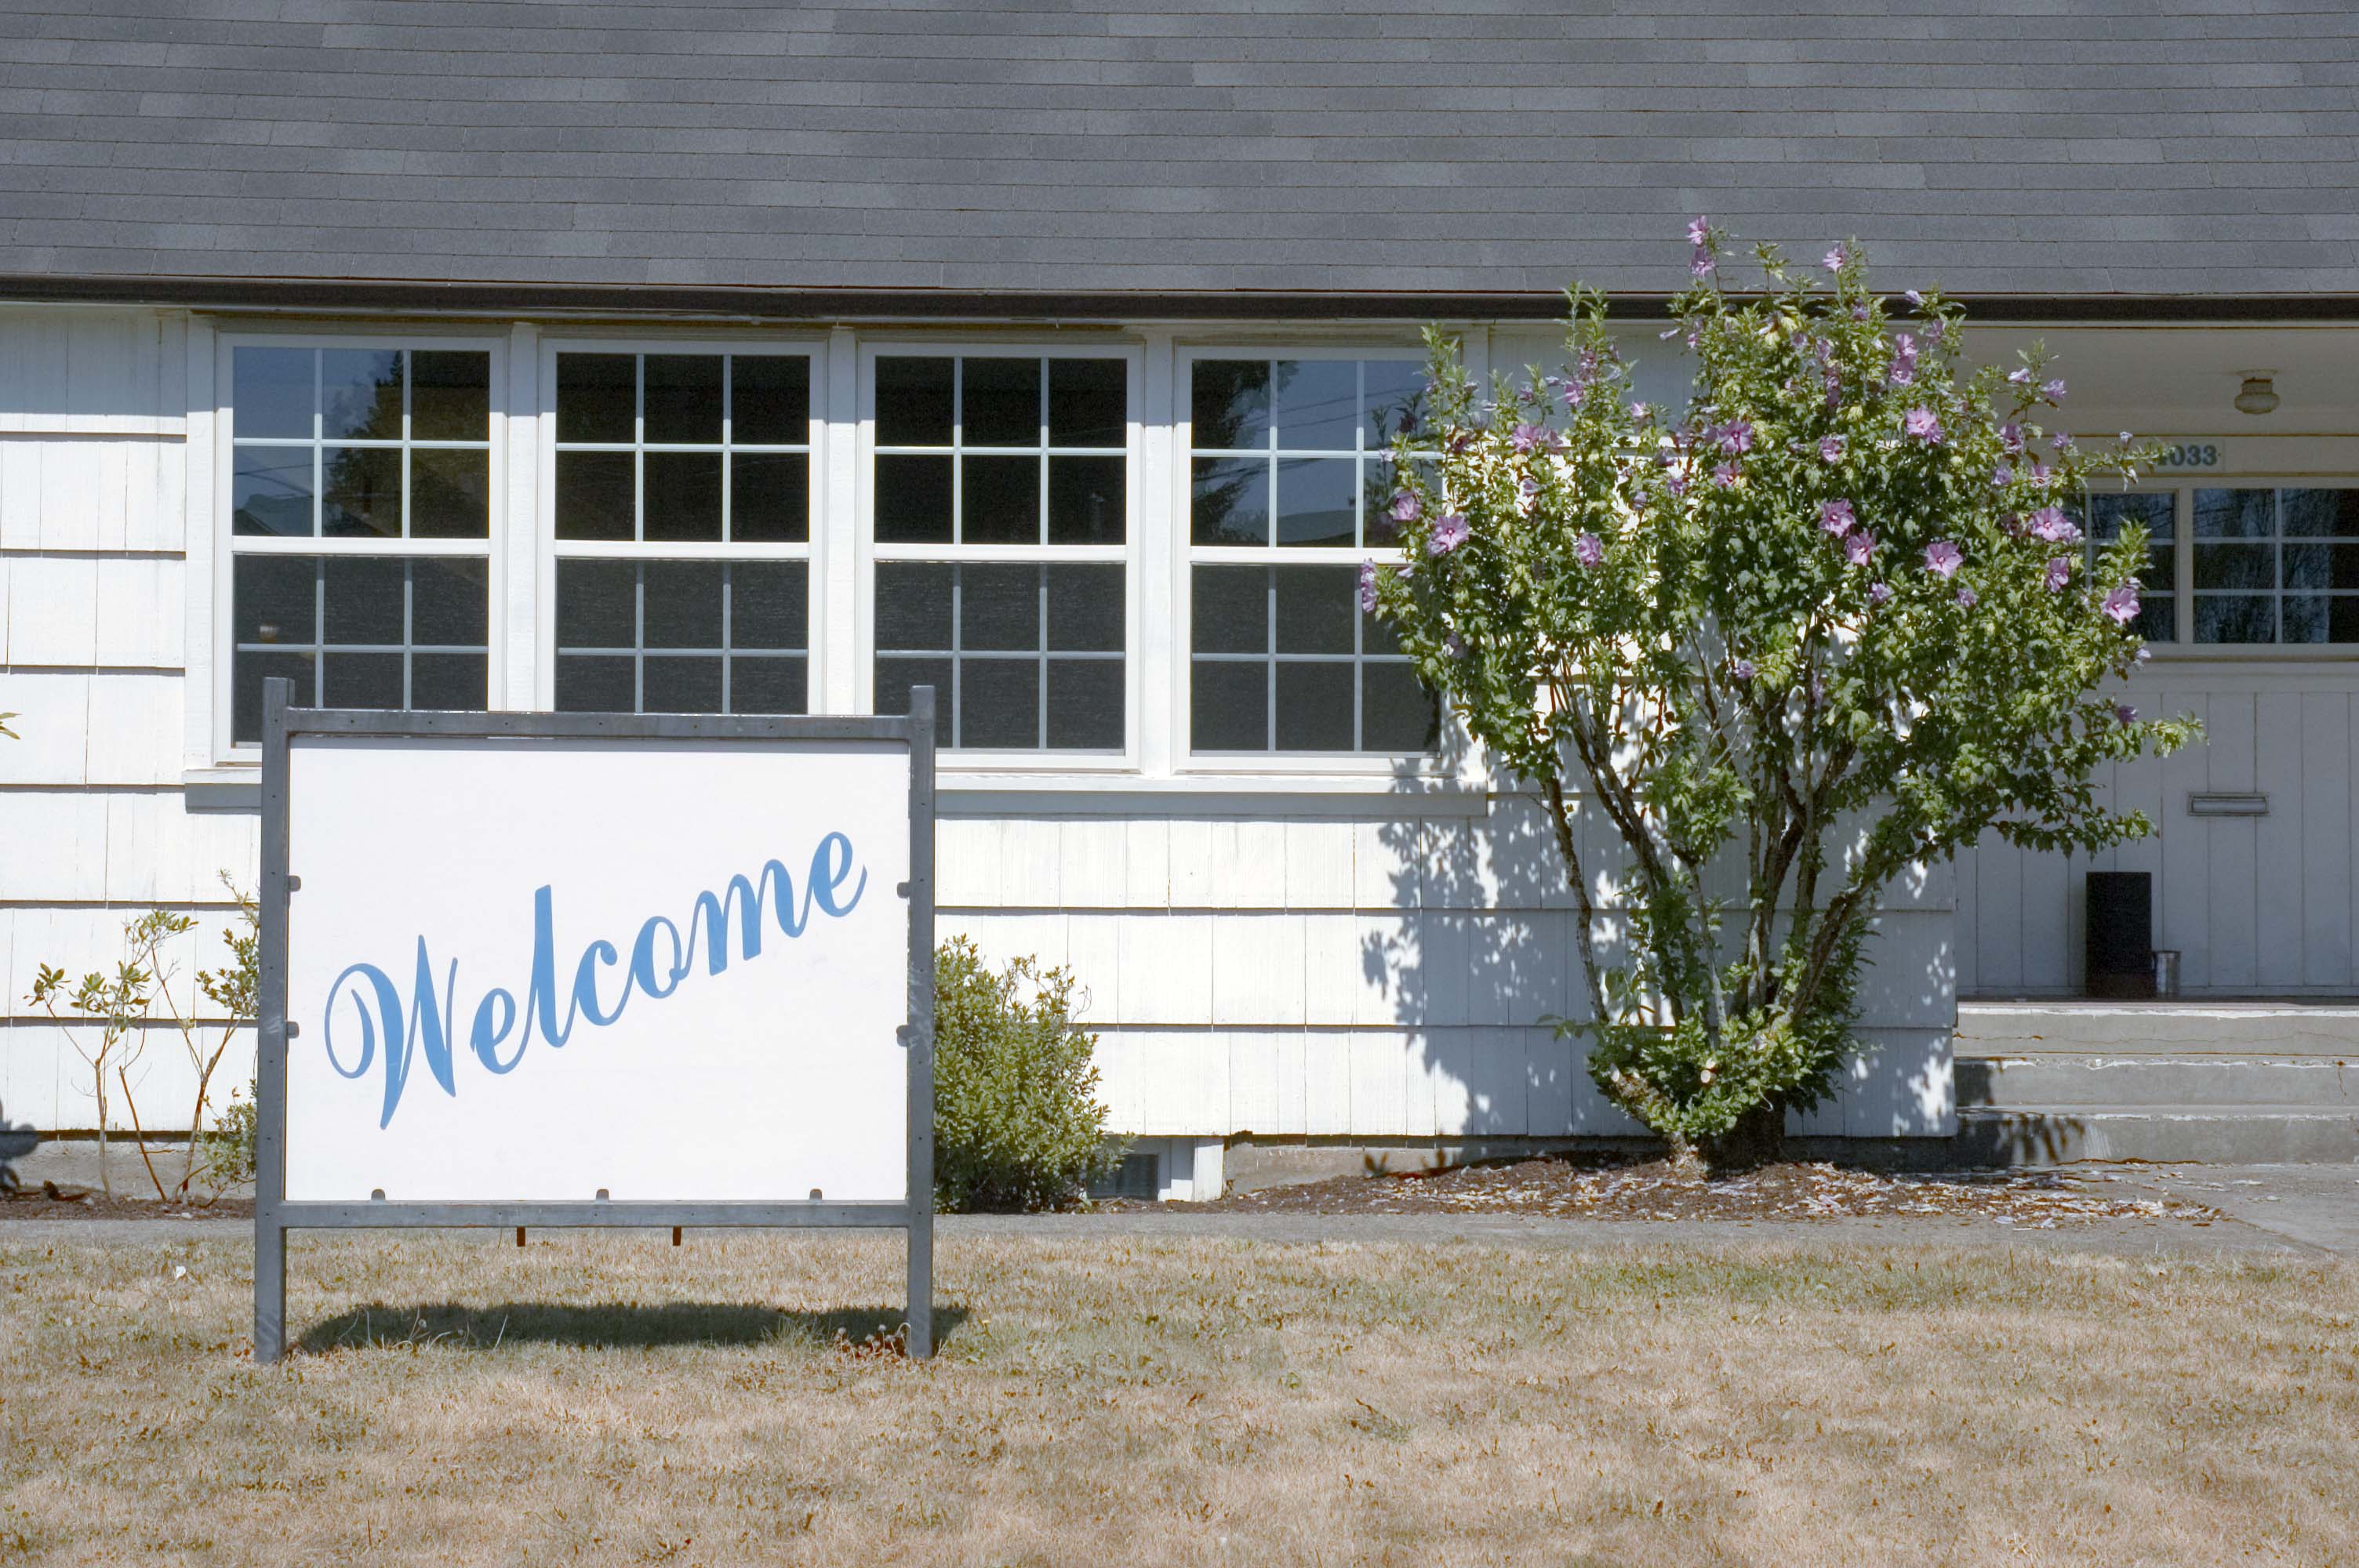
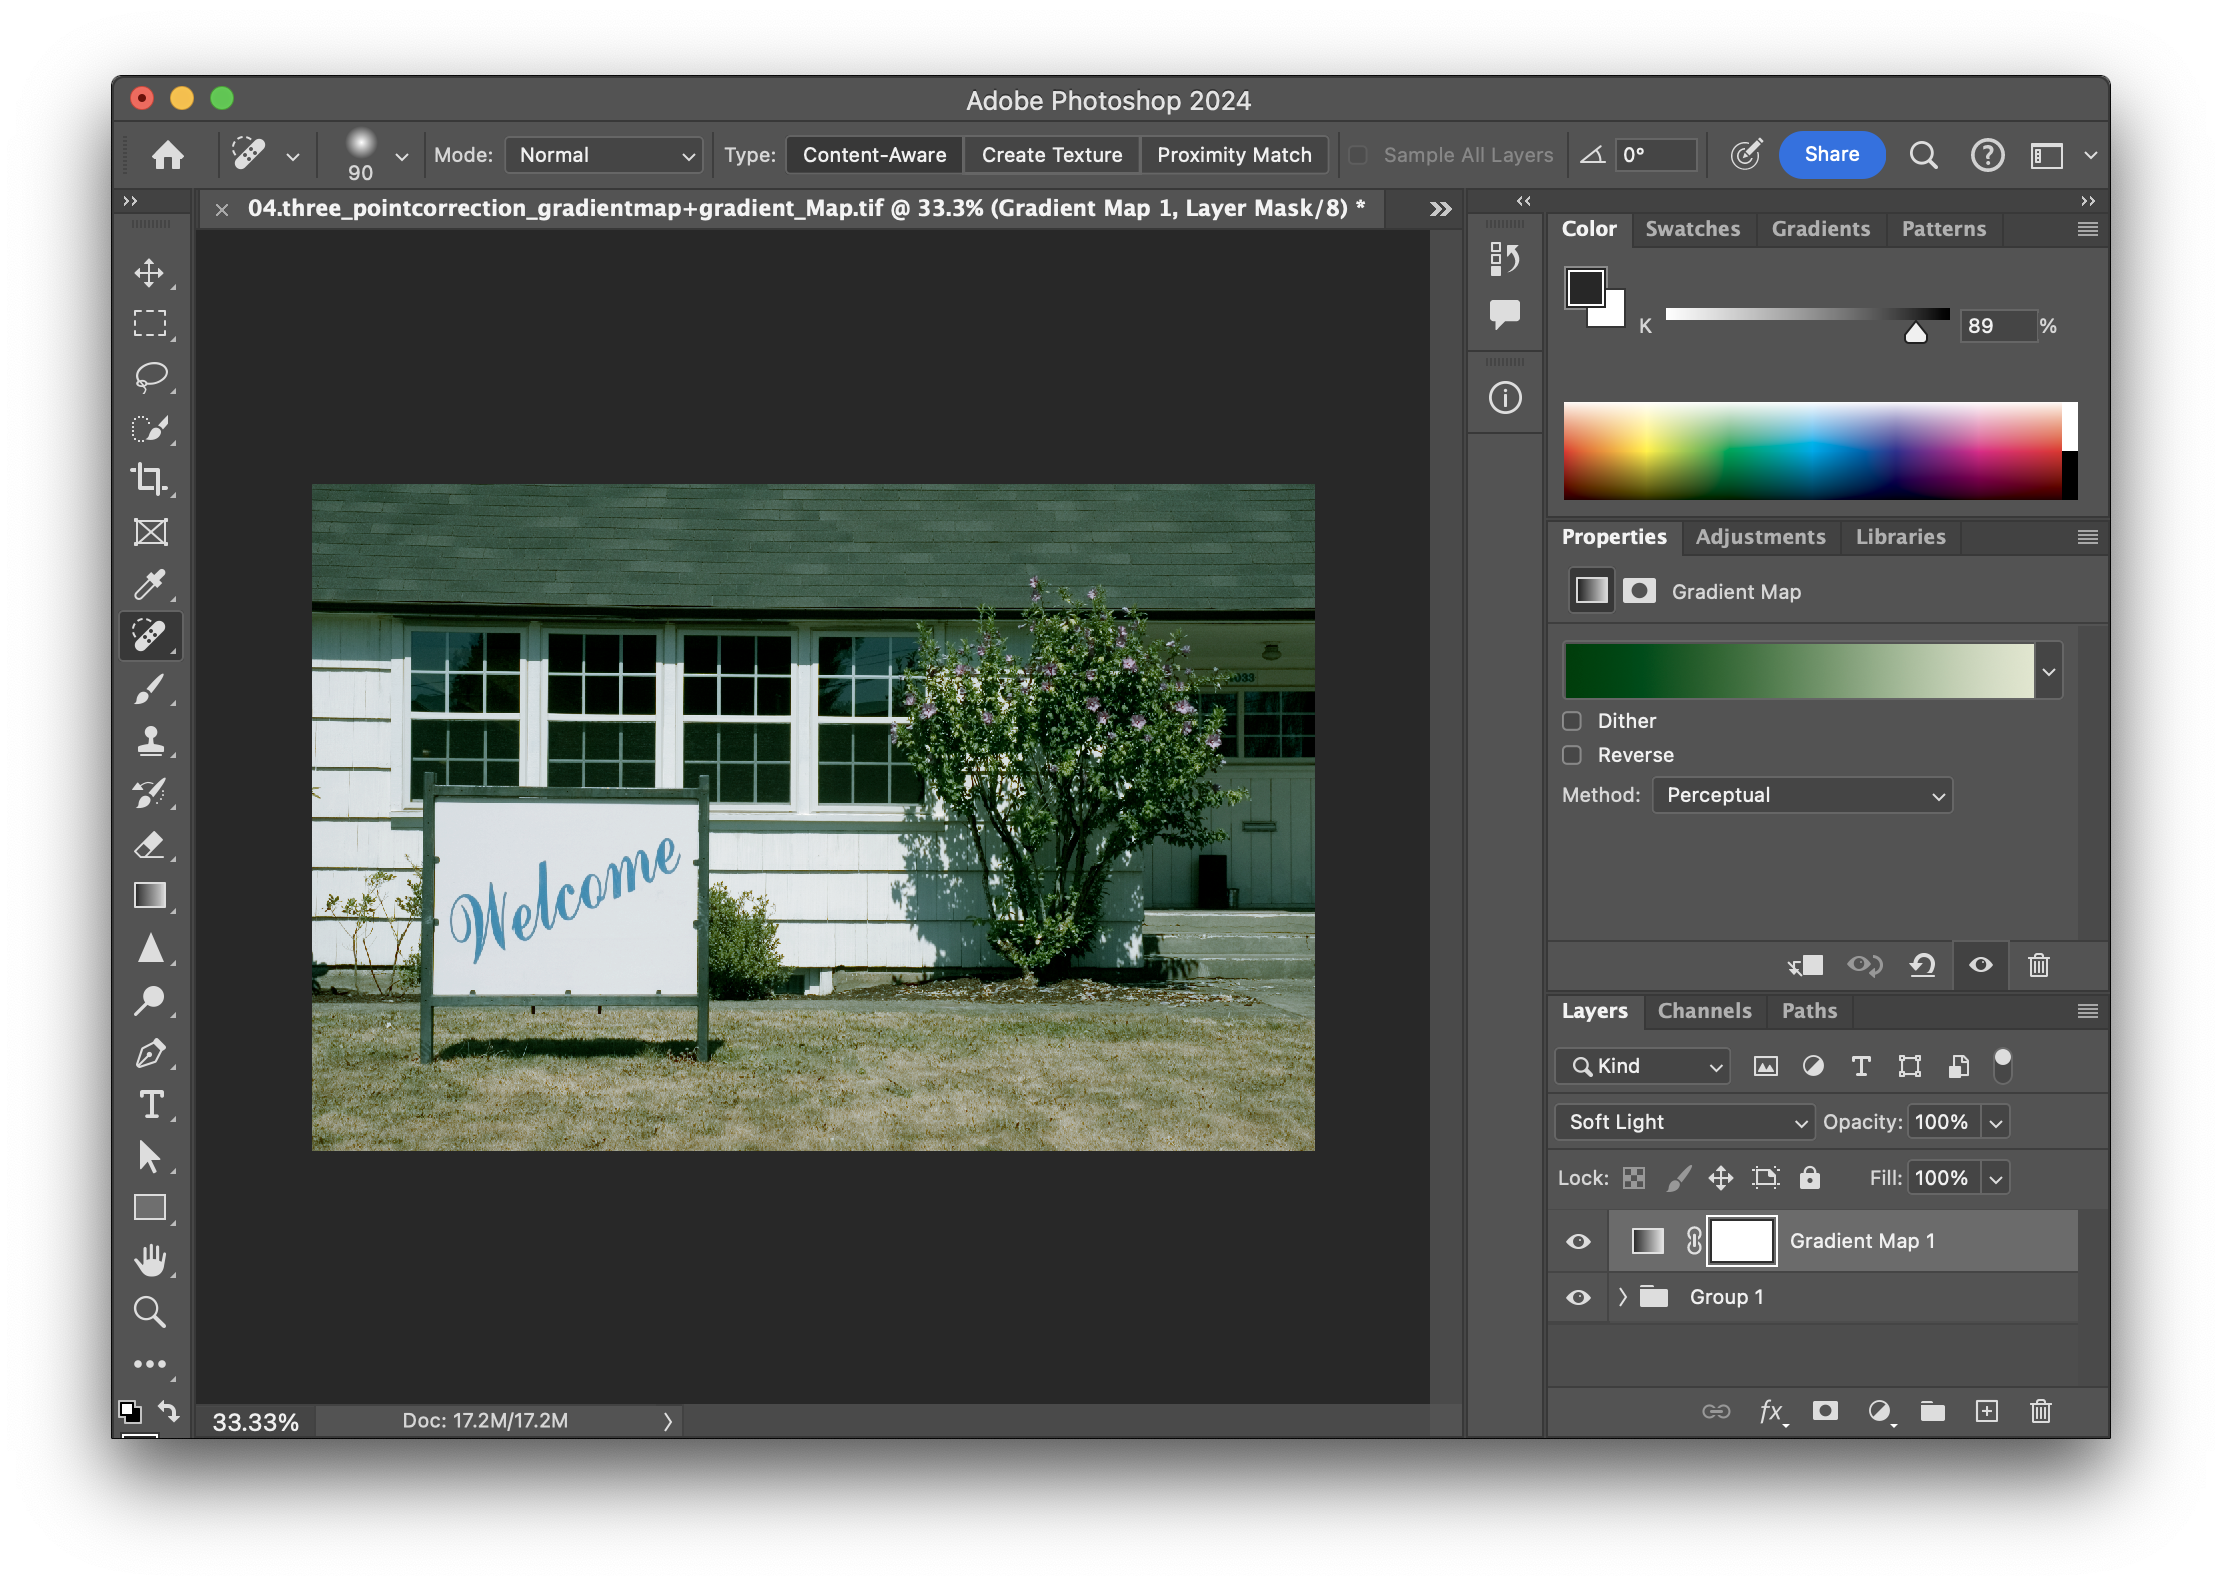
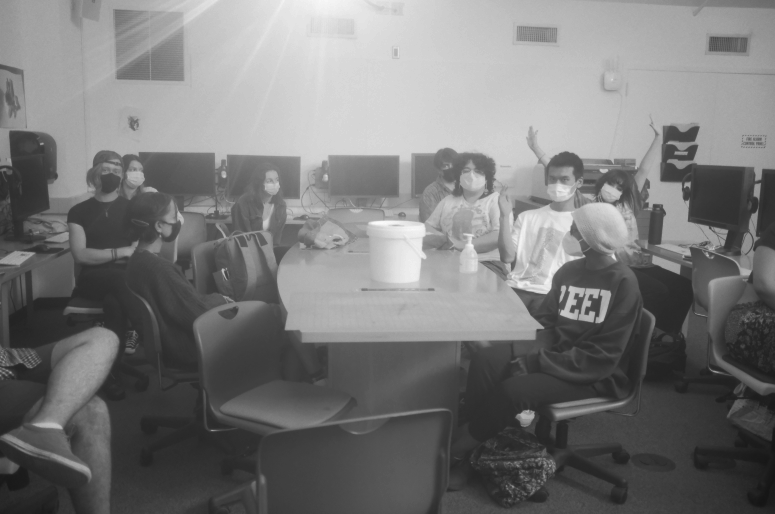
After
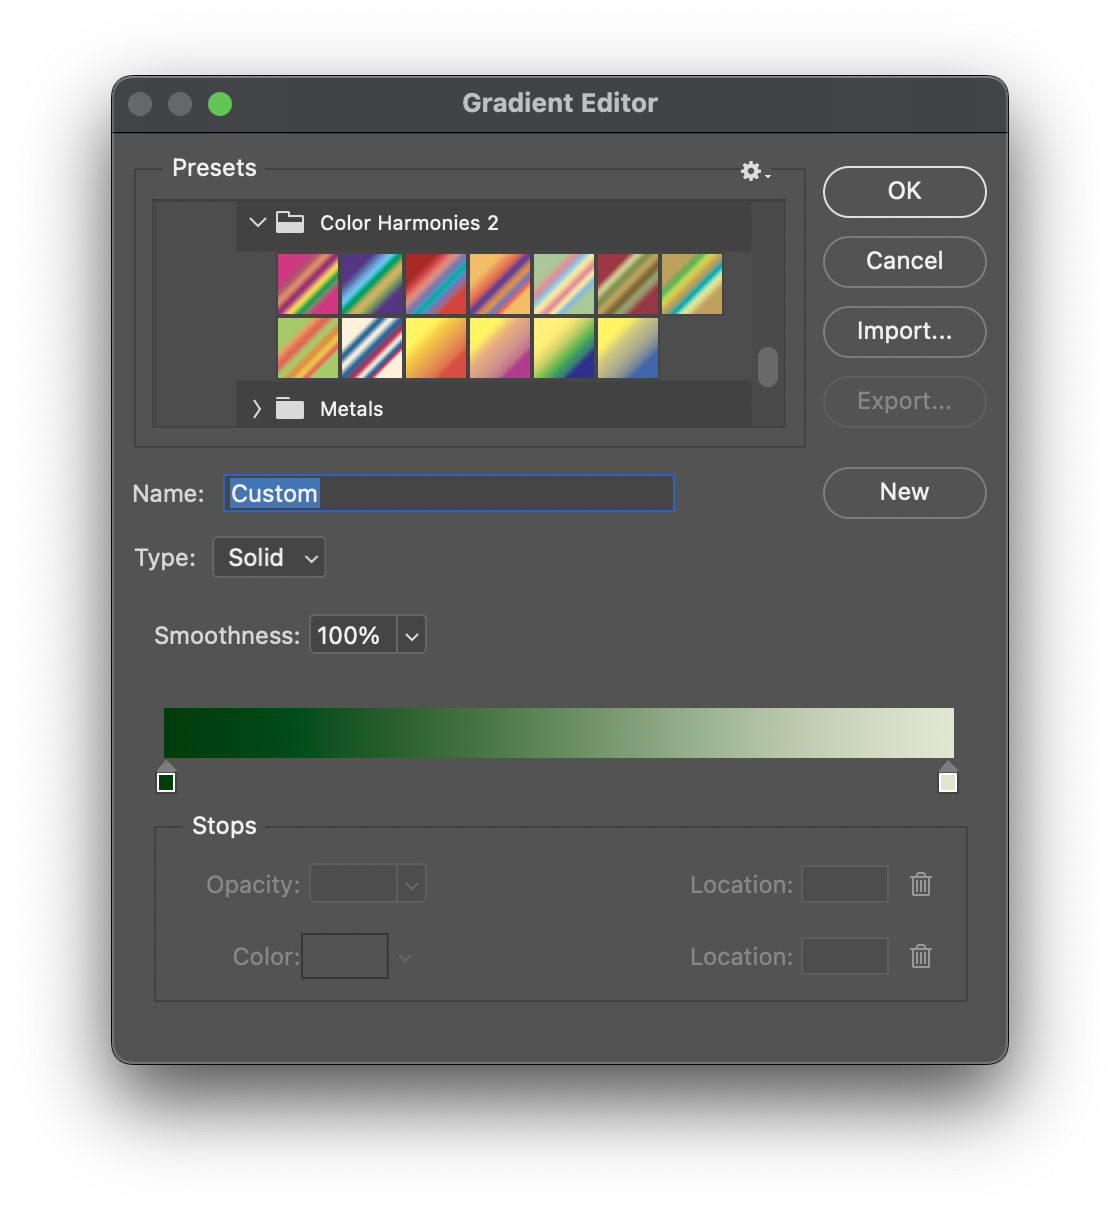
This 3 point technique of moving highlight, shadow, and midtones to a certain color can be used to color grade:
Notes