Abstractions
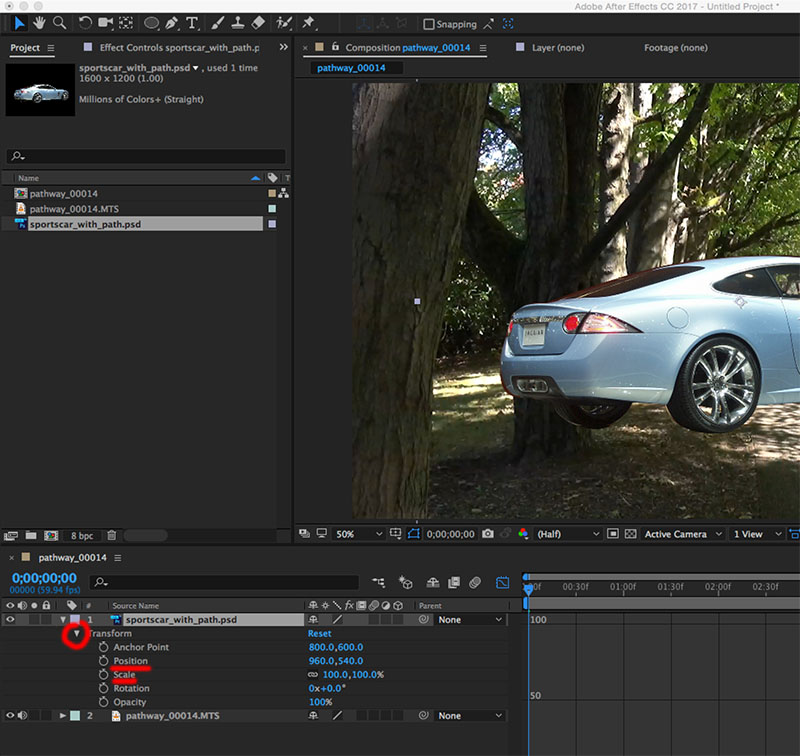
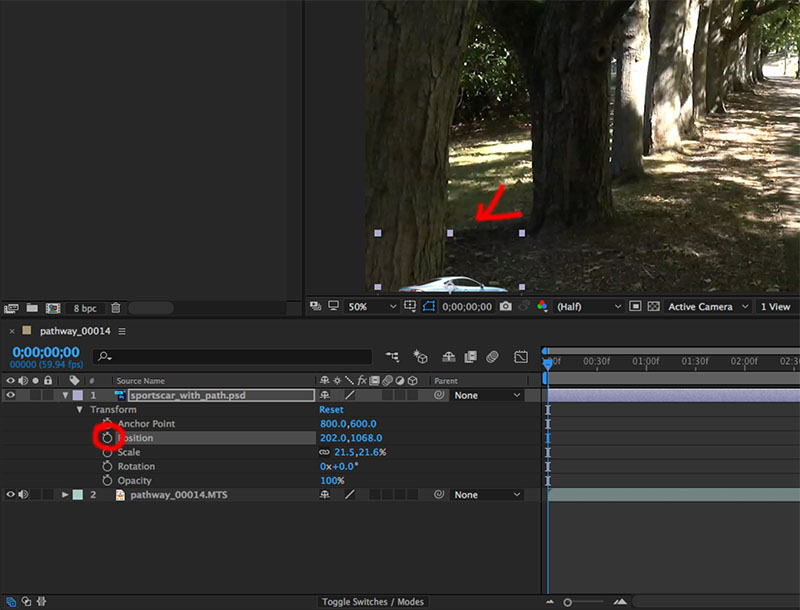
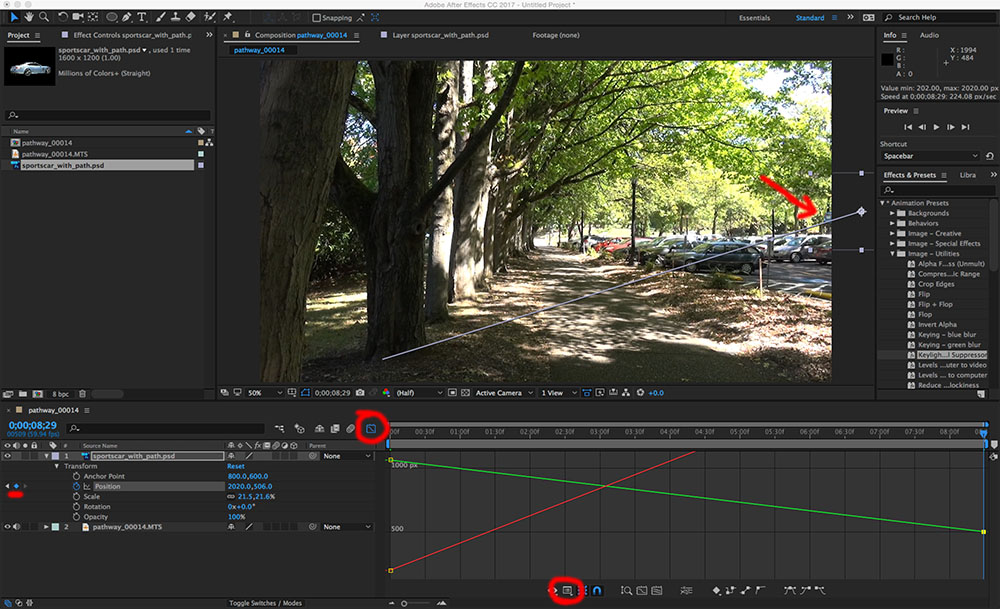
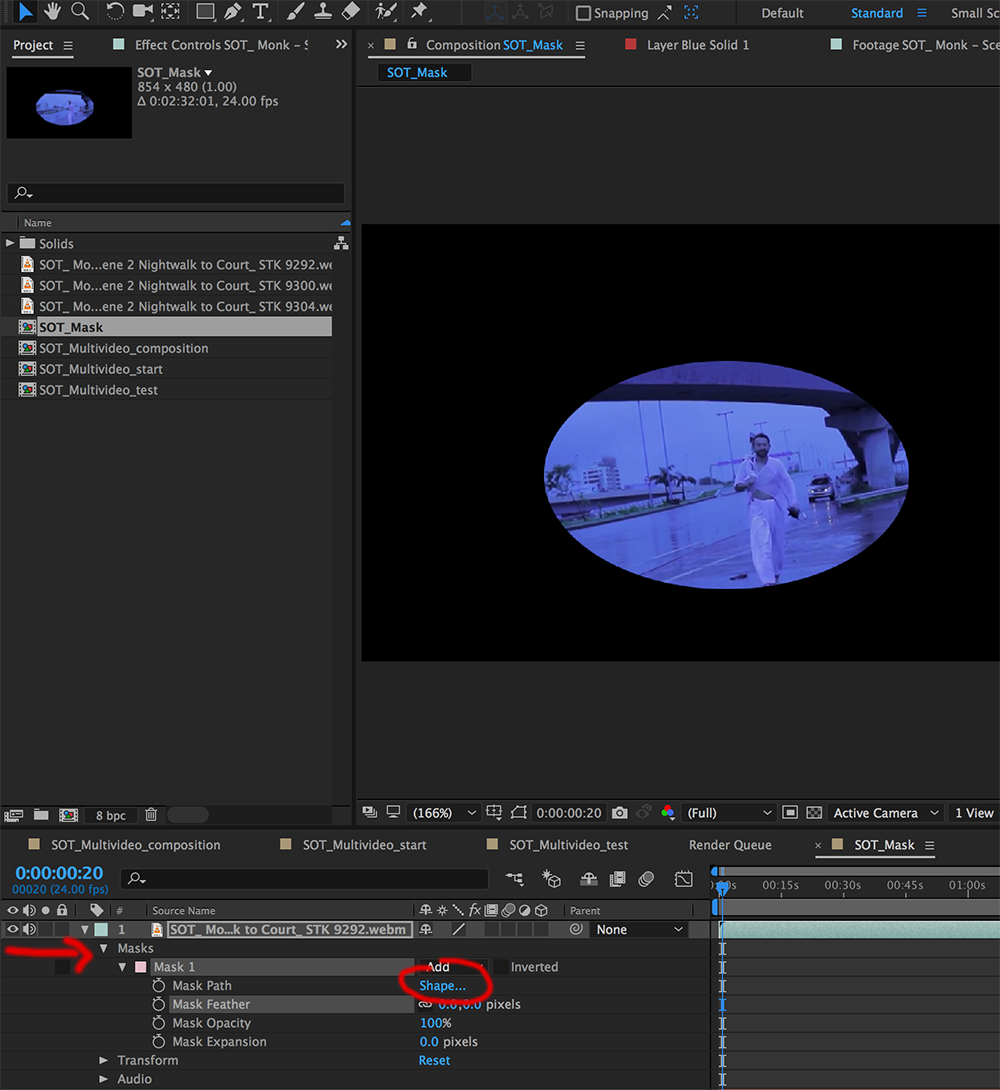
- Keyframing (change parameter over time)
- Whenever there is a timeline, expect the ability to keyframe
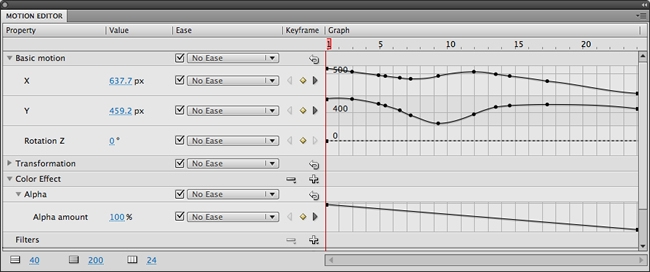
- 3D Animation (moving how a character moves, position of an object)
- Whenever there is a timeline, expect the ability to keyframe
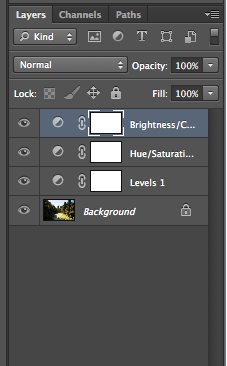
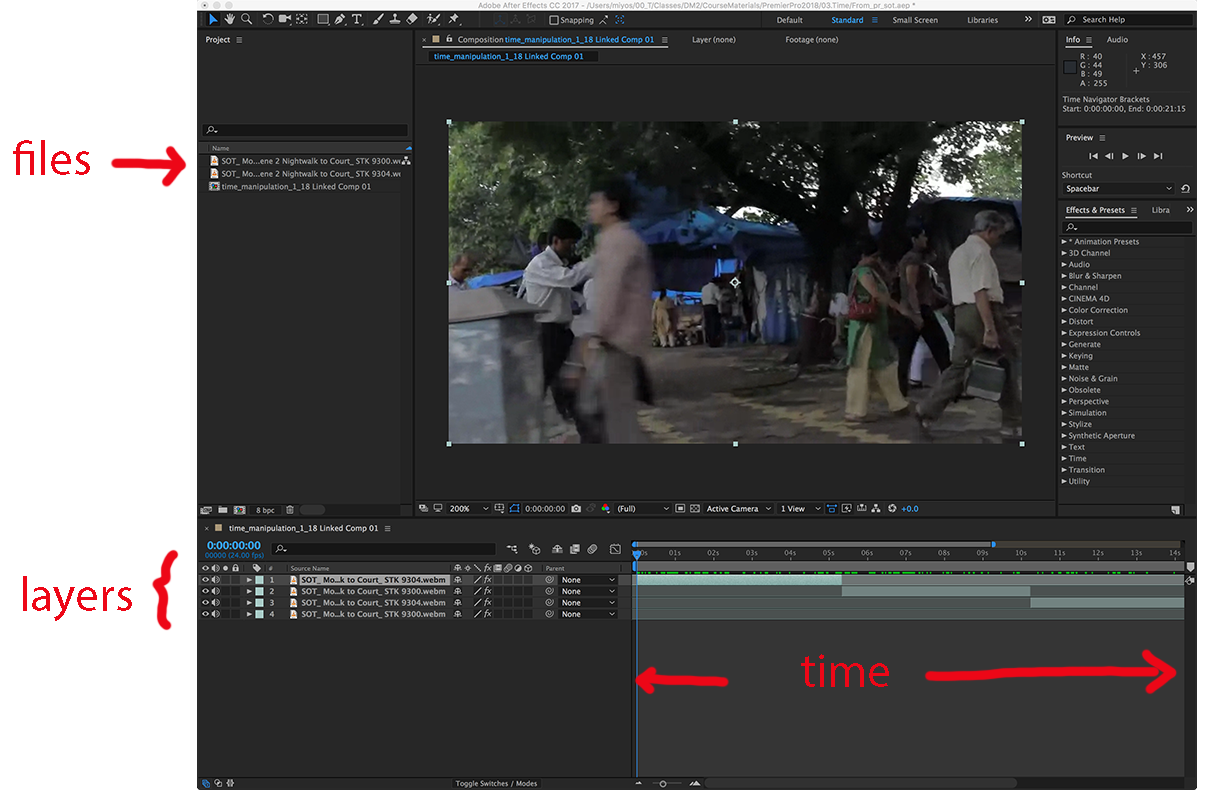
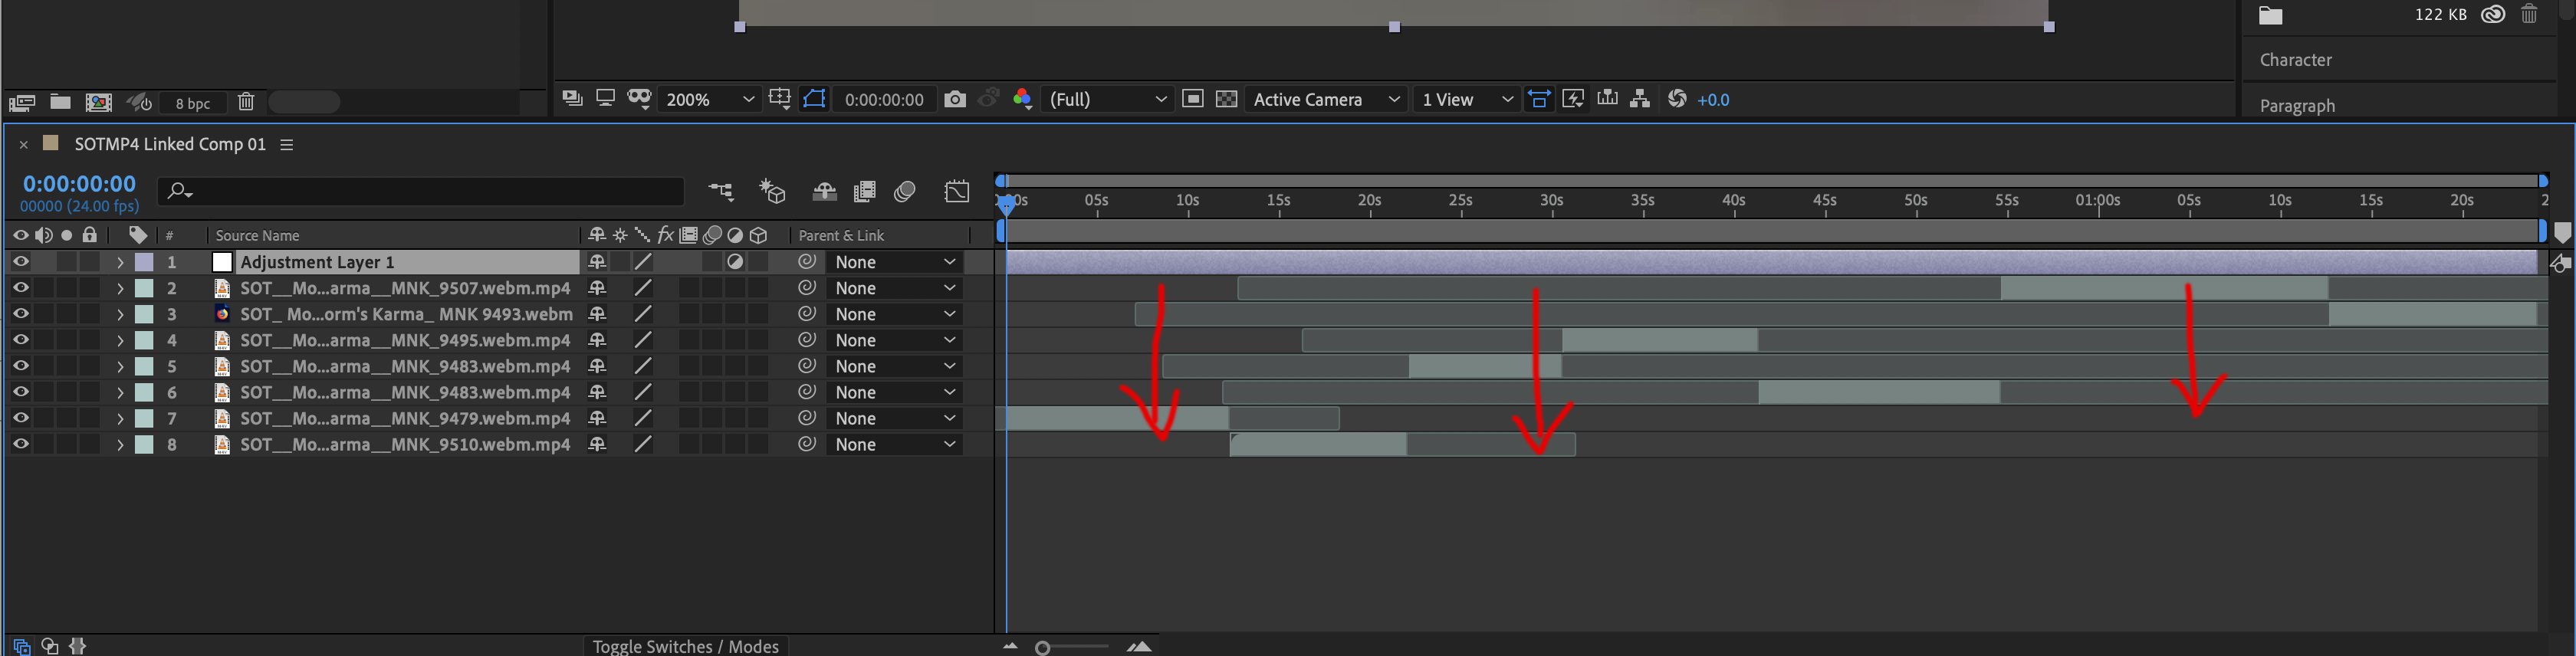
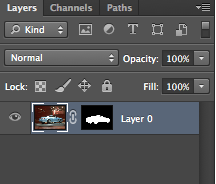
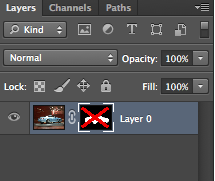
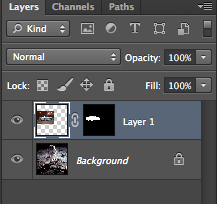
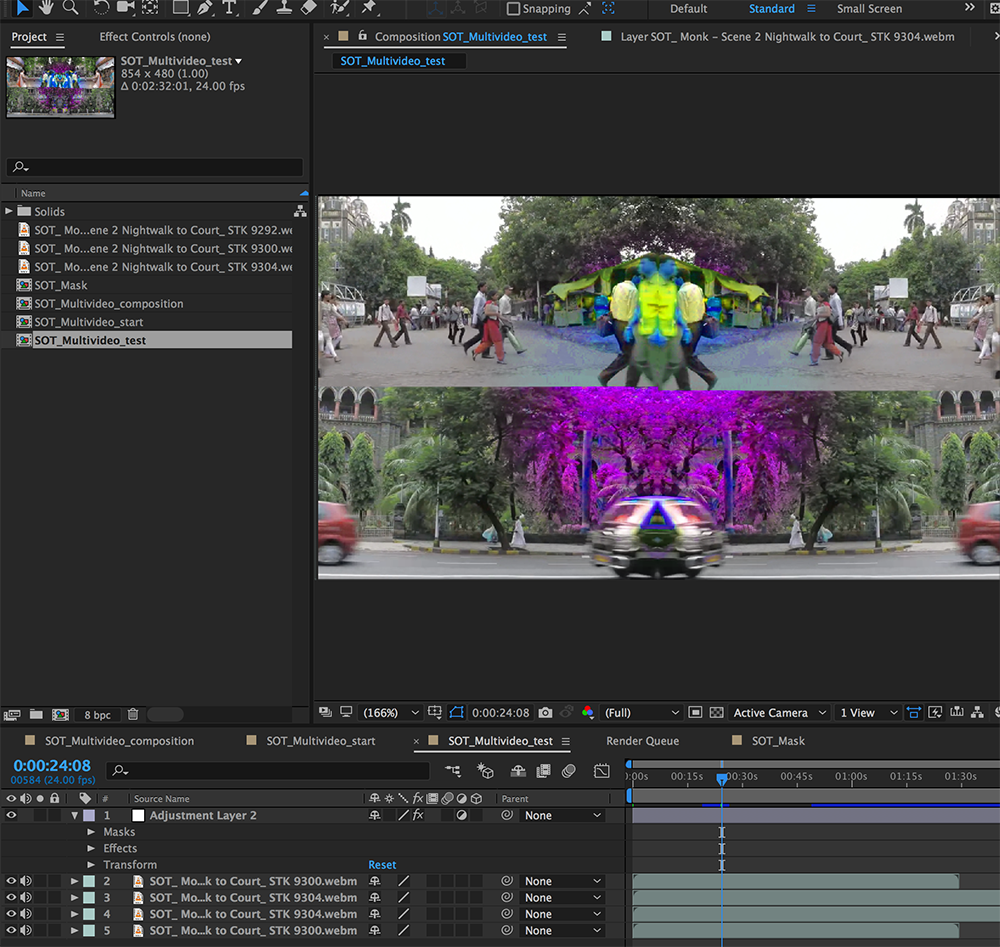
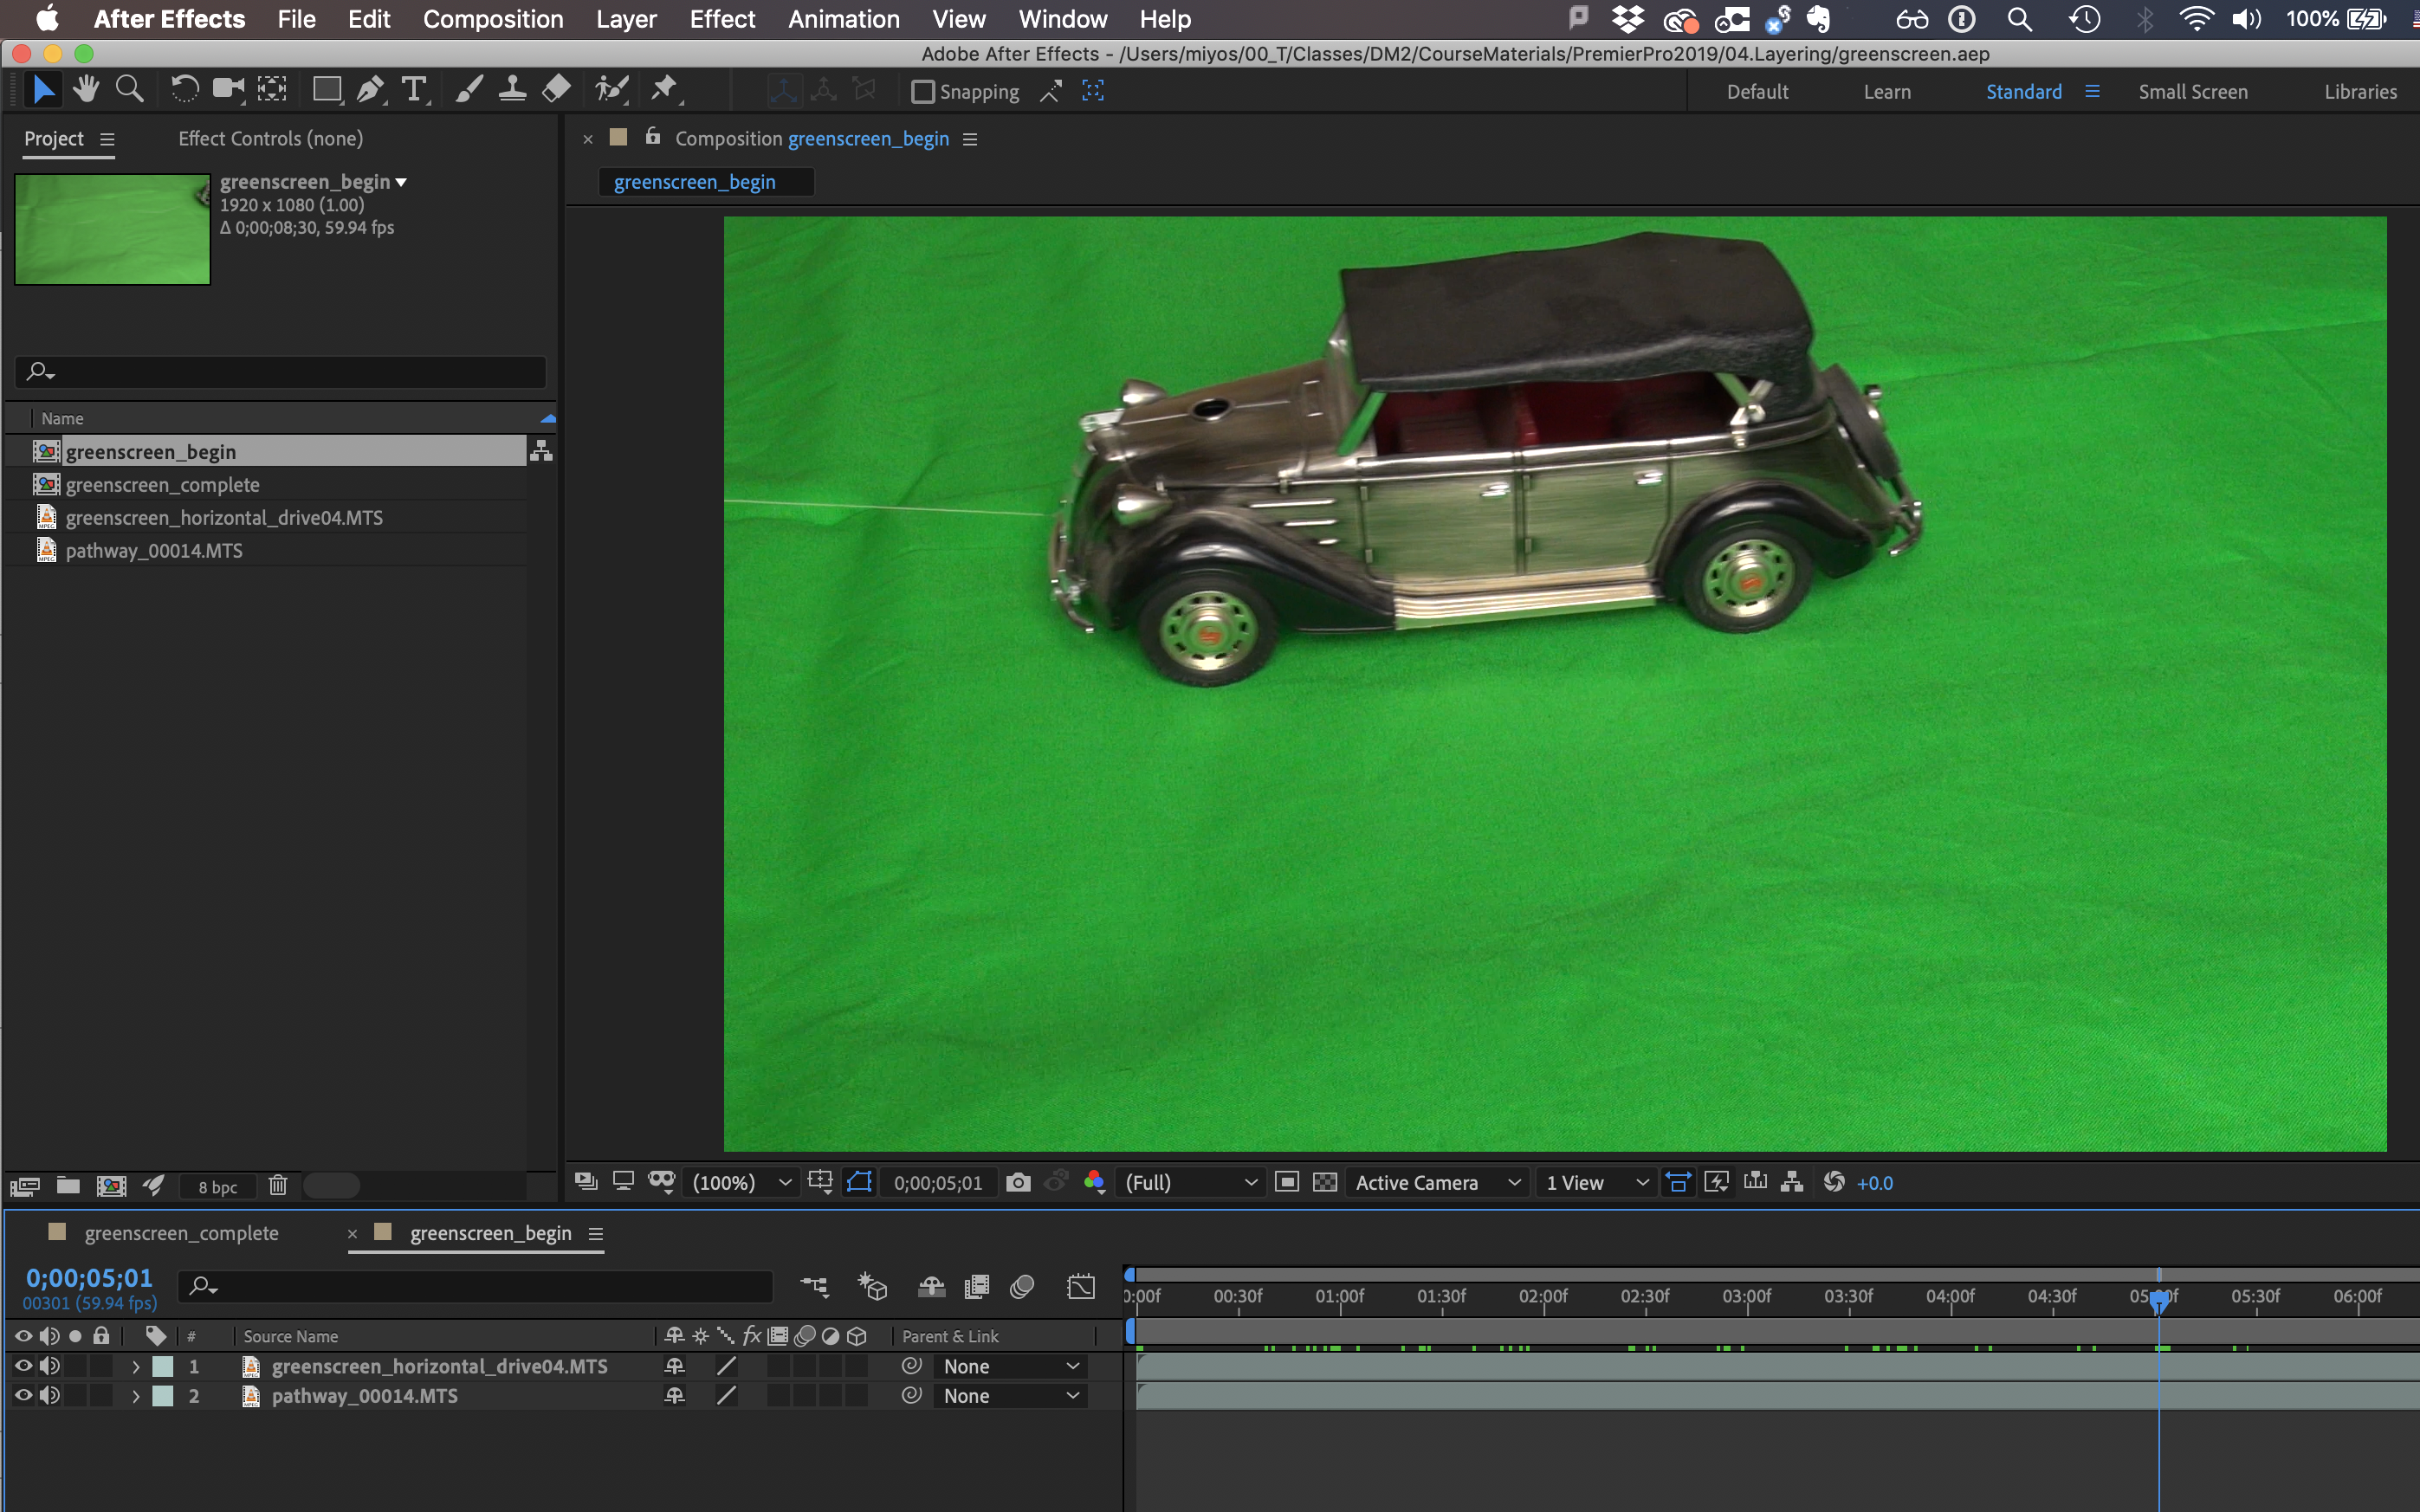
- Layers
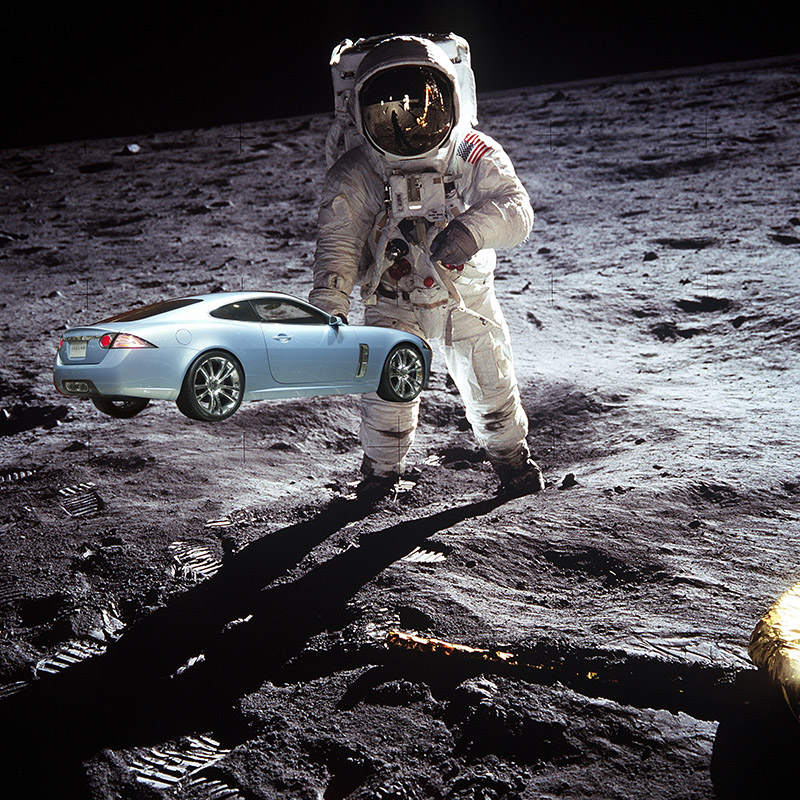
- Collage (one thing over another)
- Effects (one effect over another)
- Animation (parts over another)
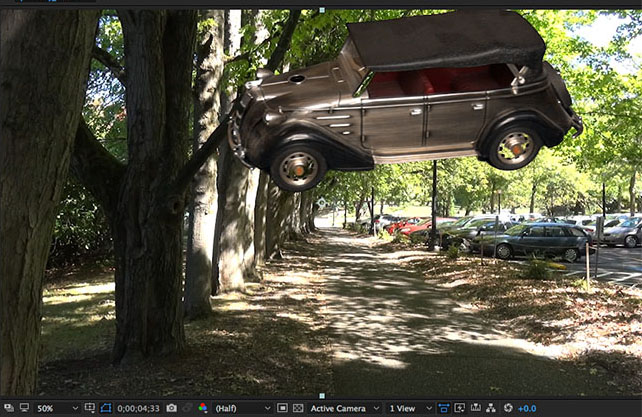
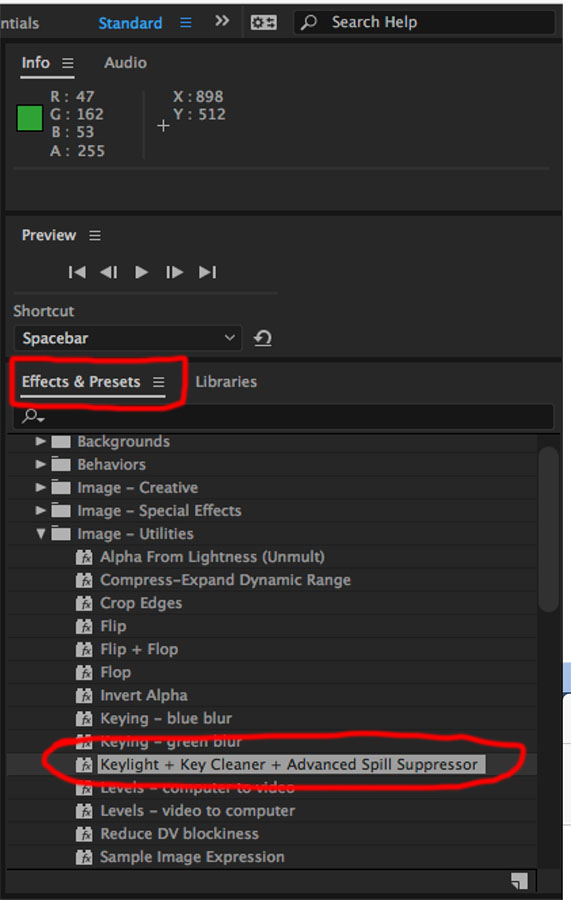
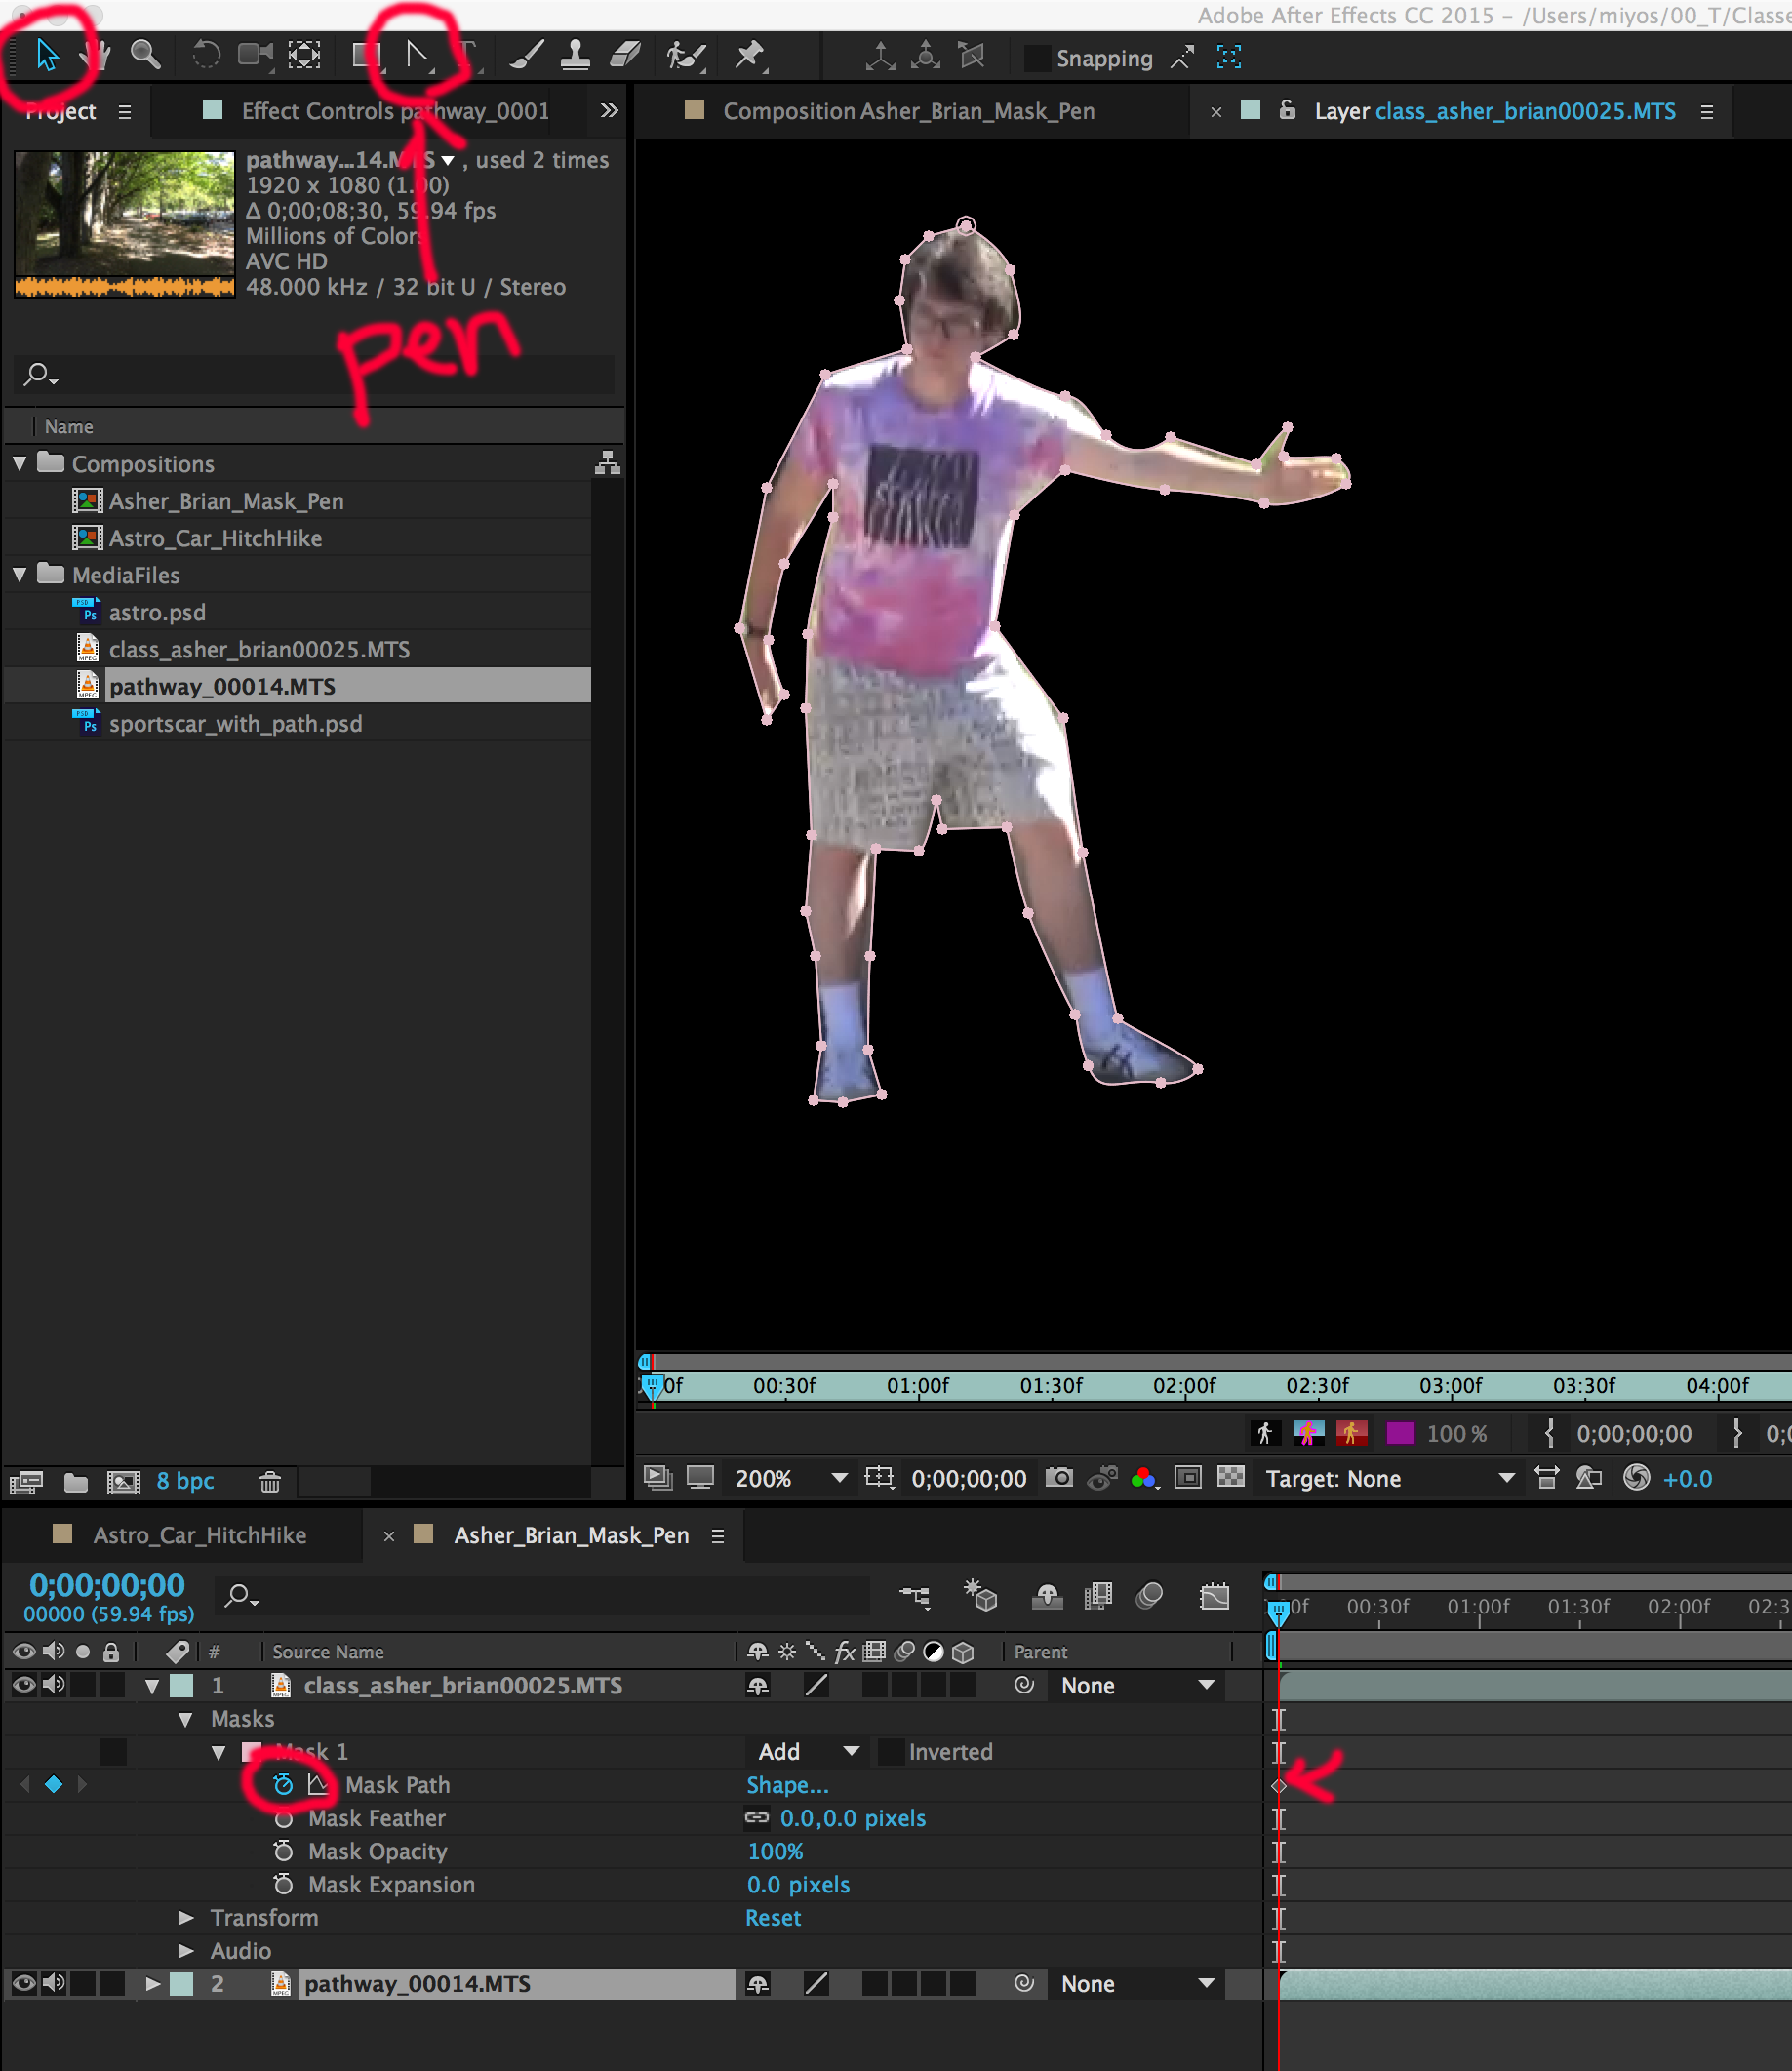
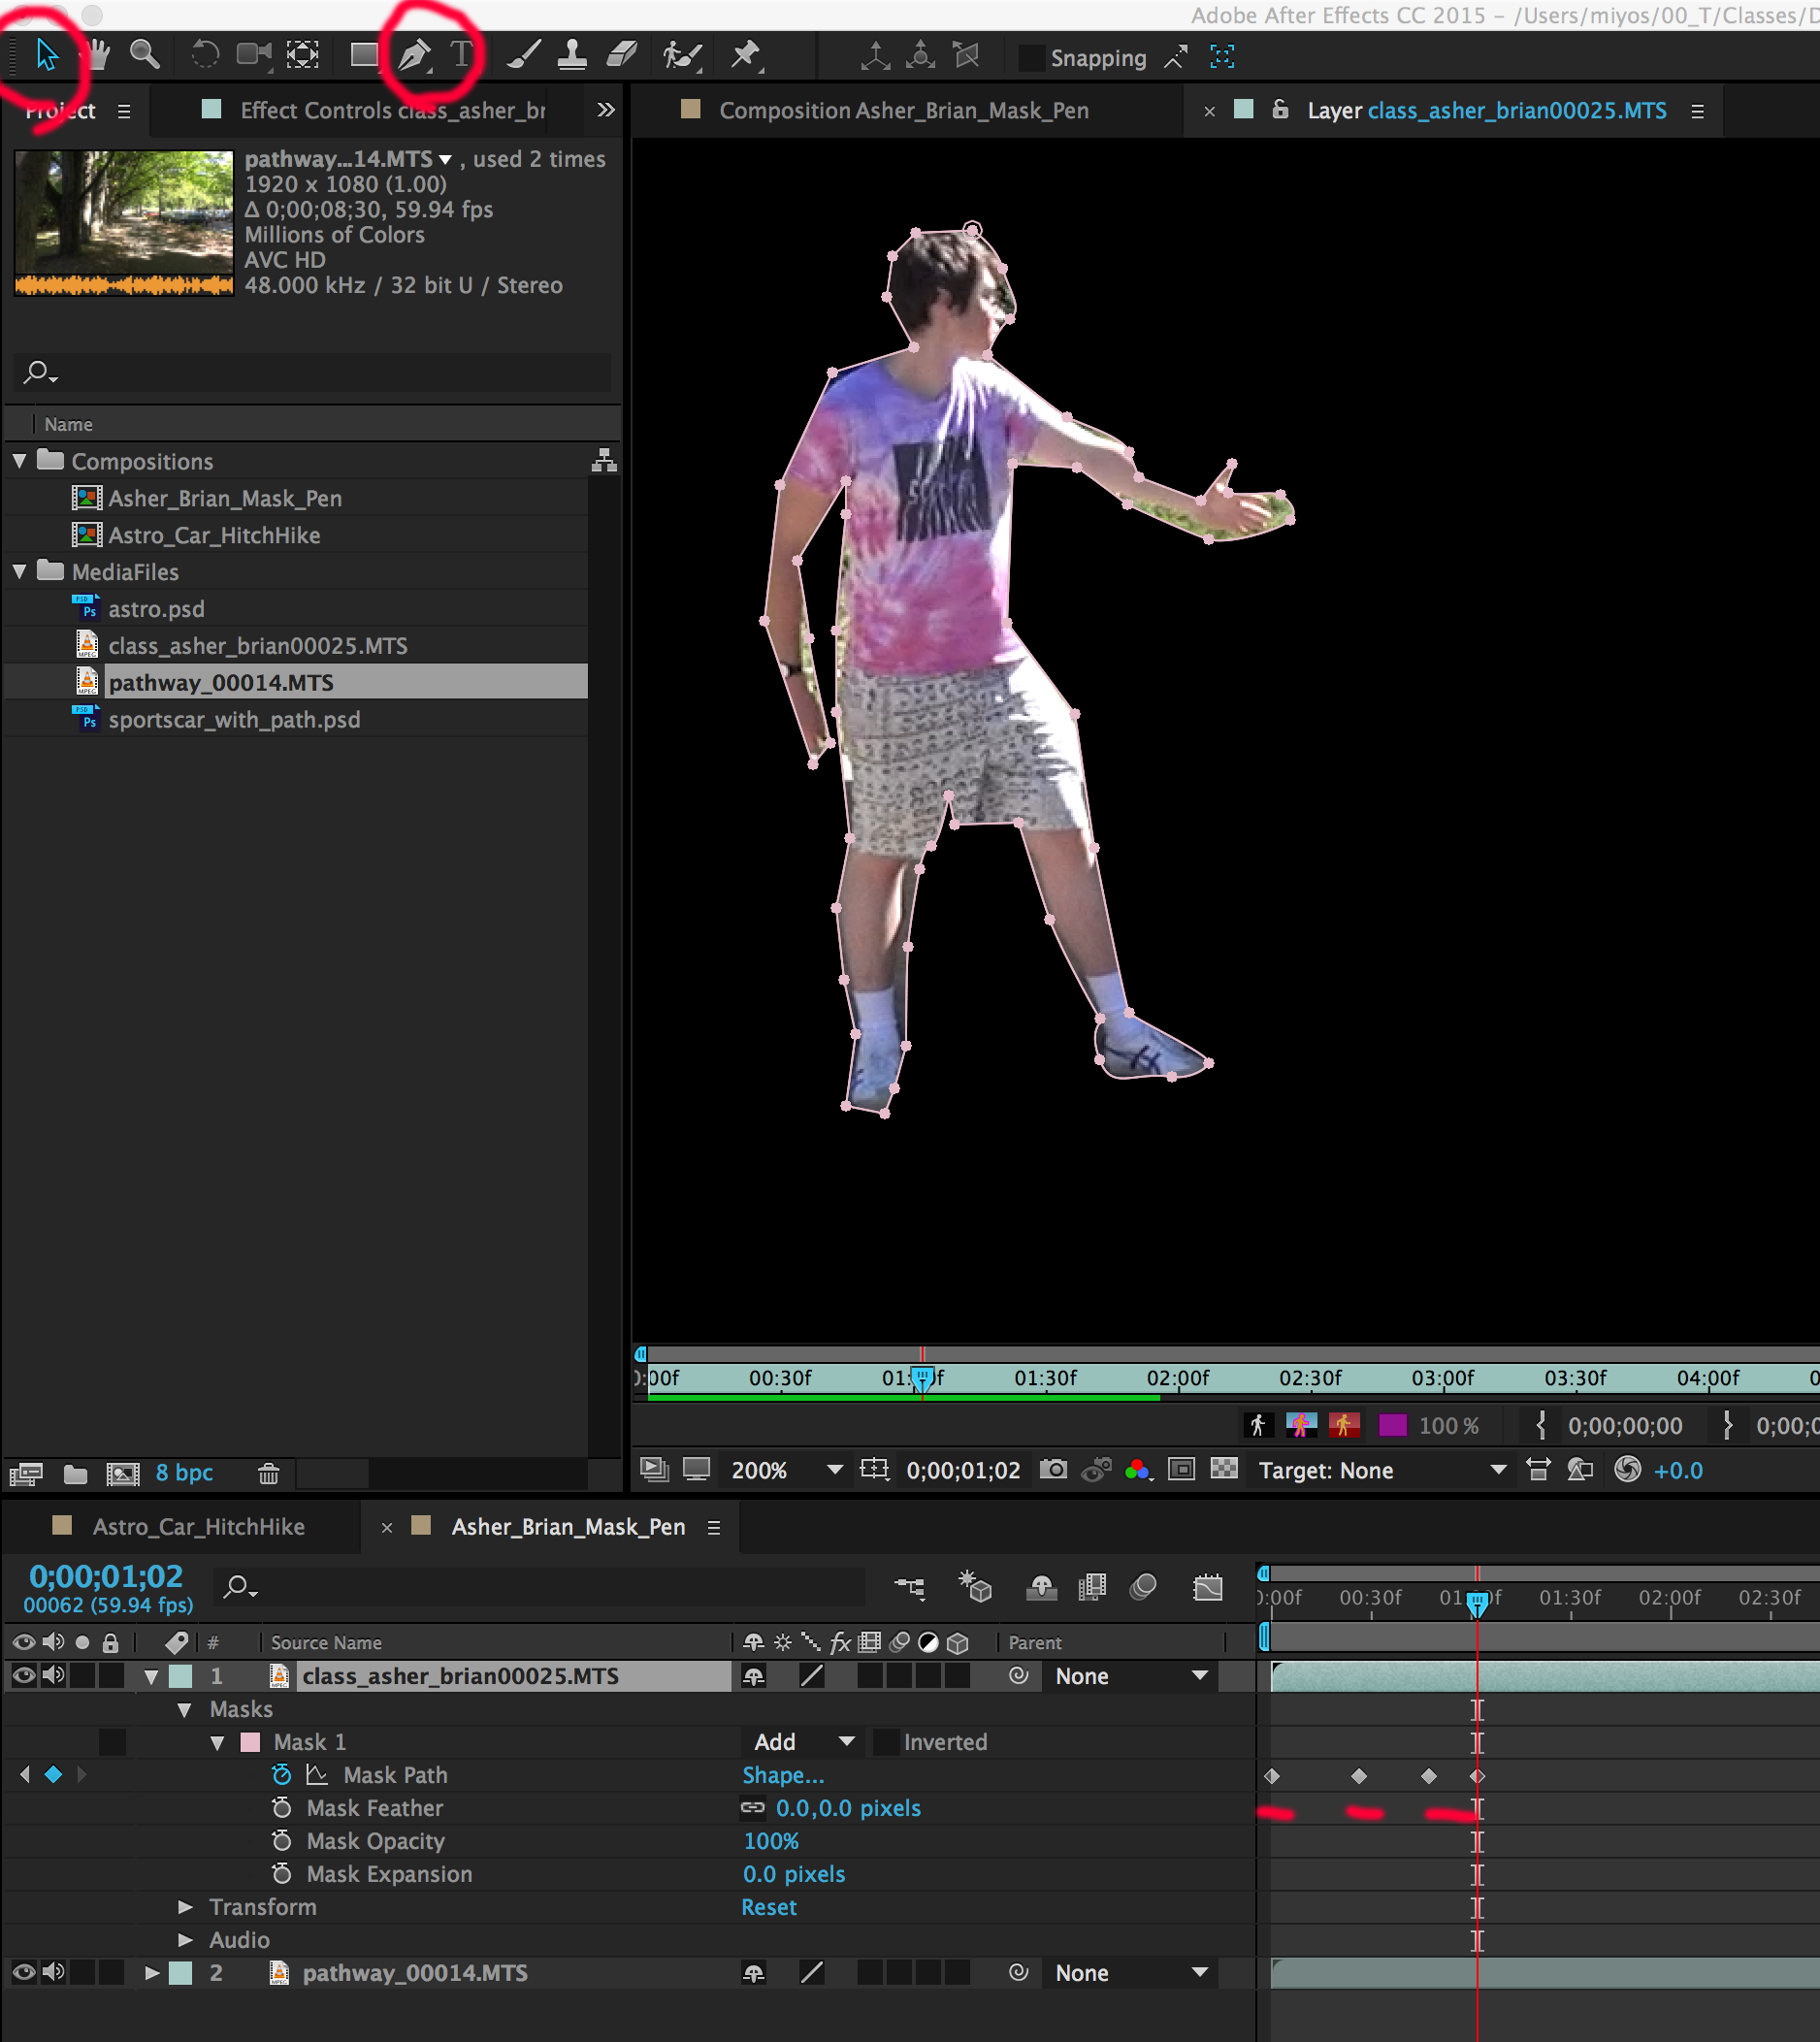
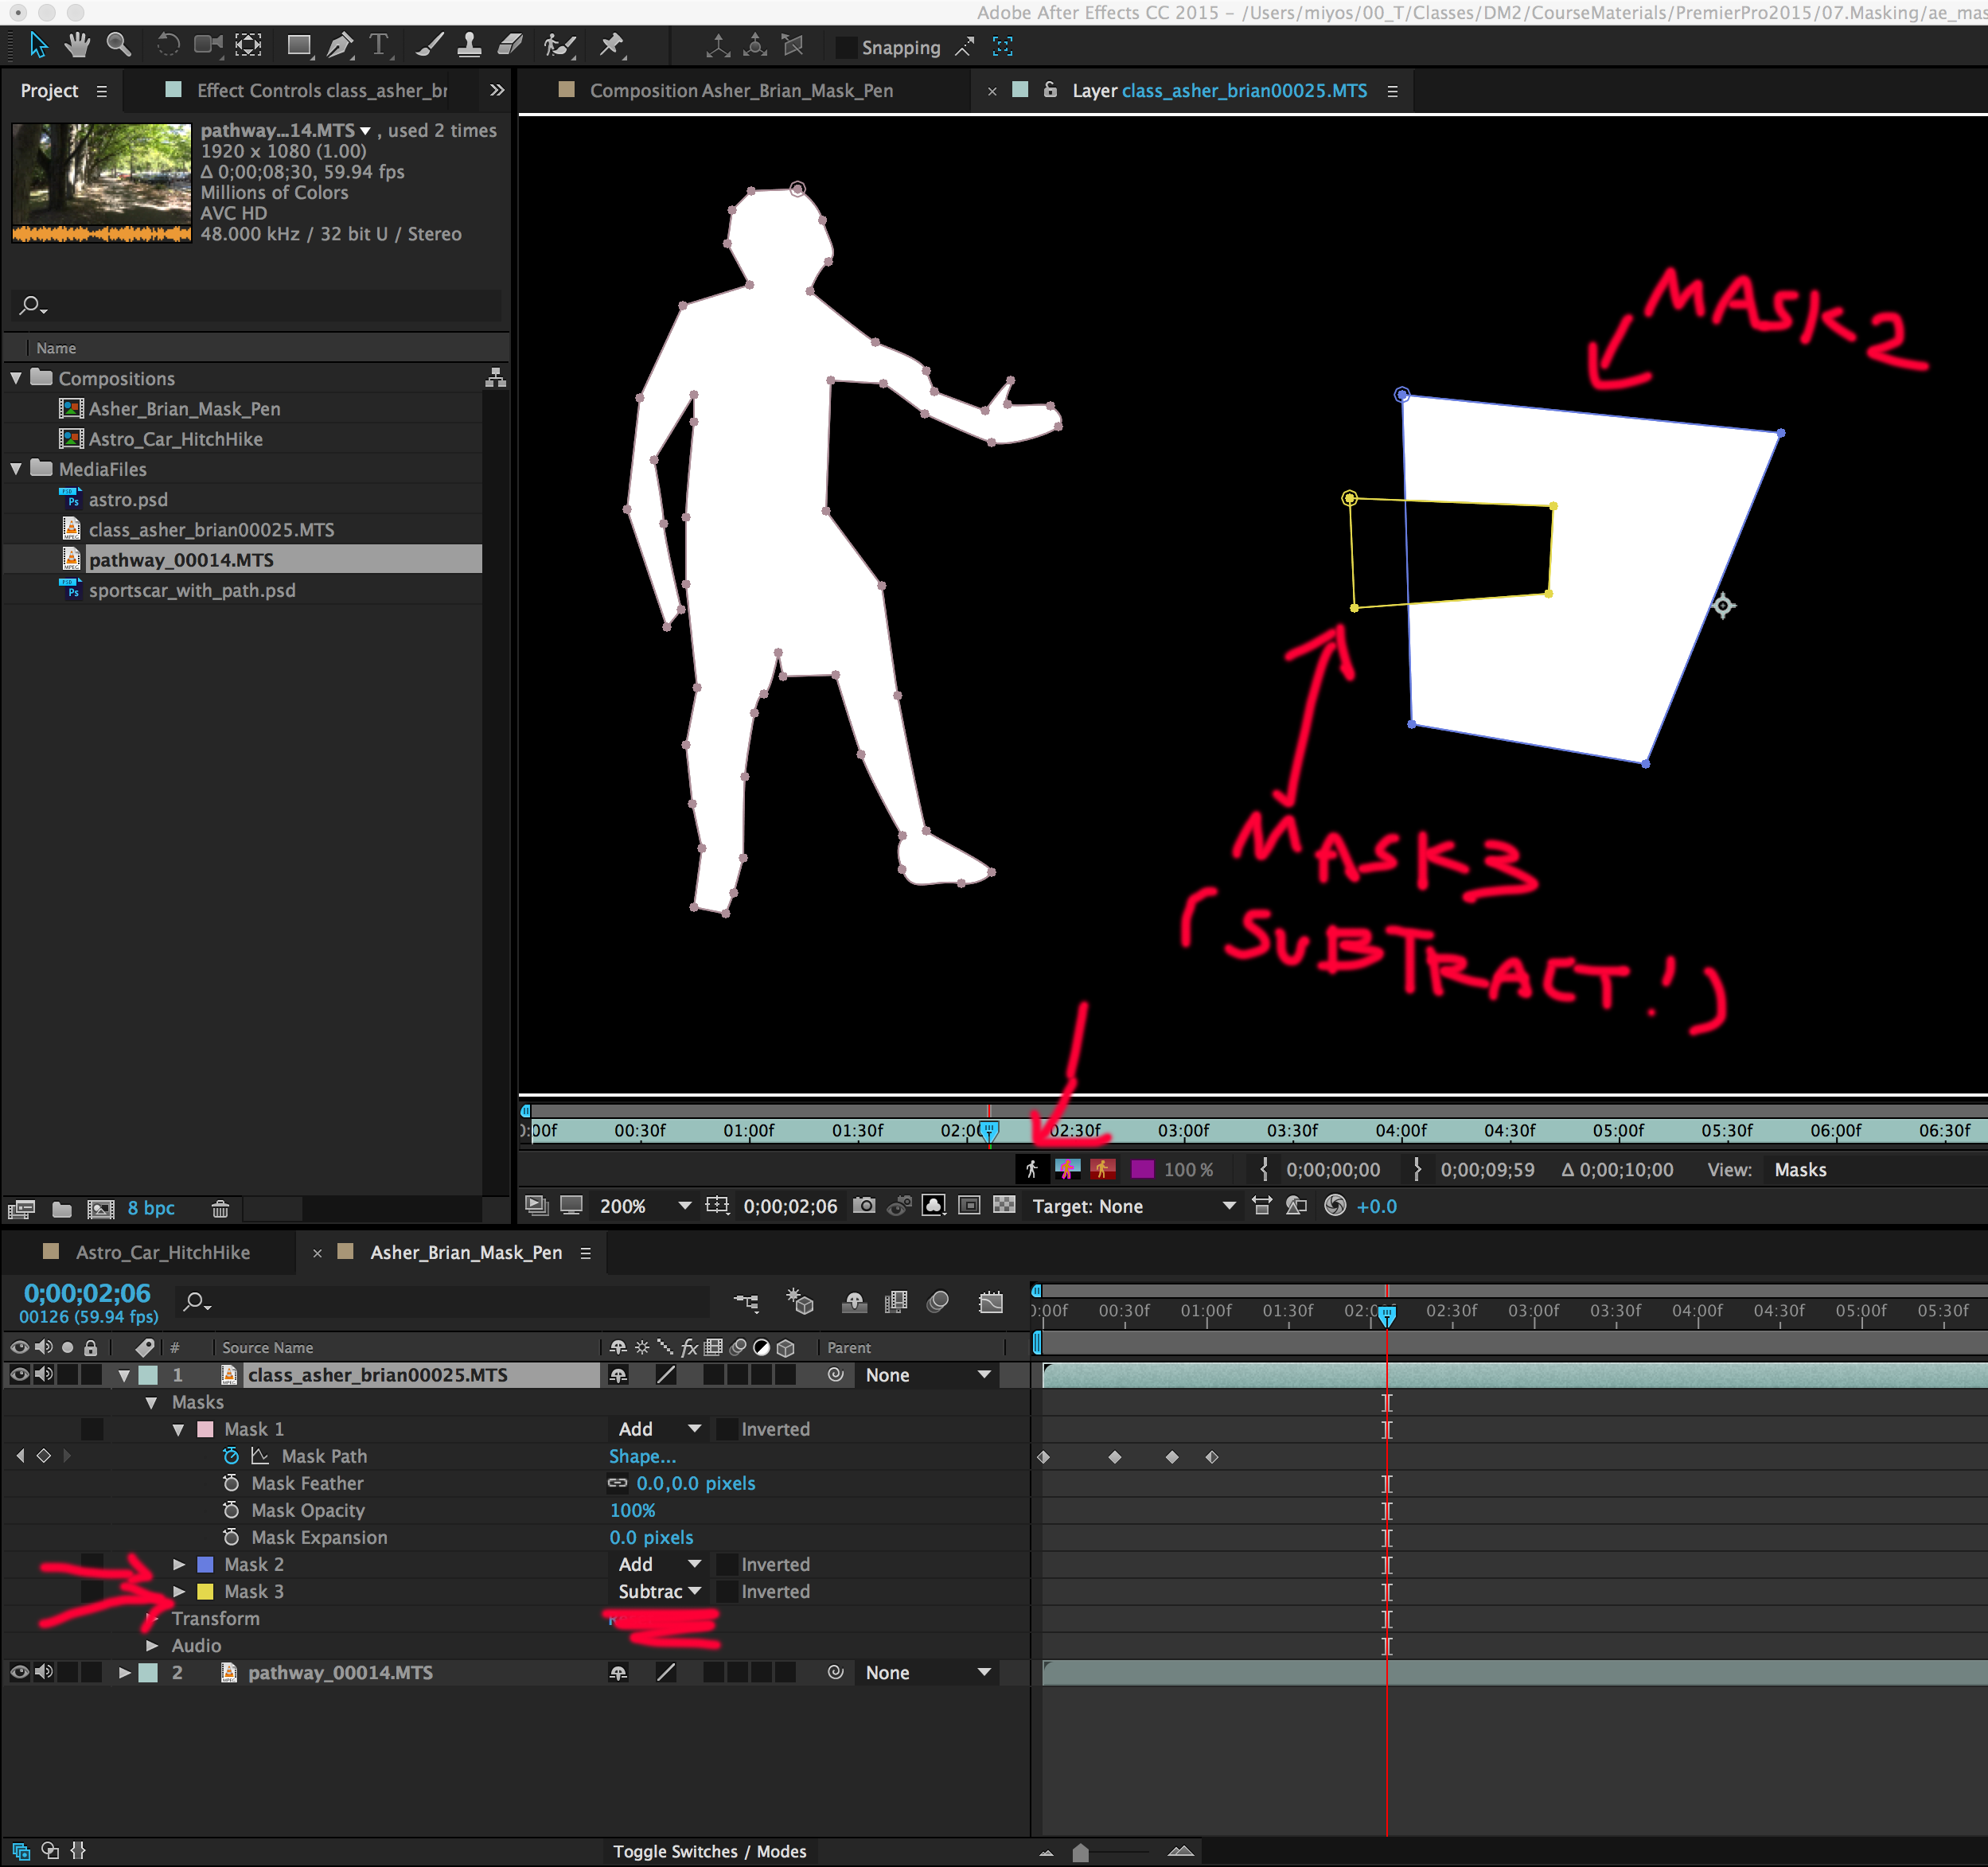
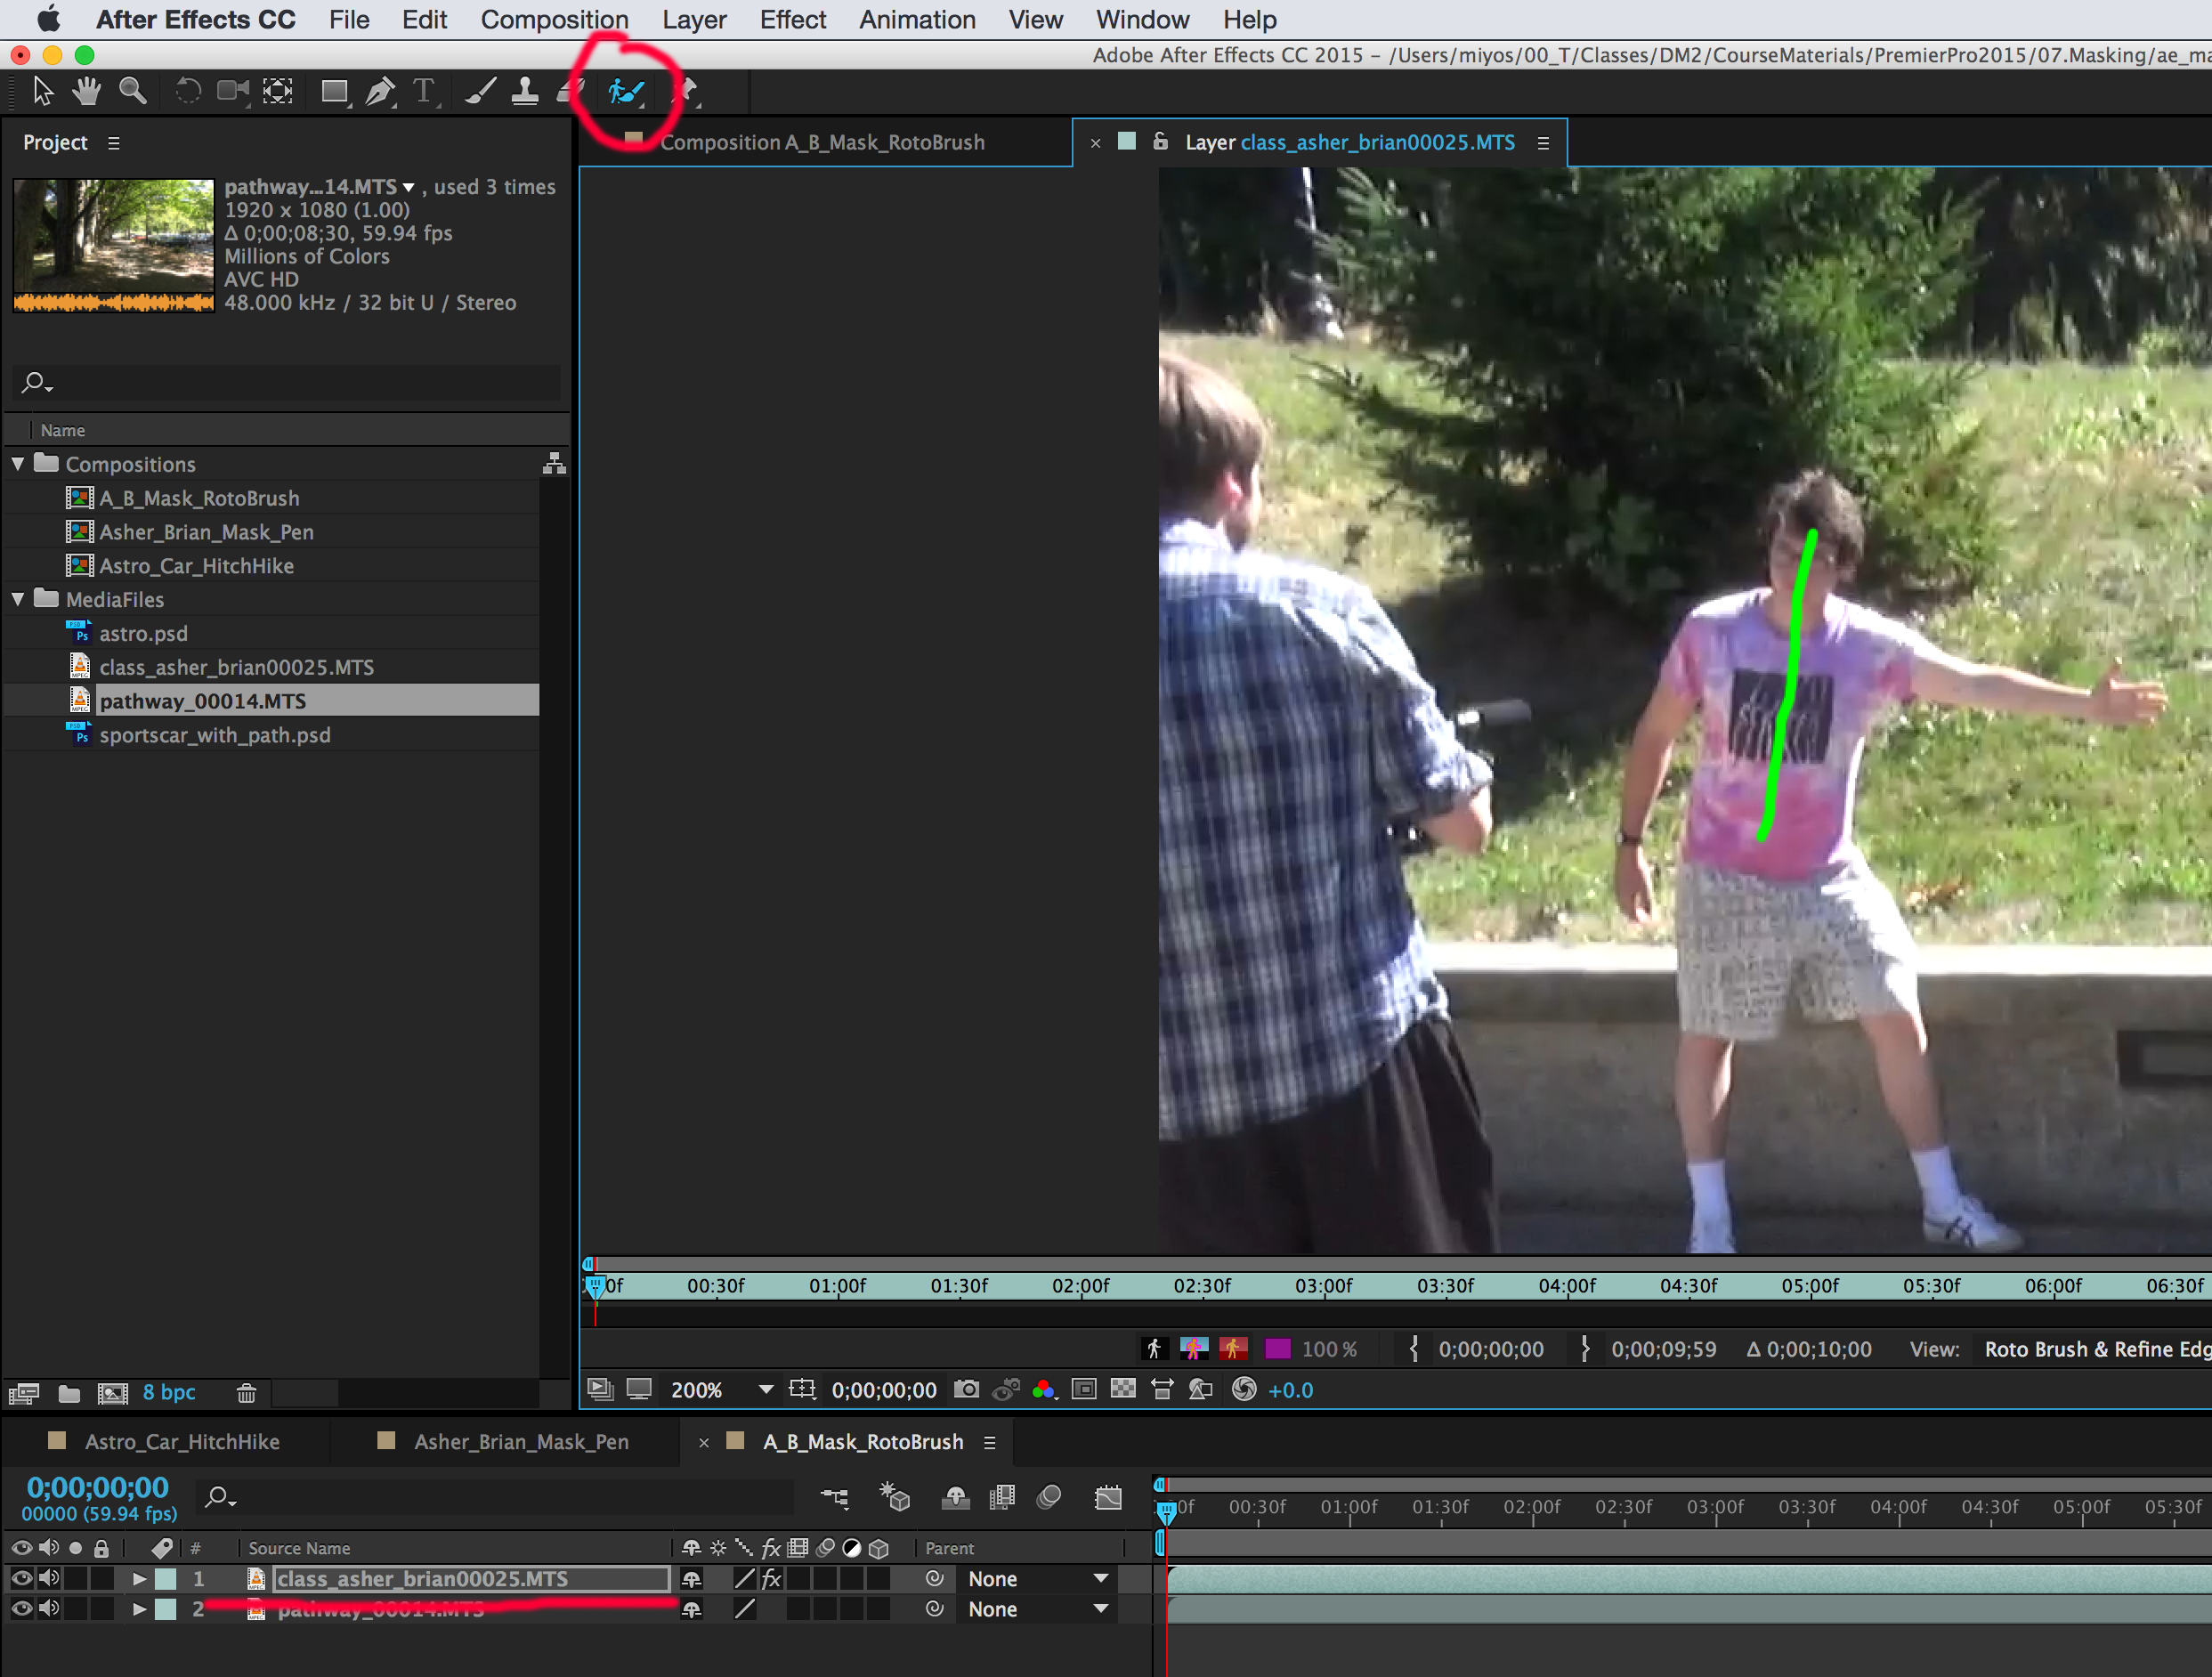
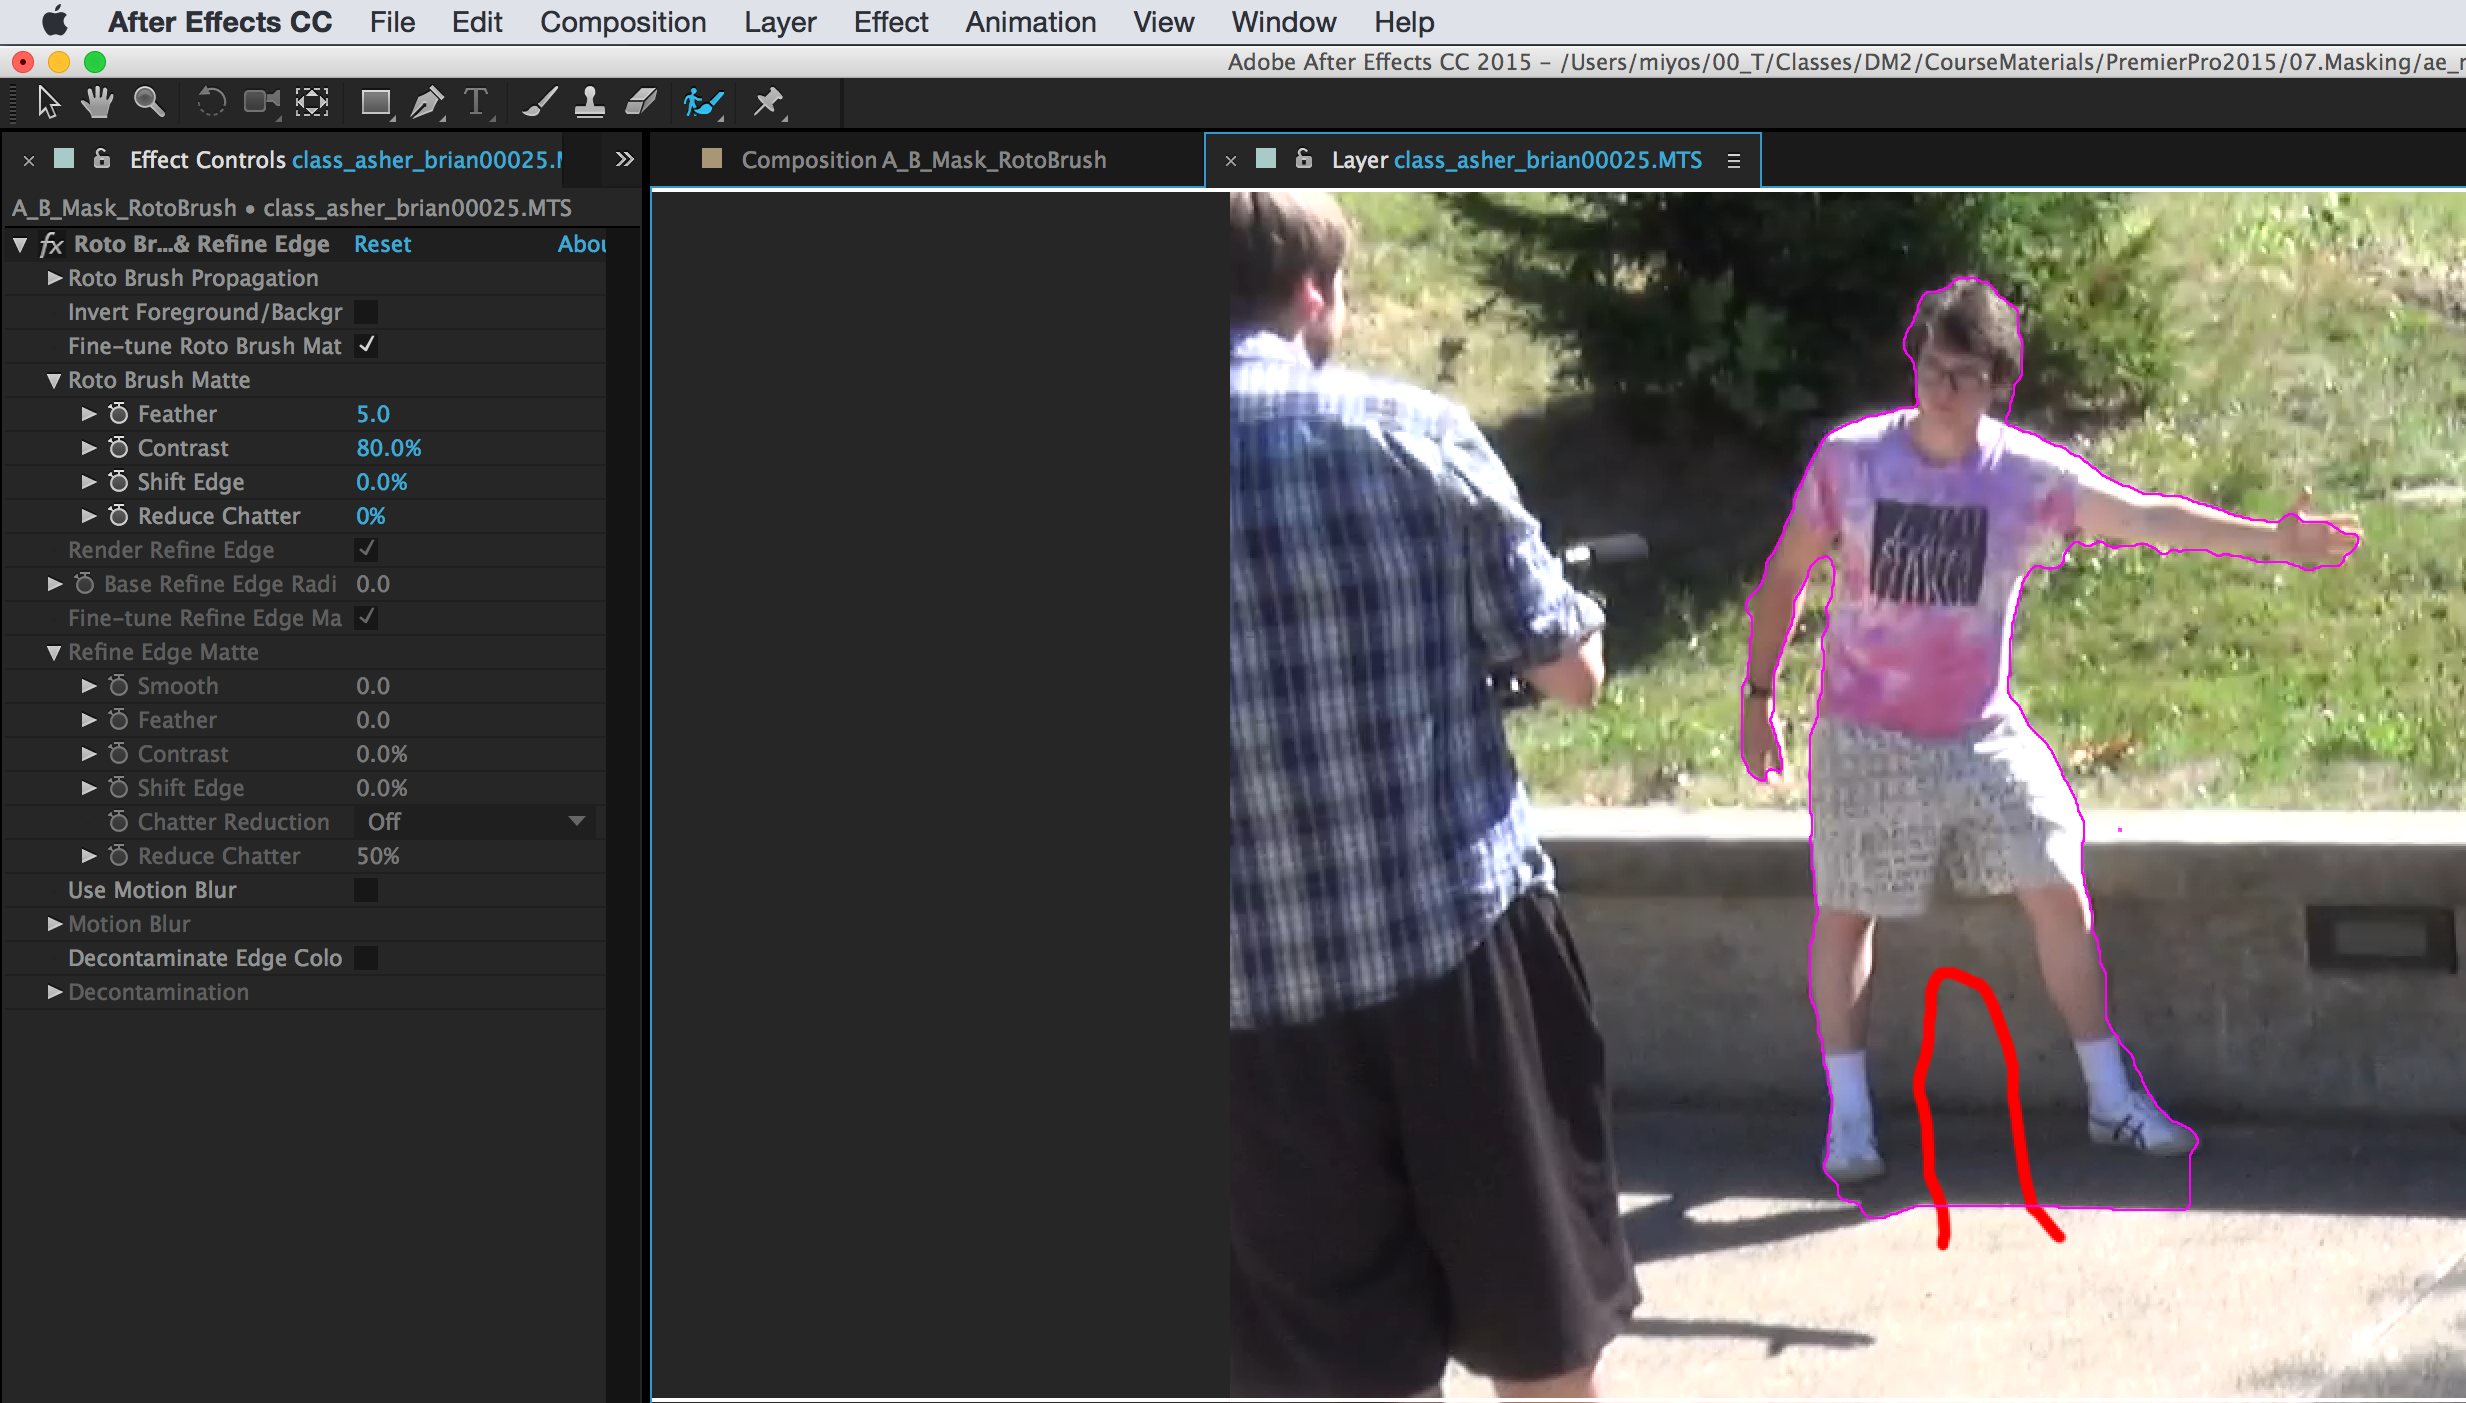
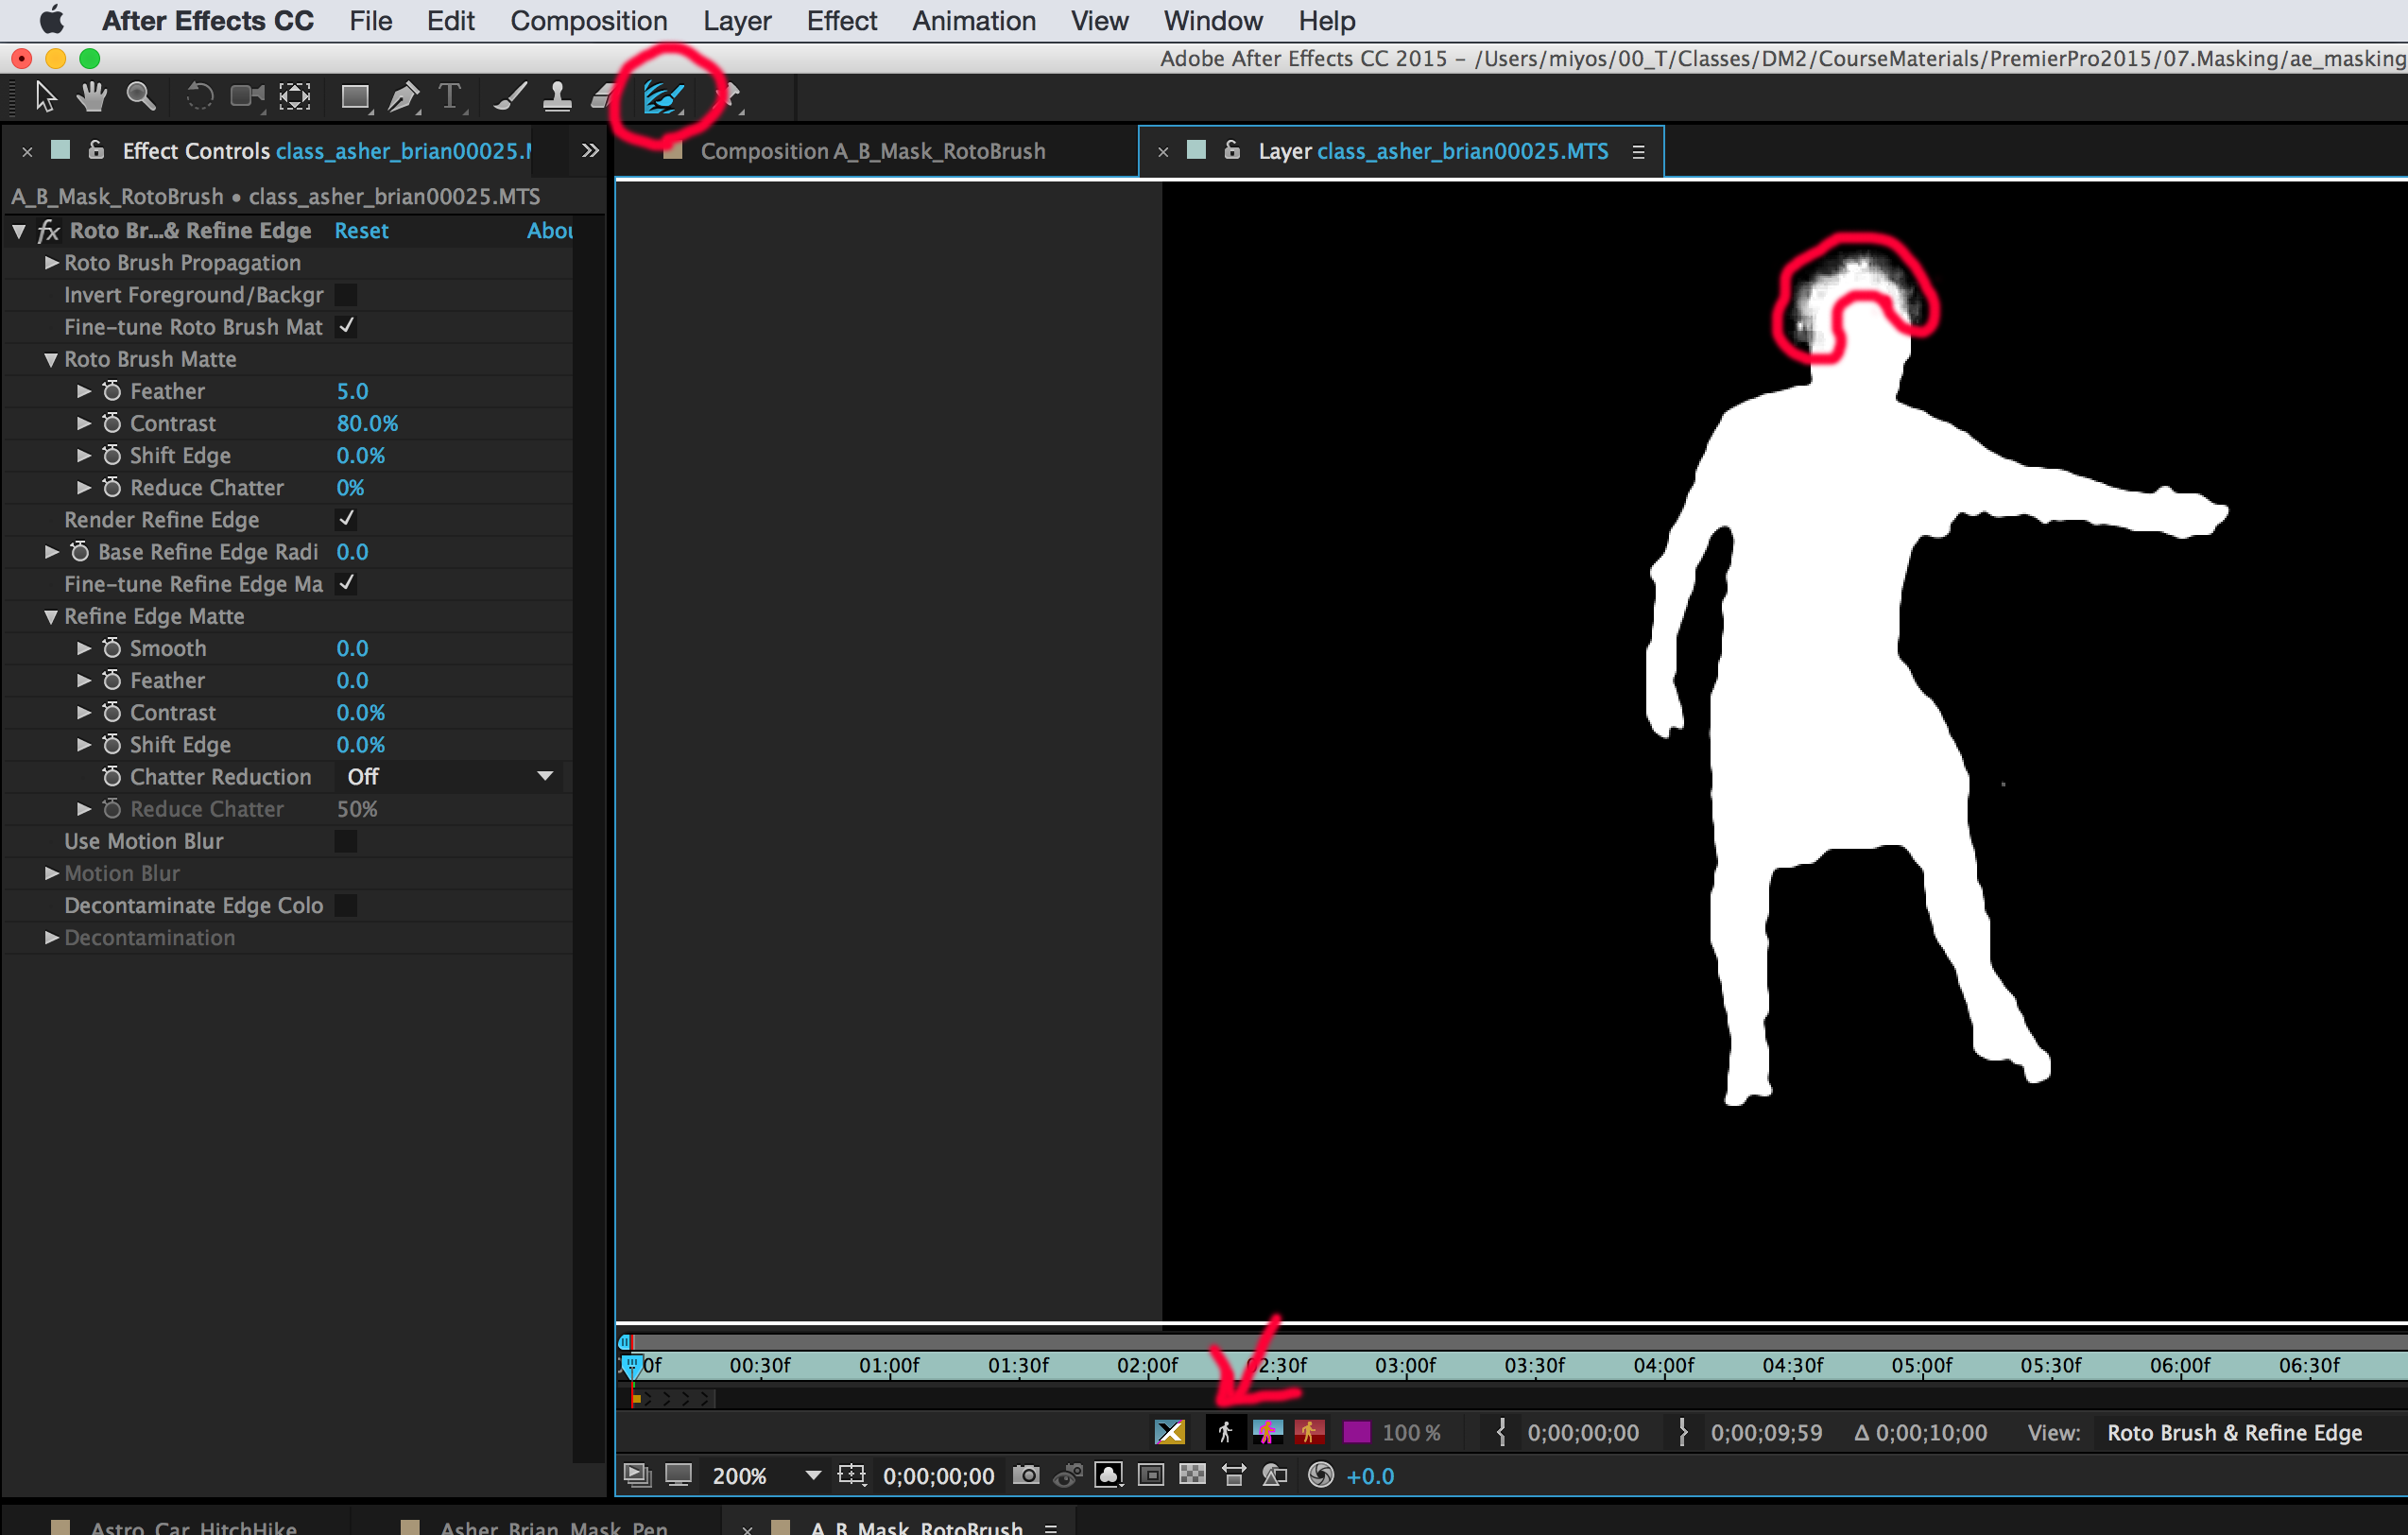
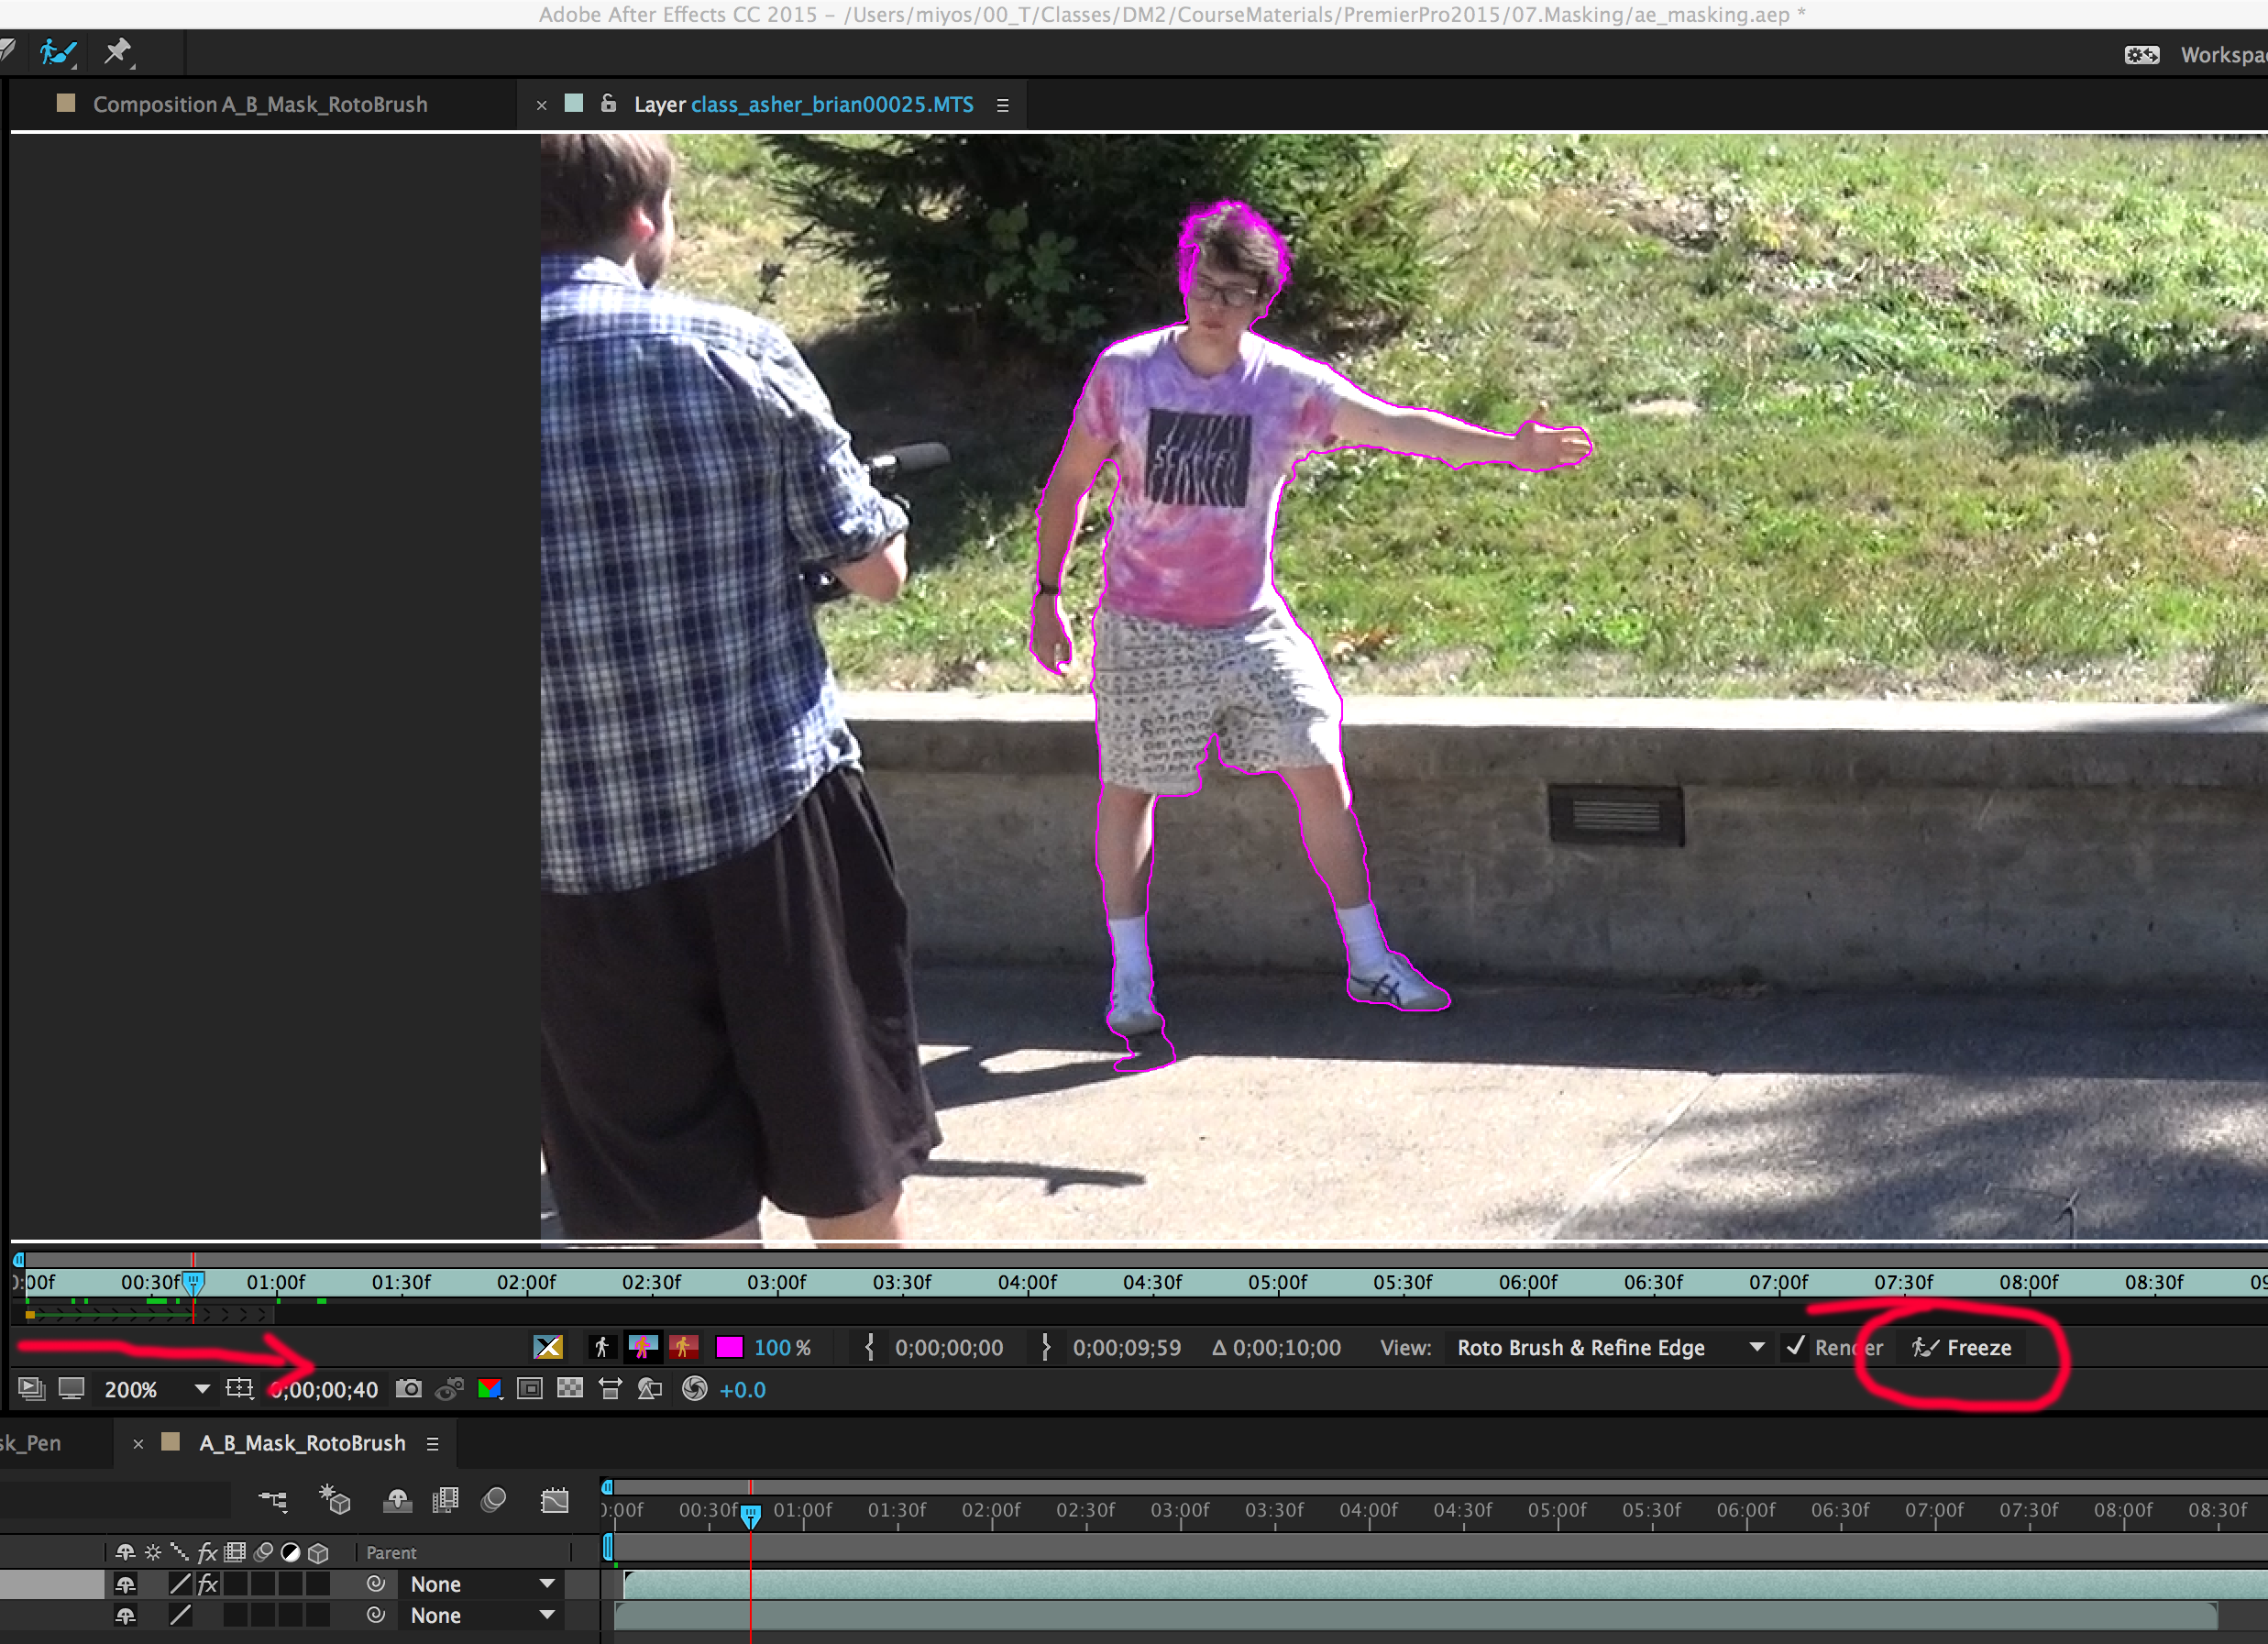
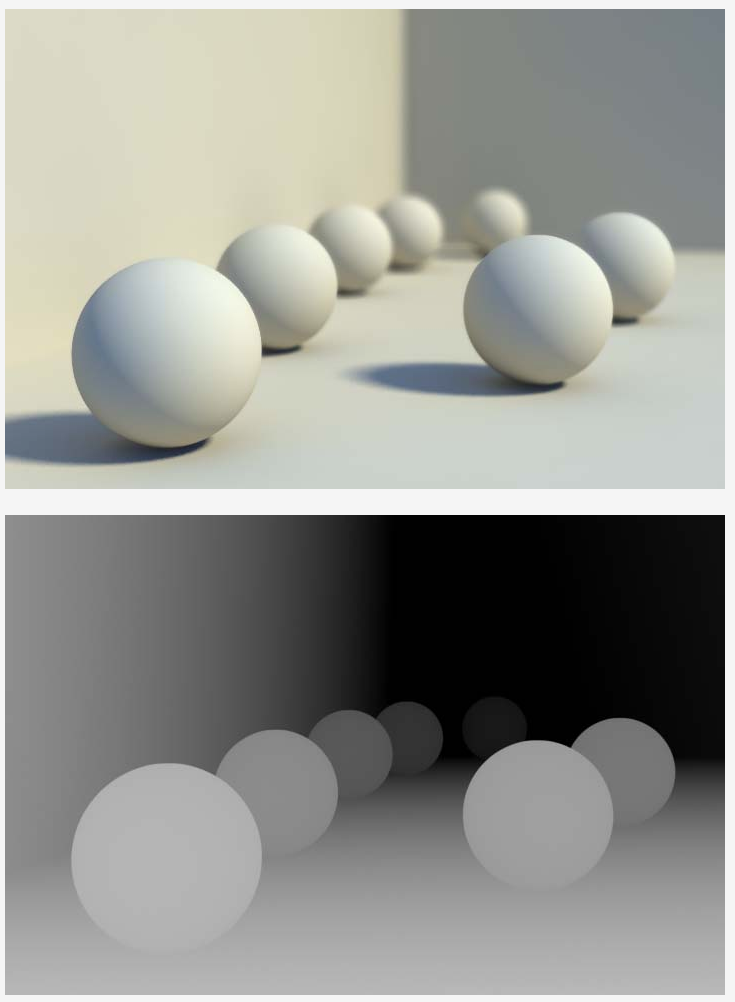
- Masking/Maps
Notes


