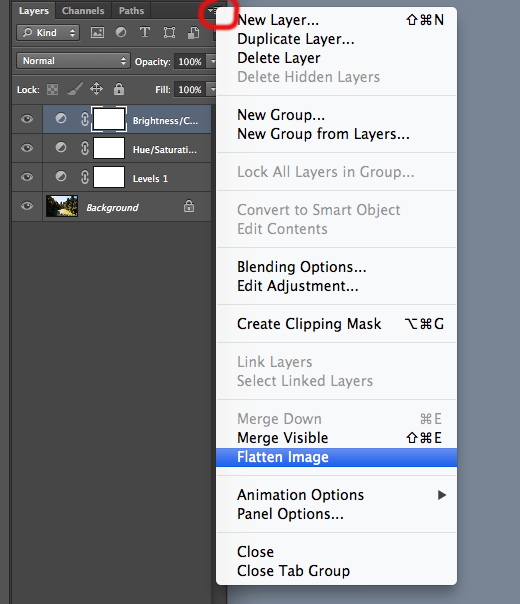
Non-Destructive editing review

Non-destructive (undo-able and infinitely redo-able)

Notes

Understanding the numbers used in digital imaging (not just photoshop)

Notes

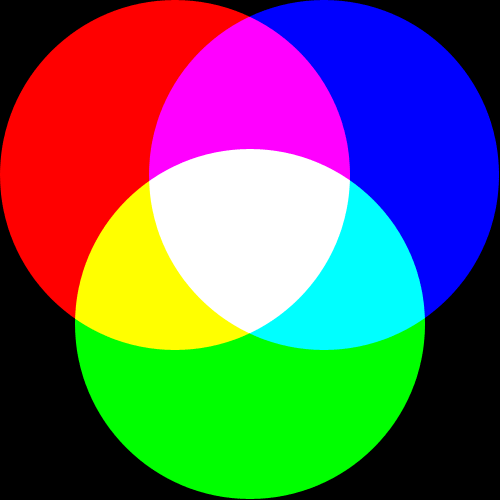
Additive color mode

- RGB: Red, Green, Blue
- When dealing with light


Notes

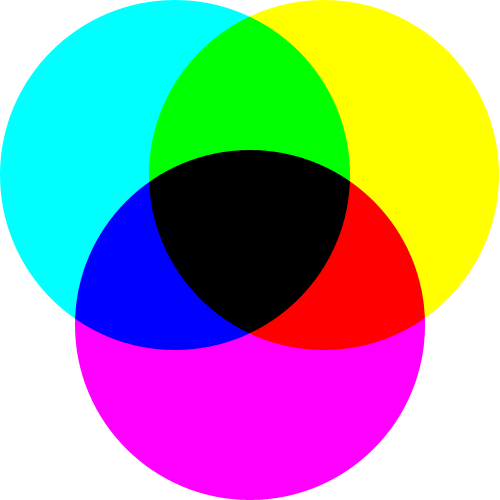
Subtractive color mode

- CMY(K): Cyan, Magenta, Yellow, blacK
- When dealing with pigments


Notes

Color mode

- Guess which color mode Photoshop uses?

- play around with color picker
- channels
- Image -> Mode ->

Bit Depth (1 bit)

The color of each pixel is described using certain number of 0s and 1s.
Number of bits used to describe a pixel is called bit depth.

1 bit image: uses 1 bit (0 or a 1) to represent a pixel. Usually black or white.

In photoshop, (for historical reasons) this is called bitmap mode.
- Image -> Mode -> Bitmap
- Check out the Channels panel

Notes

Bit Depth (8 bit)

Uses 8 bit to represent the color of a pixel.
8 bit image: 2^8 = 256 possible values for each pixel.


In Photoshop this mode is called Grayscale
- Image -> Mode -> Grayscale
- Check out the Channels panel


Notes

Bit Depth (24 bits, 8 bits/Channel)

24 bit image (Photoshop calls it 8 bits/channel)

- Image -> Mode -> {RGB Color, 8bits/channel}
- Check out the Channels panel


Photoshop: image-> mode -> {8 bits/channel, 16 bits/channel}
Notes

16 and 32 Bits/ Channel

8 Bits / Channel => 16777216 colors
16 Bits/ Channel => 281474976710656 colors
32 Bits/ Channel => 79228162514264337593543950336 colors


- When scanned at 8 Bits, 16 Bits, or 32 Bits, image will look exactly the same
- By the time you print, convert it to 8 Bits / Channel
Notes

Global Tonal/Color Correction

Reading the histogram -- many tools in photoshop asks you to deal with images through numbers.

Notes

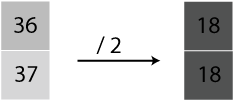
Rounding Off

Notes

Global Tonal/Color Correction 2

Destructive tools -- Photoshop's traditional tools for global tonal/color correction (under Image -> Adjustments)

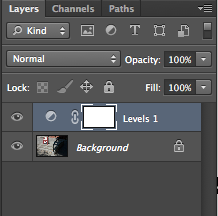
Non-destructive Editing -- Use Adjustment Layers


Notes

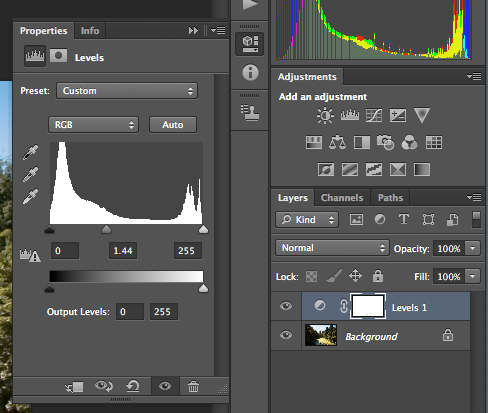
Levels

[Adobe TV: improving tonal quality with levels]

Black(1), midpoint gamma(2), white point(3) slider Setting neutral white(6), neutral gray (5), and black(4) target points


Notes

Curves

Notes

Useful Tools

Notes

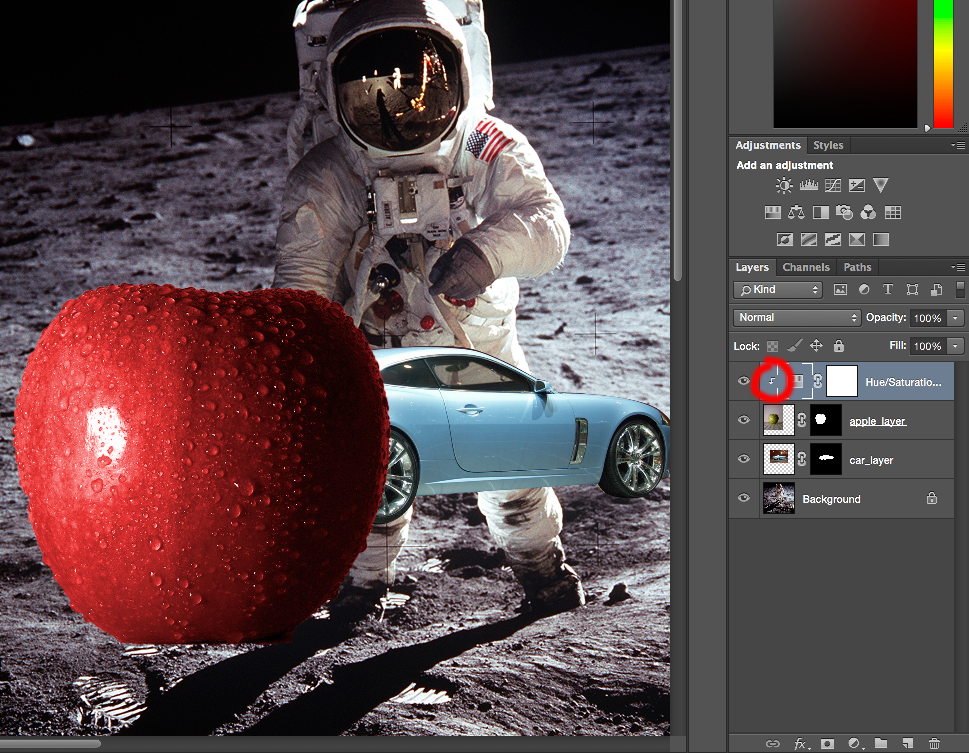
Ajustment Layer + Layer Mask = Local Corrections

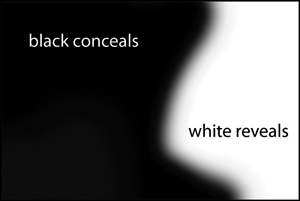
Layer masks

Notes

Clipping Mask


Right-click on the adjustment layer and select "Create Clipping Mask". Then the adjustment layer will only apply to the layer immediately below it.


Notes

Selection to Layer Mask (Adjustment Layers)

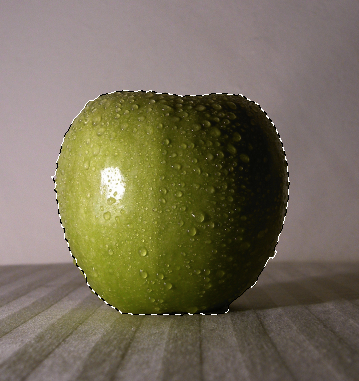
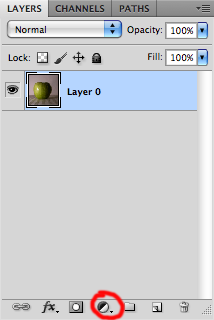
1. With selection (Marching ants), create new adjustment layer


2. selection automatically converted to layer mask


Notes

Flattening Image

Once you are done and ready to commit:

Background layer
  • When you open an image, Photshop puts it in a layer called Background, which has restrictions (as represented by the lock sign).
  • If you want to unlock and modify the background layer and treat it as a normal layer, double click and make it into Layer 0a
Notes

Day to Dusk

Notes