Lines
- Pen tool
- Line segment tool
- Click drag draw
- Shift drag to add constrait.
- Curvature tool
- Cmd-click to draw new curve
- Click on anchor point to continue curve
- A small circle next to your cursor indicate you are about to close the path
- Move the anchor points to change the shape of the curves
- Pencil tool
- Double click on tool icon to control fidelity
- Turn on "Close paths when ends are..." to make a closed path.
- Edit selected paths lets you continue drawing on the selected path if you are within X pixels.
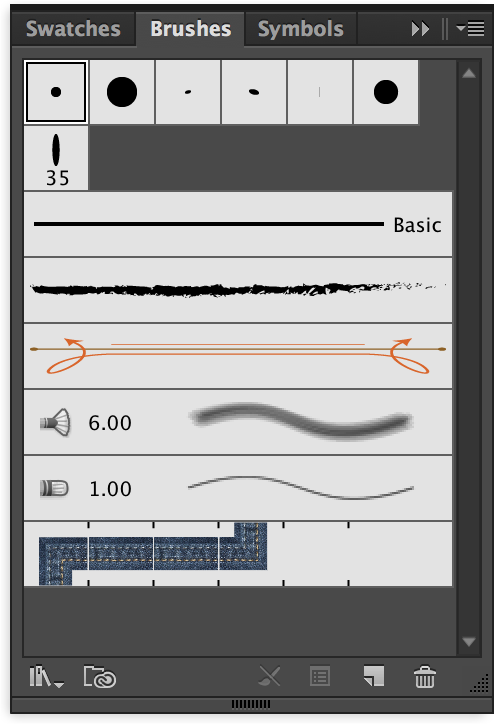
- Brushes
- Open and closed paths
- Brush panel for different brushes. Note that existence of brush libraries for additional brushes
- Object -> Expand Appearance: to turn a path into a shape of the outline
- Blob brush tool
- Notice what happens when you create and then select lines that overlap
- Shape tool
- Quickly sketch a shape and Illustrator will convert it into a clean shape
- (it can do a lot more...)
- Eraser tool (in the toolbar)
- With selection: only the objects selected will be effected
- Without: all object will be subject to the eraser
- With the eraser, you are most likely adding more anchor points. It will be harder to clean up later. (eg. circle with 4 anchor point vs 40 anchor points)
Notes