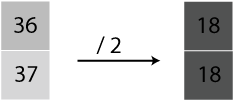
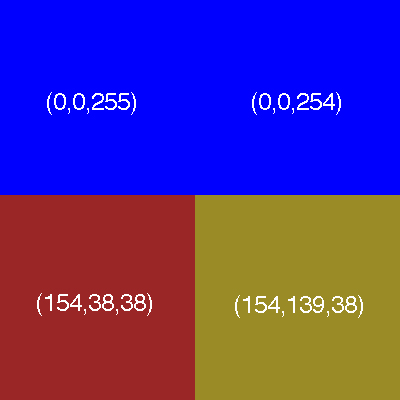
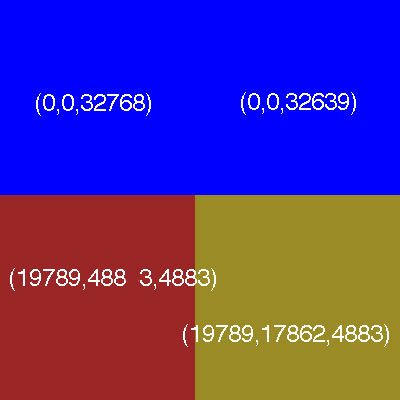
The color of each pixel is described using certain number of 0s and 1s.
Number of bits used to describe a pixel is called
bit depth.
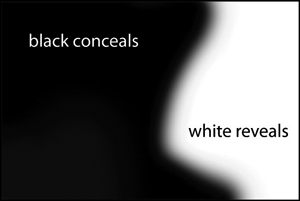
1 bit image: uses 1 bit (0 or a 1) to represent a pixel. Usually black or white.
In photoshop, (for historical reasons) this is called bitmap mode.
- Image -> Mode -> Bitmap
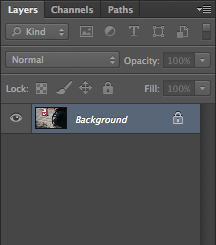
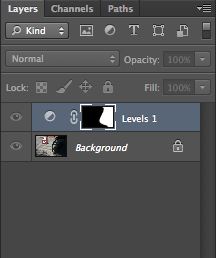
- Check out the Channels panel